I have seen a few threads on how to clean up an estate briar but only a few on cleaning up a meer. I have cleaned up two meers now and this post shows the steps I went through to clean up my second. Some of the information here was borrowed (see stole) from other sources online, and some of it I came up with myself after running into road blocks.
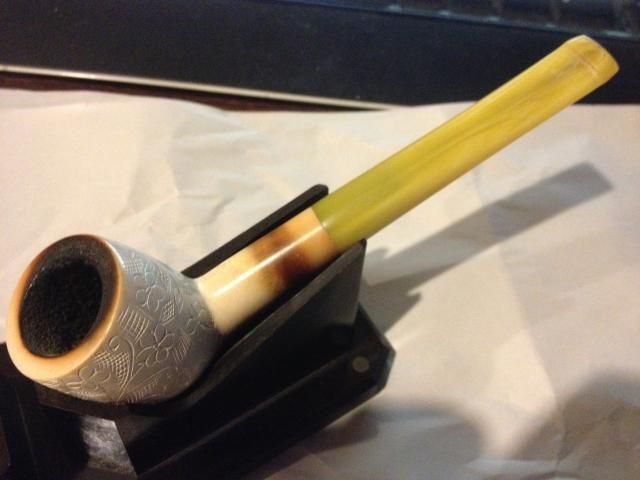
I'll start off by posting before and after pictures of the first meer I cleaned. It's a smooth billard with an acrylic stem and I really don't know whether it is block or pressed meerschaum, but after this second pipe I'm going to guess at pressed (more on that later).
Before:
After:
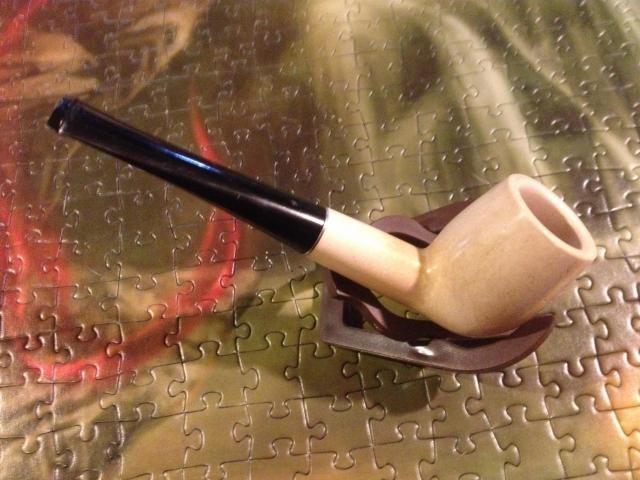
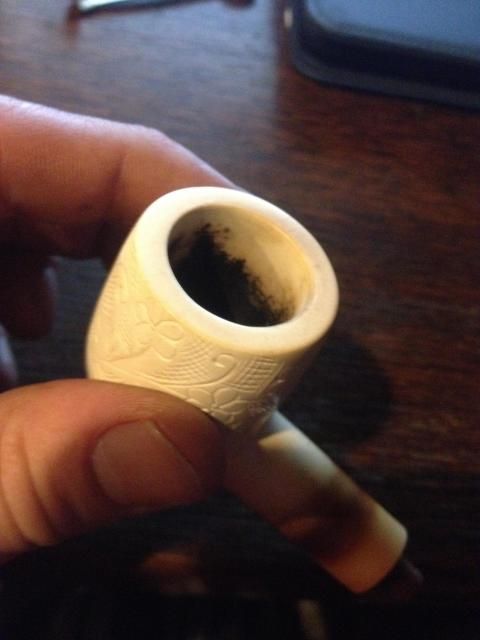
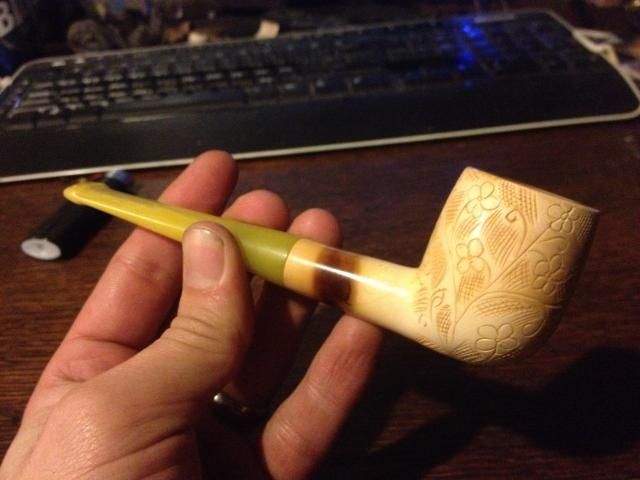
The second Meerschaum in question I picked up a few weeks ago in a local antique store for $20. This is what it looked like when I got it.
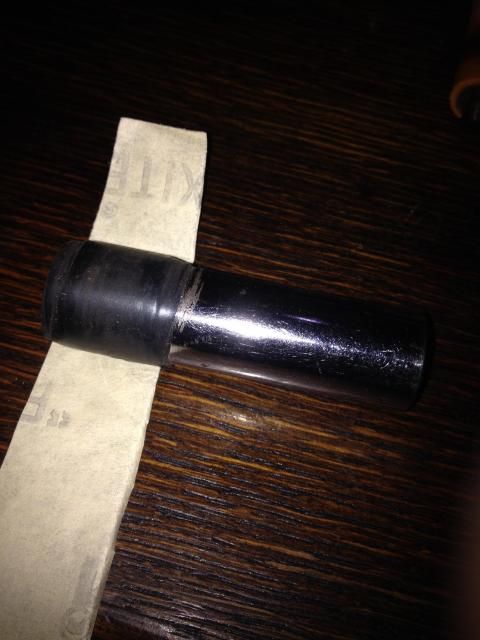
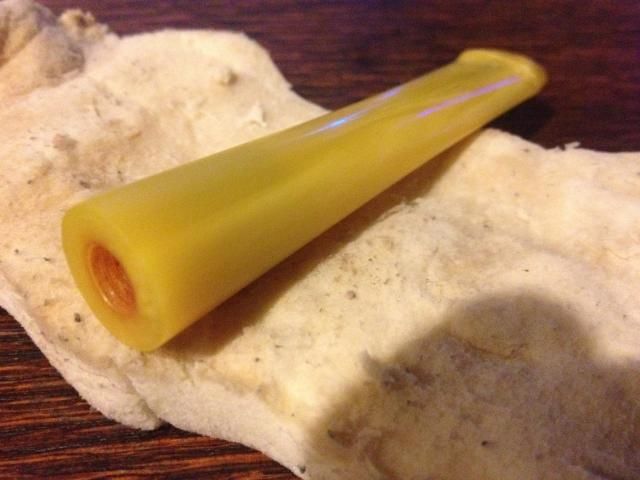
I am not sure if the stem on this pipe is bake lite or amber.
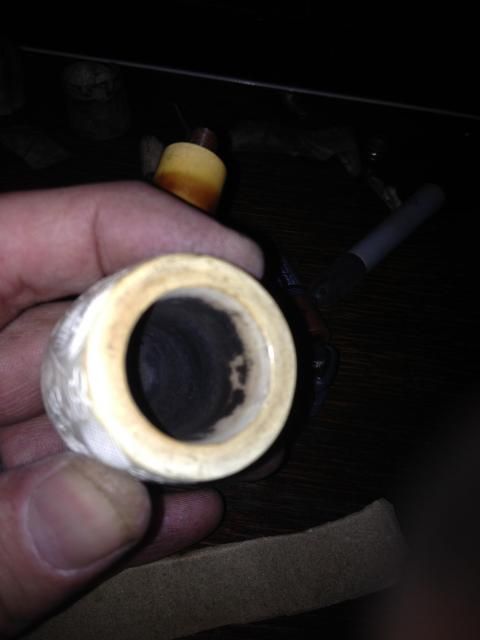
As you can see from the picture, the previous owner was not all that concerned about cake building up in his meer (very similar to the first). I brought out my senior style reamer and commenced (very carefully) to ream it out as much as I could. I have found you can only ream so much cake from a meer before other avenues are required. This is when I break out the sand paper (starting with 220 grit) and wrap it around the reamer. A loose fit works just fine as long as the sand paper will actually turn in the bowl.
Keep an eye on the dust you dump out of the bowl. You don't want to remove actual Meerschaum, just cake.
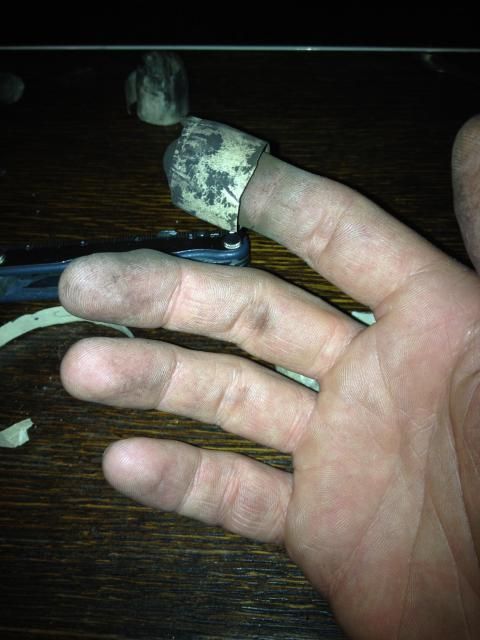
When the reamer stopped producing results, but I still had a noticable amount a cake in the bowl, I grabbed a deep socket that would fit in the bowl and wrapped a bit of electrical tape around it. I then wrapped the sand paper around that and kept at it.
Once this stopped producing desired results I switched to wrapping a bit of sand paper around my finger...and I kept at it.
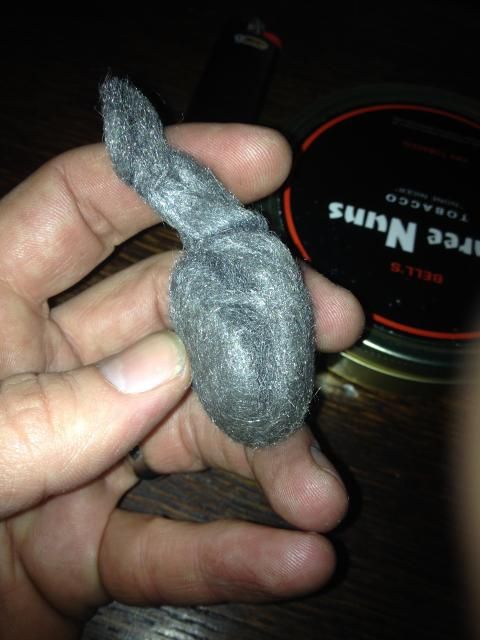
The last thing I use is 000 then 0000 grade steal wool and twist it in the bowl to smooth everything out. I forget to get a pic of this process but this is the piece of steal wool I used.
I will also take a piece of steal wool, unravel it flat, and run the top of the bowl over it on a flat surface a few times to smooth out any scratches.
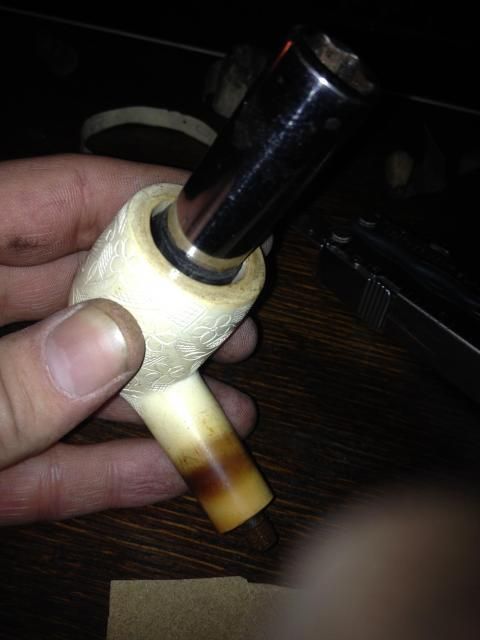
Here is where I decided enough was enough.
For the most part, I cleaned the stem like I would any other. Scrubbed with pipe cleaners and alcohol until it came out pretty clean. Soaked in Oxyclean and water for 24 hours and then went at it with an Arm and Hammer Magic Eraser to remove any crud. With vulcanite I may have continued with micro finishing cloth abrasive pads but did not feel it was necessary with this stem.
Here is where we are up to this point.
Waxing is where I started to get into unknown territory and may have mucked it all up. I have watched people melt bees wax, cork bowls, and place some type of stopper in the shank, then put the pipe in there and just stir it around. I wasn't going to do all that.
I saw a youtube of a guy that melted beeswax on a paper towel, smoked his pipe, held the pipe in the towel, and just rubbed it now and then. I did this with the smooth billard and it worked great, giving it a nice shine. On this pipe, the results were quite different.
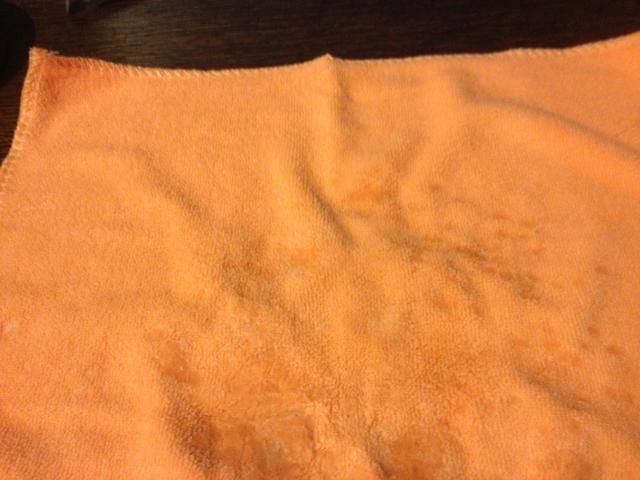
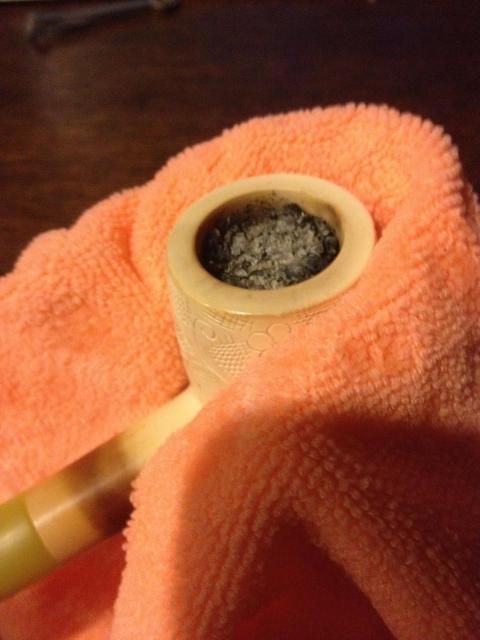
First, instead of a paper towel I used a micro fibre cloth purchased at Harbor Freight.
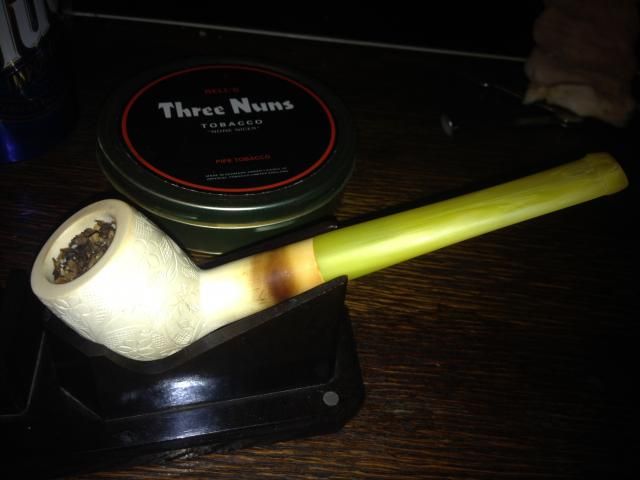
I packed my pipe with some Three Nuns and fired her up.
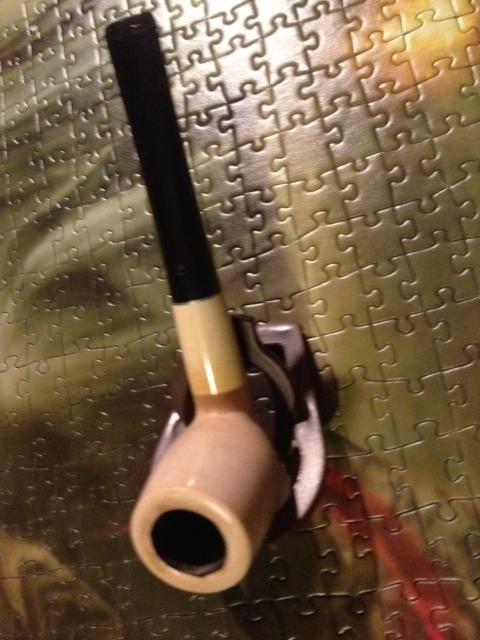
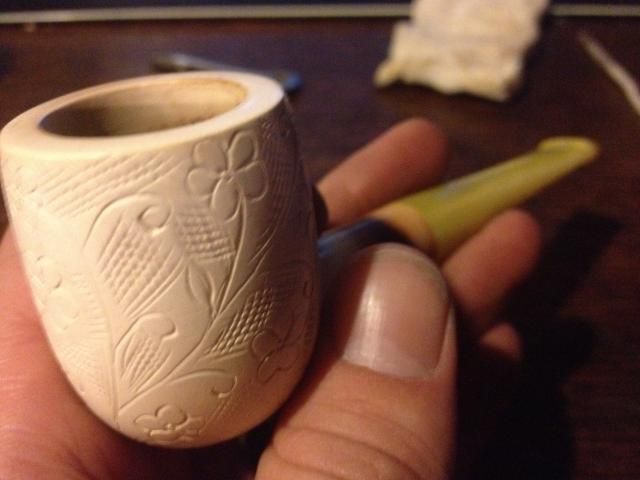
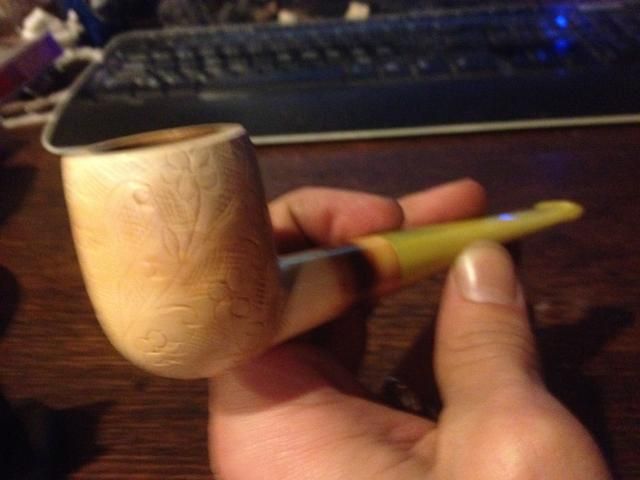
I was amazed at how much wax this pipe sucked up and how it immediately started to color. This is what I think a lot of people refer to as false coloring a meer. I'm really not sure whether it would have been better to not use wax at all but here is what the pipe looked like after just one smoke.
I'm starting to suspect that the first pipe was pressed meer, hence why it didn't suck up as much wax, and that this one was block.
This pipe has had two bowls through it now and I'm happy to say it's a good smoker. I hope y'all enjoyed seeing the process and as I learn more I'll share.
I'll start off by posting before and after pictures of the first meer I cleaned. It's a smooth billard with an acrylic stem and I really don't know whether it is block or pressed meerschaum, but after this second pipe I'm going to guess at pressed (more on that later).
Before:

After:

The second Meerschaum in question I picked up a few weeks ago in a local antique store for $20. This is what it looked like when I got it.

I am not sure if the stem on this pipe is bake lite or amber.
As you can see from the picture, the previous owner was not all that concerned about cake building up in his meer (very similar to the first). I brought out my senior style reamer and commenced (very carefully) to ream it out as much as I could. I have found you can only ream so much cake from a meer before other avenues are required. This is when I break out the sand paper (starting with 220 grit) and wrap it around the reamer. A loose fit works just fine as long as the sand paper will actually turn in the bowl.

Keep an eye on the dust you dump out of the bowl. You don't want to remove actual Meerschaum, just cake.

When the reamer stopped producing results, but I still had a noticable amount a cake in the bowl, I grabbed a deep socket that would fit in the bowl and wrapped a bit of electrical tape around it. I then wrapped the sand paper around that and kept at it.


Once this stopped producing desired results I switched to wrapping a bit of sand paper around my finger...and I kept at it.

The last thing I use is 000 then 0000 grade steal wool and twist it in the bowl to smooth everything out. I forget to get a pic of this process but this is the piece of steal wool I used.

I will also take a piece of steal wool, unravel it flat, and run the top of the bowl over it on a flat surface a few times to smooth out any scratches.
Here is where I decided enough was enough.

For the most part, I cleaned the stem like I would any other. Scrubbed with pipe cleaners and alcohol until it came out pretty clean. Soaked in Oxyclean and water for 24 hours and then went at it with an Arm and Hammer Magic Eraser to remove any crud. With vulcanite I may have continued with micro finishing cloth abrasive pads but did not feel it was necessary with this stem.

Here is where we are up to this point.

Waxing is where I started to get into unknown territory and may have mucked it all up. I have watched people melt bees wax, cork bowls, and place some type of stopper in the shank, then put the pipe in there and just stir it around. I wasn't going to do all that.
I saw a youtube of a guy that melted beeswax on a paper towel, smoked his pipe, held the pipe in the towel, and just rubbed it now and then. I did this with the smooth billard and it worked great, giving it a nice shine. On this pipe, the results were quite different.
First, instead of a paper towel I used a micro fibre cloth purchased at Harbor Freight.

I packed my pipe with some Three Nuns and fired her up.


I was amazed at how much wax this pipe sucked up and how it immediately started to color. This is what I think a lot of people refer to as false coloring a meer. I'm really not sure whether it would have been better to not use wax at all but here is what the pipe looked like after just one smoke.


I'm starting to suspect that the first pipe was pressed meer, hence why it didn't suck up as much wax, and that this one was block.
This pipe has had two bowls through it now and I'm happy to say it's a good smoker. I hope y'all enjoyed seeing the process and as I learn more I'll share.


