How To: Custom Paint a Ronson Jetlite
- Thread starter 04EDGE40
- Start date
I might have to try this out this weekend.
luckysaturn13
Smoke it if ya got it!
All of the walmarts by me quit carrying the Ronson now they carry a spark brand torch with a bottle opener n stuff built in. It's not as cool. My torch craped out on me this morning might have to build one of these!
Mine still gets stock here and there
I picked up a couple of Ronsons at Walgreen a couple weeks back. Great lighters. I'm using them more now than my expensive Lotus. I like this step-by-step post and especially the advice on the pitfalls to watch out for. Those are always the things that get me and my project doesn't come out like I envisioned.
One thing I did notice when I modded my Jetlites and you touched on it a little in the guide. I too tightened the screw too much and the lighter wouldn't close right. I loosened it and it was better but I thought it might be too loose and I might lose the screw. I was working through putting some paper in there to allow it to tighten but not too much. I noticed a small black nubby thing that had fallen out and I had missed when I put it back together. It fits into another hole in the center on the bottom of the inside mechanism. Don't loose this. It keeps the whole unit tight and also allows the lid to close properly.
One thing I did notice when I modded my Jetlites and you touched on it a little in the guide. I too tightened the screw too much and the lighter wouldn't close right. I loosened it and it was better but I thought it might be too loose and I might lose the screw. I was working through putting some paper in there to allow it to tighten but not too much. I noticed a small black nubby thing that had fallen out and I had missed when I put it back together. It fits into another hole in the center on the bottom of the inside mechanism. Don't loose this. It keeps the whole unit tight and also allows the lid to close properly.
I came across this old thread yesterday. Gonna give this a try! Have a non-embossed jetlite ordered and on it's way here. Nice tutorial OP!
Thanks for the info!Hey all, a while back I said I would post up my How To guide on disassembling and painting a Ronson Jetlite. Now that Puff has been resurrected in some weird Frankenstein version of itself I was able to recover my post and brought it here to post up.
If anyone has any tips to add please do, any and all helpful information is appreciated!
Without further ado... here it is in it's original form!
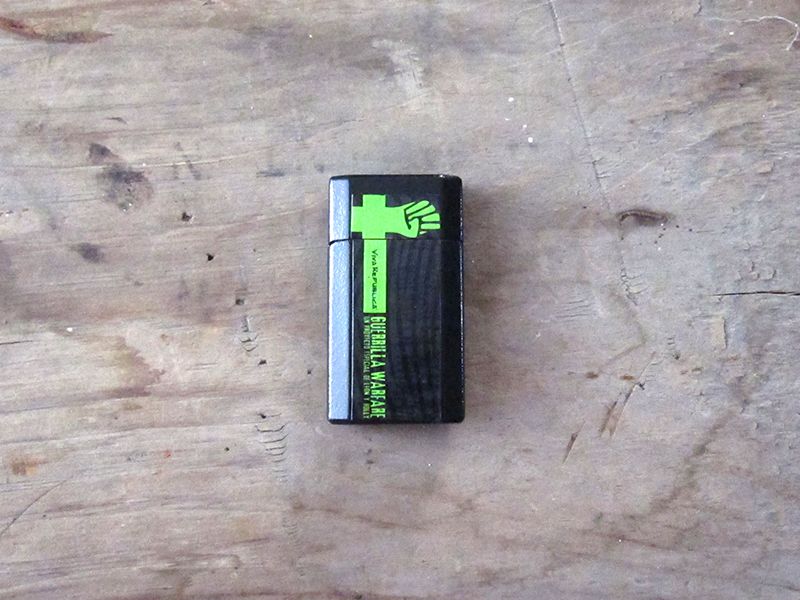
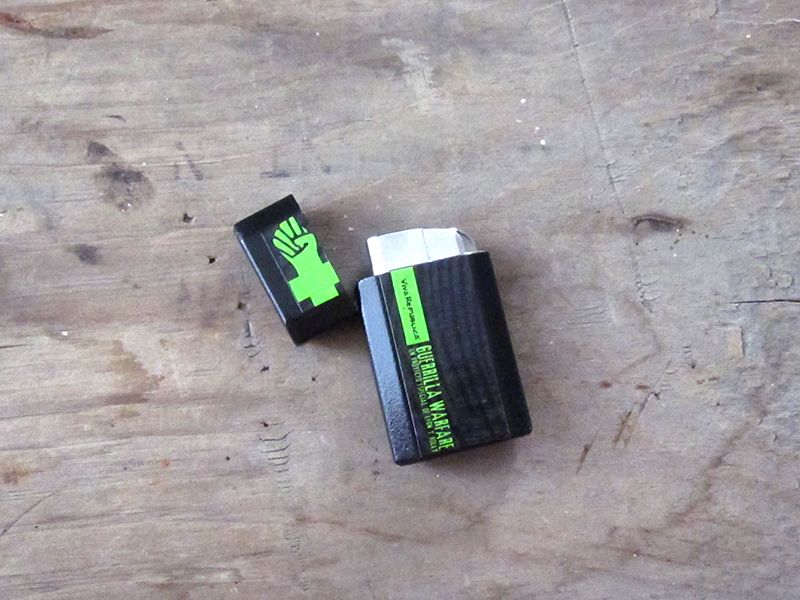
Alright guys and gals, I've finally gotten around to finishing my second Ronson JetLite custom paint job and, as requested, I took pictures for a quick "how-to."
Here's a few pictures of the first one I did, which strangely went quite a bit smoother than the second.
This is Rustoleum oil-rubbed bronze finish with the Undercrown band and Krylon Fusion Clear Coat:
Without further ado, my step-by-step for customizing your Ronson the way you want!
STEP 1
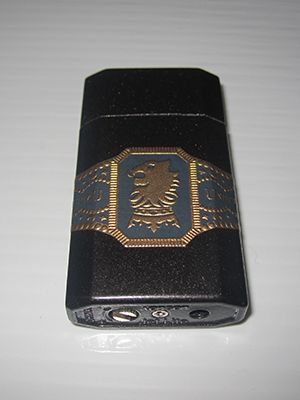
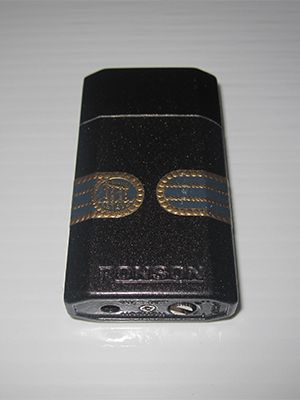
Picking out the right Ronson isn't totally crucial, but it does help to buy a smoother surface so that you can sand it and get the primer to "stick" to the surface. Additionally, you want your label to look like it's part of the lighter and not have gaps behind it like the grooves that some Ronsons have in them.
I went to the local B&M and picked up this lighter for $8.00 and some change.

STEP 2
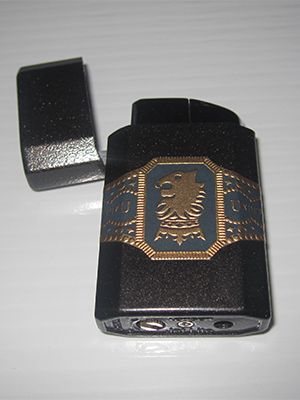
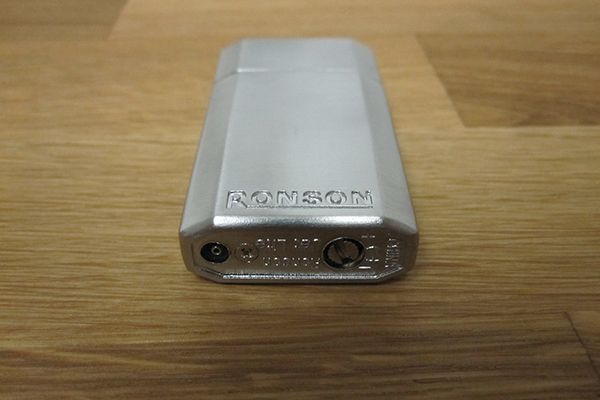
Taking apart a Ronson JetLite is easier than you would think. After taking the obvious screw out of the bottom of the lighter, the fuel tank and cap will come out as one part.
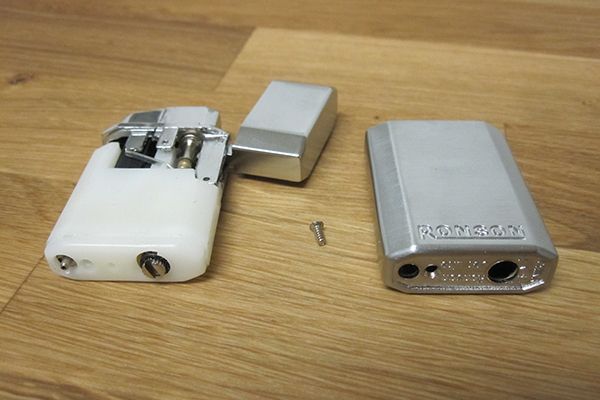
Separating the cap from the fuel tank and lighter is a little trickier, but still not very difficult.
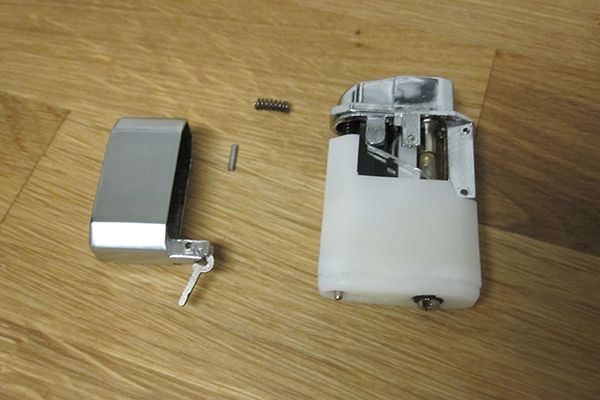
By taking a small screwdriver (I had a small set for building computers) with different bits, you can punch out the metal rods that hold the cap to the fuel tank.
There are two rods, one to secure the cap to the fuel tank, and one to secure the spring mechanism to the cap. Punch both out as you'll want to keep the inside components clean.
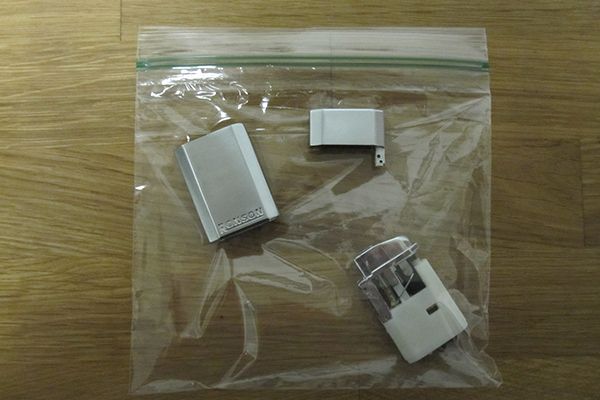
Make sure to take all of the parts you aren't painting and place them in a small bag so to not lose them. Something tells me Ronson won't sell you extra rods and a spring .
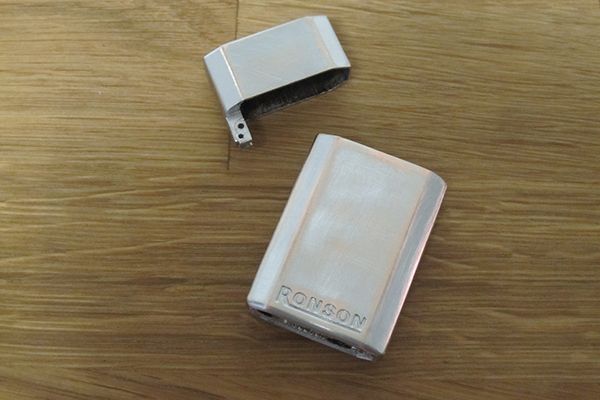
STEP 3
Once you have stripped your Ronson down to just the cap and body you'll want to give them a light sand so that the primer sticks a little more permanently.
I used 320 grit sandpaper to really etch the surface, but not create "scratches" per se.
STEP 4
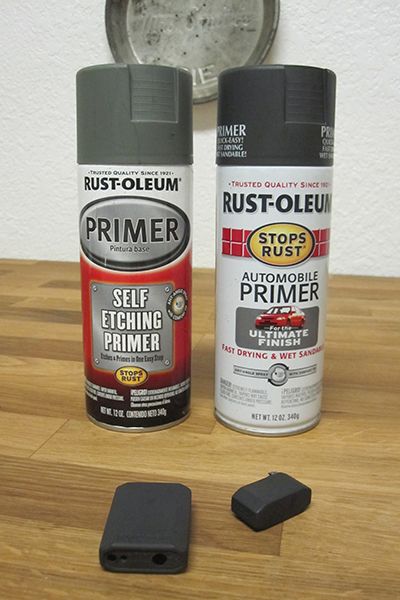
Time to prime and paint your JetLite! I suggest two types of primer: Rustoleum Self-Etching primer and Rustoleum Automotive Primer.
My first mistake on this lighter was putting two coats of each primer on. It ended up being too thick in the end (too many coats of paint didn't help either), so I would suggest no more than one coat of each primer!
Before priming, make sure you clean the lighter to remove any oils on the surface. I simply used dish soap and water, and that seemed to work well.
The first coat of primer should be the self-etching primer. This will be a green finish and will be very course. That's alright, we're going to put automotive primer on top and smooth it out a little bit.
After the first coat of primer is dry apply a coat of the automotive primer for strength and a nice smooth finish. Make sure to shake this can really well, as I didn't shake it well enough and it left "cracks" in the new finish. I ended up stripping the lighter back down and starting over, so don't make the same mistake I did!
Here is the primed product and a shot of the types of primer:
Now choose your color and band and get ready to make this baby look gooooood!
If I can make another suggestion before you start spraying your lighter, it is to put TWO (2) coats of paint MAX! The most important thing is getting a good base of clear coat on the lighter, so you don't want to add too many layers underneath and create a clunky lighter that doesn't open and close smoothly and loses the crispness of the Ronson lettering.
Apply a coat a day at most so that the base coat has time to dry and really adhere to the primer.
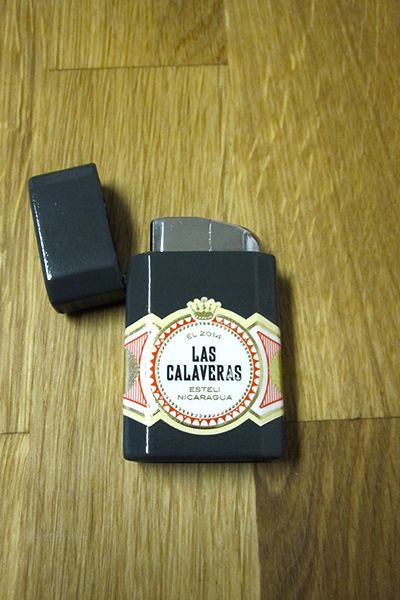
After applying the second coat and waiting another day, you should be ready to apply your band!
I simply use the tackiness of the paint to apply my band. I center it and make sure the back flaps line up, then I start pressing very firmly in the middle of the front and work my way to the back. Crease the corners with pressure when you get to them and push out any slack in your band as you work your way around. I didn't have to use spray adhesive on either lighter. Hold the band in place for a couple of minutes after it's positioned and you should be good to go.
Now let's clear coat this b!
Clear coat is really a pain in the you-know-what. If you spray too light of a coat, you'll get a "gritty" finish when it dries. If you spray too thick of a coat you'll get drops of dried clear coat in spots. You have to find that magical balance between the two to get a good coat.
Also, this is important as it may save you from making the same mistake as me: don't sand your clear coat before the next coat is applied! I did this with 2000 grit paper and actually rubbed some of the black lettering off of my cigar band not realizing that I was doing it! You'll see in the finished product pictures what I mean. The clear coat is thick, but sandpaper will target raised spots first, obviously, and in the end it may not be worth what little extra adherence you gain from sanding it with fine paper.
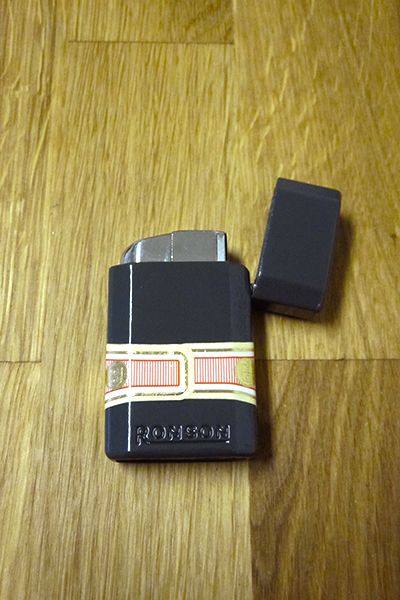
Once you have your coats of primer, paint, and clear coat (I would suggest 2-3 coats of clear), you're ready to put the lighter back together and admire your amazing craftsmanship!

This is just a simple how-to and I may have left out important steps as my A.D.D. doesn't let me focus on any one thing for this long.
Feel free to ask me any questions you may have and I'll see what I can do!
Before I wrap this up, I want to give a couple quick-hitters to summarize and help out my BOTLs and SOTLs who may try this for themselves!
- Only use ONE coat of each type of primer and TWO coats of paint maximum so that you aren't adding too many layers and thickness to the lighter. You'll be glad you did when you put it back together.
- I would suggest using Krylon Fusion Clear Coat over the Rustoleum Clear Enamel that I used for my second lighter. The Krylon has a harder finish and seems stronger. The Rustoleum has a softer feel to it, and I was actually able to press my thumbprint into the cap while pushing the rods back in on accident. That's a whole day and a half after applying the last coat.
- If you use Krylon you can probably get away with two coats of clear coat, but three would be my suggestion. With the Rustoleum I used three and the depth of the gloss is awesome.
- MAKE SURE YOU SHAKE YOUR CANS OF PAINT/PRIMER VERY WELL. I'm apparently an impatient moron and like to start projects over multiple times. Don't be like me.
- Don't tighten the screw on the bottom of the lighter too tight when you reassemble the whole lighter or your lid will not close properly. You may rub the paint a little bit, also, if you tighten it down too much. Just tighten it until you get some resistance and you're good to go!
- Don't get paint stripper on your hands. Or human stripper for that matter. Both can leave a painful burning on your skin. The paint stripper does for sure, I know first hand.
I'm sure I'll add to this as I remember some more stupid stuff I did, but for now I leave you with this!
This is dedicated to SeanTheEvans. He also did some testing on the human-stripper-skin-burning-issue and found that doing the limbo under a stripper gives you pink-eye, but the burning sensation is exclusive to hookers, not strippers. Big difference. So thank him for his time and devotion to this experiment next time you talk to him!
Disclaimer: the above statement in it's entirety may or may not be loosely based on literally no factual information.