What's new

Wine Cooler 101

twenty5

BoM 11/09, 4/10 BoY '10
Rating - 100%
343   0   0
Joined
Mar 12, 2009
Messages
5,950
Location
NEPA
Thanks to FunkeJJ (bombed me with a wine cooler!) I now get to move out of my coolidor into a wineador! I figure I might as well do a little how-to as I do the conversion to help people that have or will have the same questions I had.

First, you are going to have to decided on a wine cooler. The most popular manufactures used in wineadors are Vinotemp (http://vinotemp.com/ ), Edgestar (http://edgestar.com/ ) and Avanti (http://www.avantiproducts.com/ ). All three companies make comparable wine coolers in several different sizes. When choosing, the most important option is cooling type; standard (compressor type, think refrigerator or freezer) or thermoelectric, the latter being the choice of cigar enthusiasts. Normal refrigerated units will actually draw the moisture out of your cigars, thermoelectric units prevent this from happening. The most popular size cooler seems to be the 28 bottle unit although they range in size from small 12 units up to units that hold several hundred.

For this project, I have the Avanti 28 bottle unit (model #: EWC280B) thanks to FunkeJJ.
CIMG5091.jpg
Exterior Pic


CIMG5092.jpg
Interior Pic


CIMG5093.jpg
Shelves out


CIMG5094.jpg
Temp Control (Low - High)


CIMG5096.jpg
Drain hole (S-type drain)


CIMG5097.jpg
Rear of unit


CIMG5099.jpg
Drain hole / Drain pan


The first thing that you should do is to clean the cooler up a bit. A solution of warm water and a small amount of a mild soap should do the trick. Mine was used when I got it so there was no strong plastic smell, just a little dusty. If you get one brand new and it has a slight smell to it, just leave the door on it open for a couple of days.


The next step is not exactly necessary but it is a good option to think about when planning your build. As you can see, the only real temperature settings on this are cold or colder, there is no definitive temperature settings (65F etc.). Because of this, I decided to get an external temperature controller. An ETC basically allows power to flow to something (wine cooler) when a certain set point is reached. After doing the research I would recommend them to anyone that has a wine cooler for 2 main reasons. First of all, that is what they were designed to do, they are exact. Set it to turn on at 70 degrees and it turns on at 70. Set it to turn off at 65 and it does just that. Easy. The other reason is most wine coolers run 24/7/365, imagine the power you are saving by it turning on just to cool it to a set point.


After looking into different manufactures and hearing different recommendations I decided to go with a Ranco unit ( http://www.rancoetc.com ) more specifically this one: prewired.


CIMG5106.jpg
ETC (Gray wire - temp sensor, Green wires - power in / power out)


CIMG5107.jpg
ETC Control box


When looking at my options of how to run wiring etc. the most sensible way, I decided, was through the drain hole..
 

twenty5

BoM 11/09, 4/10 BoY '10
Rating - 100%
343   0   0
Joined
Mar 12, 2009
Messages
5,950
Location
NEPA
Being that the drain hole does not actually come straight through the unit, the only way for me to get the sensor wire from the ETC into the cooler I had to drill through the rear of the drain hole.

View attachment 6703

To do this, I first used a drill bit as close to the size hole that was on the rear. You are drilling through a plastic tube, insulation and the interior plastic wall of the cooler so do not put too much force into this, let the drill do the work or you will end up putting a huge hole through the plastic on the inside.

View attachment SK1.pdf
Section at drain plug

View attachment SK2.pdf
Hole drilled through unit

After the hole is drilled through, you need to plug the top portion of the hole. For this I placed a threaded rod that had the same diameter through the hole to keep it open. I used an odorless caulk to fill the top potion of the hole. For a less permanent solution, maybe plumbers putty of tape can be used.

View attachment SK3.pdf

CIMG5101.jpg
Crappy pic of caulked hole and threaded rod "plug"

I then waited a day or so for the caulk to dry and removed the threaded rod. This left me a perfect 3/16" +/- hole to run some wiring through. As you can see by the pics, I drilled at a slight angle and therefor did not come out in the exact center of the unit. This annoyed me a bit so make sure to drill as straight as possible.

At first I wanted to run some kind of fan system and I still may but I have not found anything that really makes me happy. There are several different options but none have really fit into my budget at this time. The only wire run through the cooler as of now is the ETC sensor wire. When mounting, I figured that the hottest place will be at the top of the unit so I ran the wire around the fan and mounted it using some cable tie mounts ( mounts ) and some zip ties.

CIMG5160.jpg
ETC wire mounted

CIMG5161.jpg
ETC wire at hole

CIMG5162.jpg
ETC wire sensor at top

The wiring on the back, esp with the amount of extra wire you will have from the ETC needs to be zip tied up to prevent a complete tangled mess. I decided to also use a small surge strip in the case that I decided to add lighting or fans in the future.

This may be a little over-kill or neatness to the extreme but it makes me happy... lol

CIMG5166.jpg
Rear of unit

CIMG5167.jpg
ETC wiring close up

The ETC and the power strip are mounted using some industrial strength Velcro and the wiring is attached using the cable tie mounts and some zip ties.

Once the wiring was finished I thought about how to seal the hole and wanted something that would be temporary if I decided to add more wire but durable in the case that it becomes permanent.

I used a double sided foam tape to fill the area around the wire. Basically I cut a narrow strip and shoved it in around the wire as best as I could. You want the foam tape to be inside the metal rear panel, this is acting as a plug and it also will prevent the wire from fraying from the metal edges of the hole. I then covered the hole with a metal repair tape and then a layer of electrical tape to make sure it was air tight. I tried to take a pic but due to the tape being black, you actually cant see it at all. On the inside I just used electrical tape.

After some intense humidification research I decided to go with shilala beads (these can be found with a google search) on the floor and top of the unit and heartfelt ( http://www.heartfeltindustries.com/ ) 65% beads in the trays. Shilala beads are a clay based bead that can keep up with opening and closing the door of a wine cooler much better (IMO) than regular 65% beads can. They are also little to no maintenance and I they have been holding a rock solid 65% in my humi for the past week. I have 1 1/2 lbs of them and they have no problem at all bouncing the humidity back up to 65 after I open the door. The heartfelt beads will be used in the trays (the trays I ordered have glass tops) to maintain a stable environment in each tray. Over-kill? Definitely. Expensive? Very.
1 1/2lbs shilala beads ( http://shilalabeads.com/products.asp ) - $75
1lb bulk bag of heartfelt beads - $32
I would rather have too many than not enough.
 
Last edited:

twenty5

BoM 11/09, 4/10 BoY '10
Rating - 100%
343   0   0
Joined
Mar 12, 2009
Messages
5,950
Location
NEPA
Being that my ETC will only turn the cooler on when the max temp is reached, without a fan of some sort I basically have zero circulation. When deciding to add a fan, I had to take my trays into consideration. With only a couple trays, you have the height needed to put in almost any type of fan, the most popular seems to be the oust fan. My cooler will be completely maxed out with Chasden trays when finished so space is at a minimum.

With a tray in, I figured out that you have about 30mm along the entire back wall. Perfect place for a couple small fans. After some looking around I found 30mm fans ( http://www.newegg.com/Product/Product.aspx?Item=N82E16835119047 ) and decided to run 4, 2 facing up and 2 facing down. To power them I used an AC to 12v adapter ( http://www.coolerguys.com/840556029977.html ).

To mount them, I cut some strips of aluminum and drilled some holes for the fans and screws. I did not make a how to for this, it was difficult, I had to re-do them several times and I am sure there is a better way. lol. They came out great but I am 100% I would do them differently next time.

I did not want the fans running all the time ( they are quiet but due to all the metal pieces a slight vibration can be heard ) so I bought a light timer ( [ame="http://www.amazon.com/Indoor-Electronic-Programmable-Plug-Wattage/dp/B001D9339W/ref=sr_1_1?ie=UTF8&s=electronics&qid=1270077701&sr=8-1"]Amazon.com: Indoor Electronic Programmable Plug-In Timer with Front LCD (High Wattage): Electronics[/ame] ) that is capable of 20 on/off cycles. Not the easiest thing to program but it has been working like a charm. The fans turn on 20 times a day for 5 minutes.

Here is a pick of the front of the fan box mounted on the back wall ( about half way up )
CIMG5284.jpg
Another pic of the fan box, taken from above to show the 4 fans, the outer ones in one direction the inner in the other.
CIMG5288.jpg
Another pic of my handy work
CIMG5289.jpg
This pic shows the power supply and the timer mounted neatly on the rear of the unit.
CIMG5292.jpg

Hopefully I can show off some pics of my trays soon!

HOW TO REPLACE A BROKEN PELTIER UNIT:
[ame="http://www.botl.org/community/forums/showpost.php?p=735603&postcount=134"]BOTL Cigar Forums - Brothers of the Leaf - View Single Post - Wine Cooler 101[/ame]
 
Last edited:

twenty5

BoM 11/09, 4/10 BoY '10
Rating - 100%
343   0   0
Joined
Mar 12, 2009
Messages
5,950
Location
NEPA
Chasden.. I will update this tomorrow sometime, drawers wont be here for several weeks
 

Danilo

"The Target"
Rating - 100%
116   0   0
Joined
Mar 17, 2009
Messages
3,098
Chasden.. I will update this tomorrow sometime, drawers wont be here for several weeks

I'm thinking of picking up shelfs from him... and build drawers with them as the base... he makes shefs all the time, unlike the drawers that do take several weeks to be made in "group" style....
 

AlohaStyle

BoM Sept '12 & Aug '13
Rating - 100%
185   0   0
Joined
Aug 7, 2009
Messages
5,311
Location
WA
Thanks for posting this Justin, good idea. You will LOVE Chasden's drawers, I sure do!

If I can make a request (if you haven't already), can you touch on whether to plug the drain hole or not? Some people do and some people don't. Condensation build up inside the wine cooler is a major topic of discussion and it all falls on the drain plug. I plugged my drain and had no condensation issues... UNTIL I got my Chasden drawers and filled it up. Then I got some water build up on the bottom which took me a week or 2 to even notice it. So now that it's the winter time, I simply unplugged my wine cooler which is fine for now, but I have a decision to make when it gets warm again!

So what do I do with the drain and condensation? Hhhmmm....

btw, I have the Edgestar unit.
 

Jfire

BoM 9/9' 9/11' 8/12'
Rating - 100%
391   0   0
Joined
Sep 2, 2008
Messages
7,508
Location
Yorkville, IL
I will check again when I get home tomorrow but Im pretty sure I have never plugged mine. Against the norm but 65/65 all the time.
 

Boosted

War Eagle!!!
Rating - 100%
11   0   0
Joined
Sep 15, 2009
Messages
390
Location
Birmingham, AL
Thank you for this thread 25. I really needed the info on this, but I'm just too lazy to search and find what has been done. Thanks
 

WaxingMoon

Humidor Man
Rating - 0%
0   0   0
Joined
Jan 16, 2010
Messages
11
Location
In my woodshop - Flowery Branch, GA
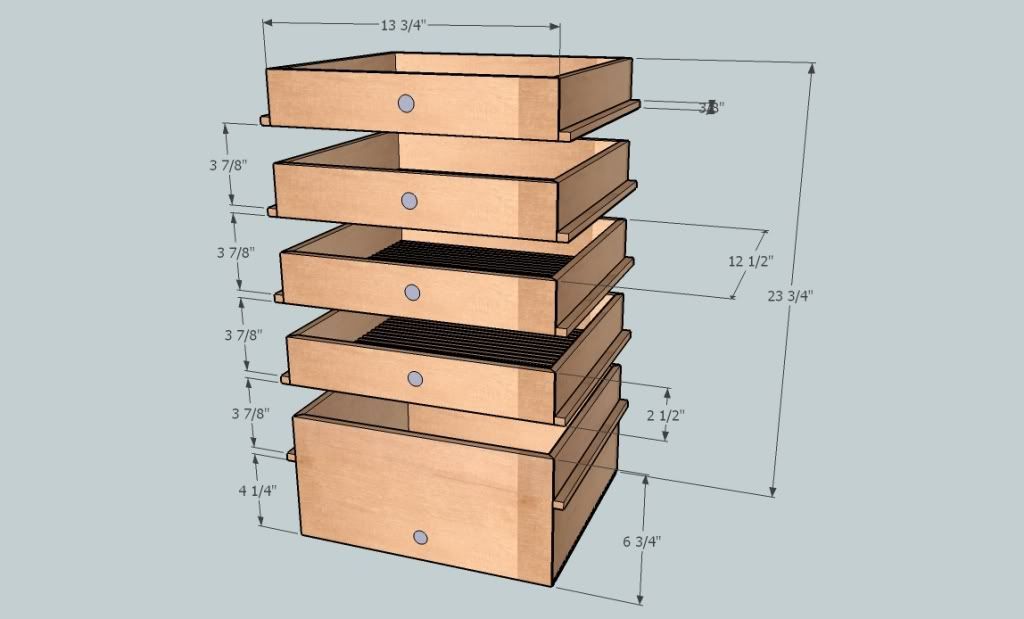
I am in the process of making a set of trays for a BOTL - here's the plans that I drew up for him... he just approved them today..... shouldn't take too long to get 'em done.... They're going in a Newair 280


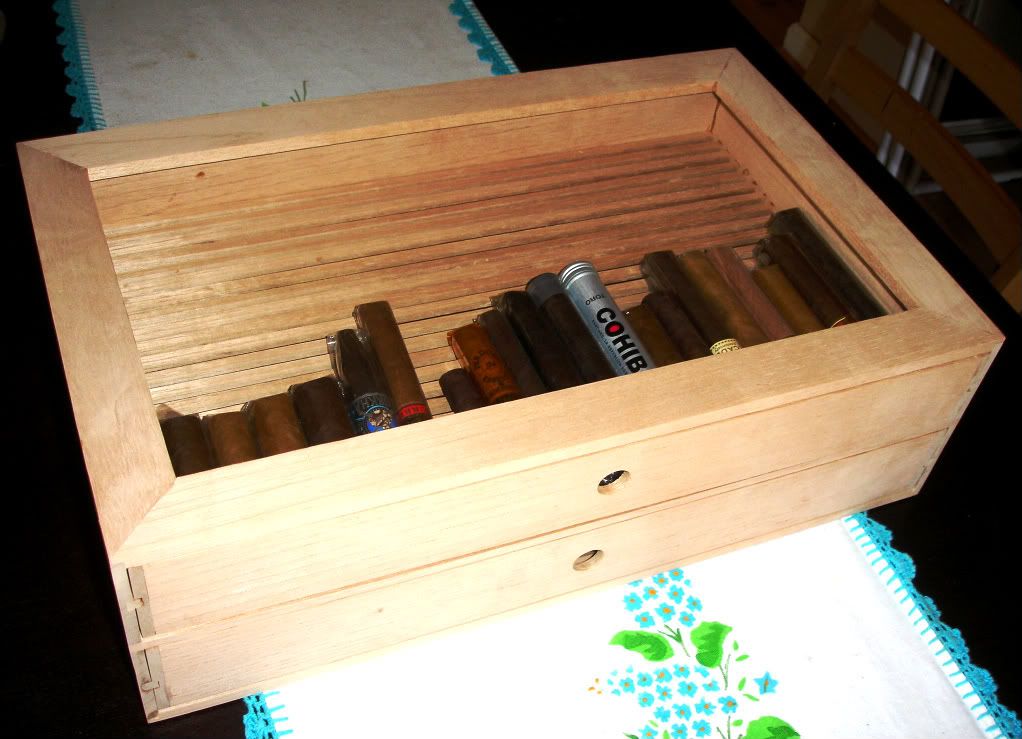
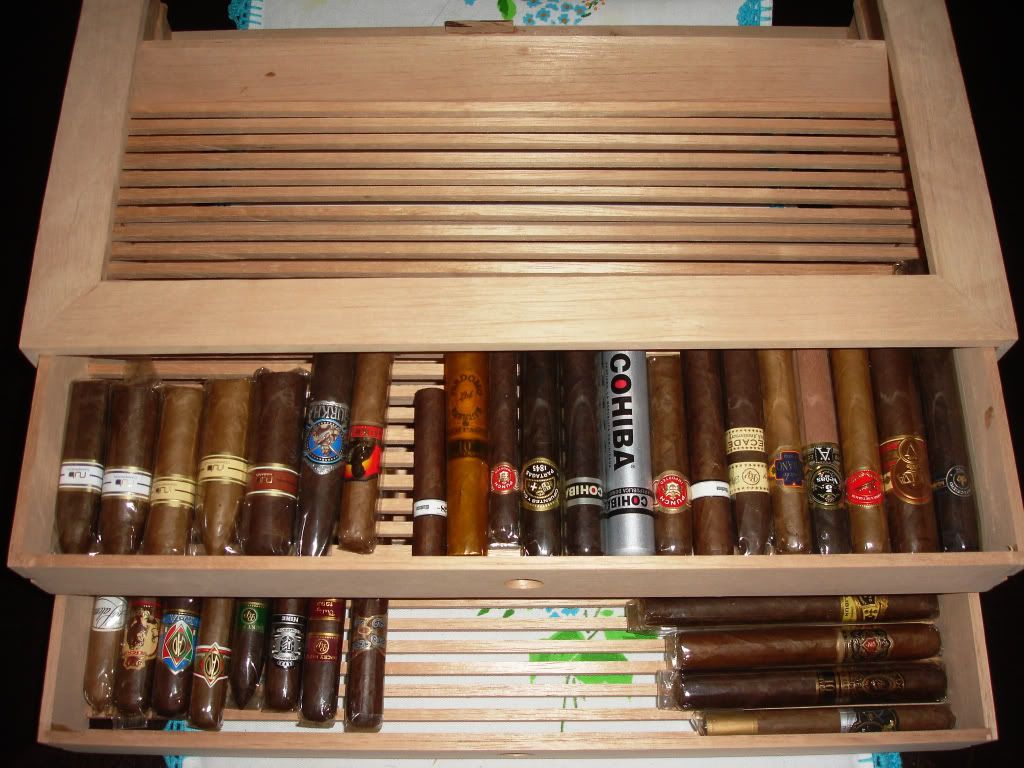
Also, I made up a set of drawers for a BOTL that wanted to fill the void on the bottom of his Tampa Cabinet humidor.... the space they always leave for boxes...


I'd be more than happy to work with anybody who needs some...
 

twenty5

BoM 11/09, 4/10 BoY '10
Rating - 100%
343   0   0
Joined
Mar 12, 2009
Messages
5,950
Location
NEPA
Why would you leave so much room between drawers? A 1" gap between each? Seems like a waste of space, is there a reason for this?
 
Top