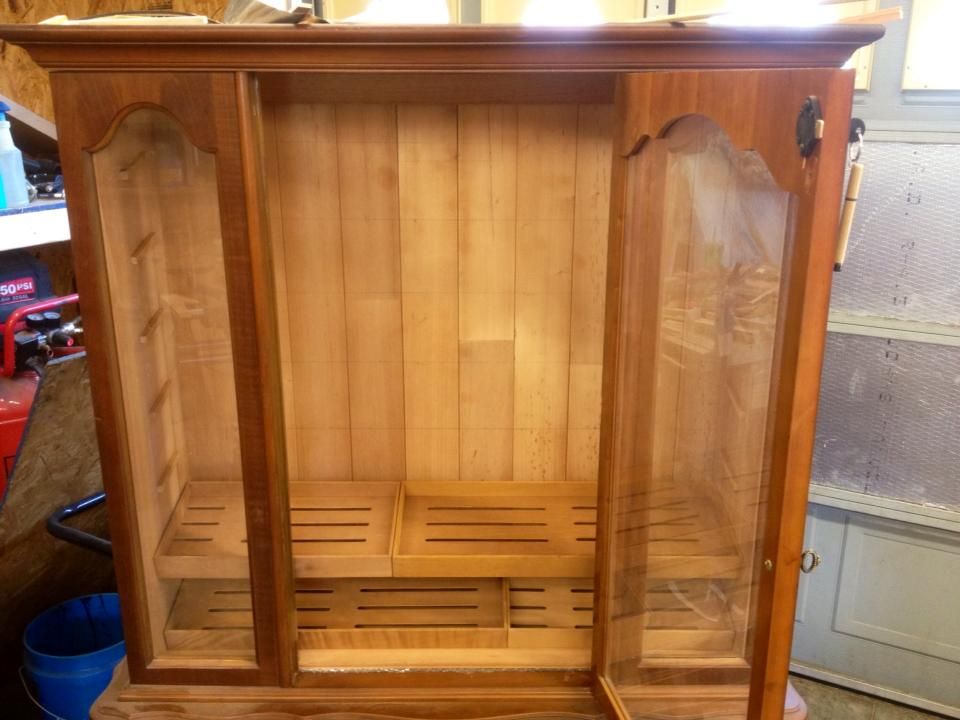
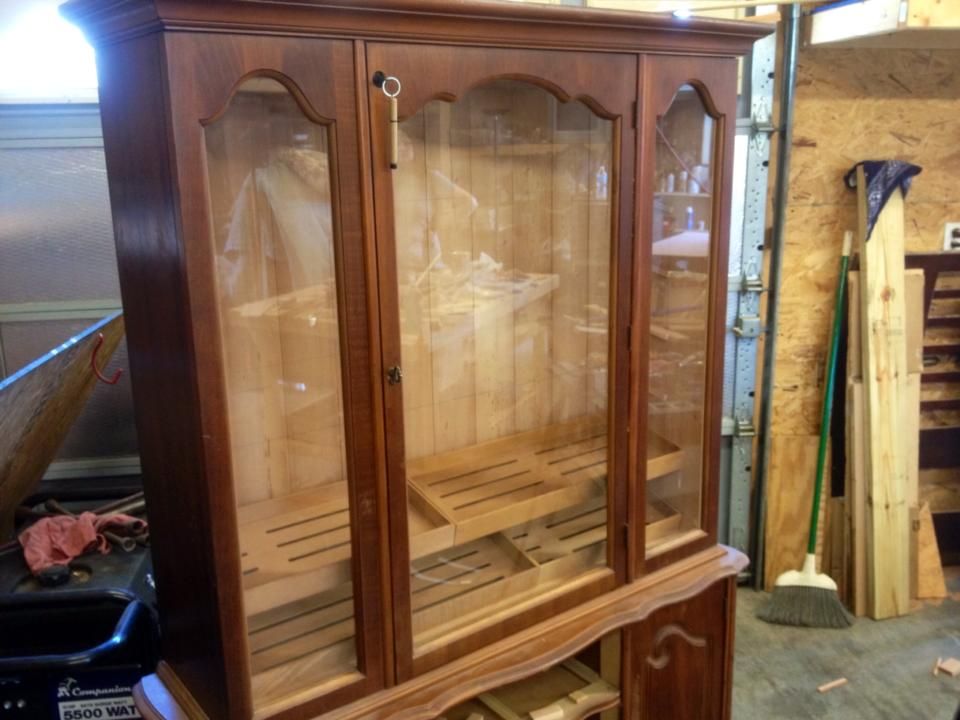
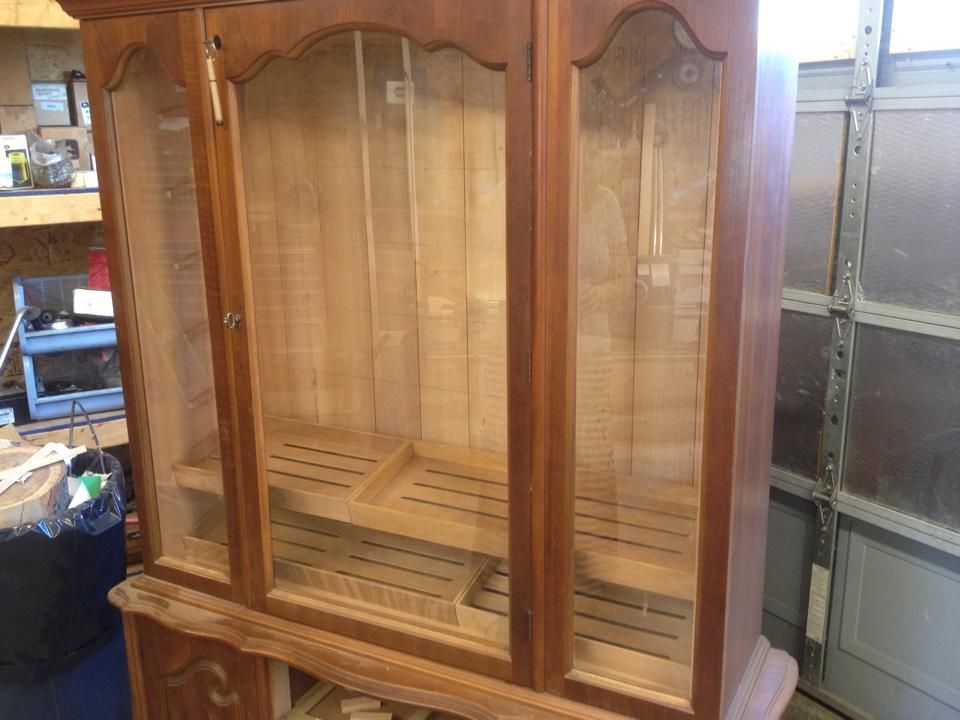
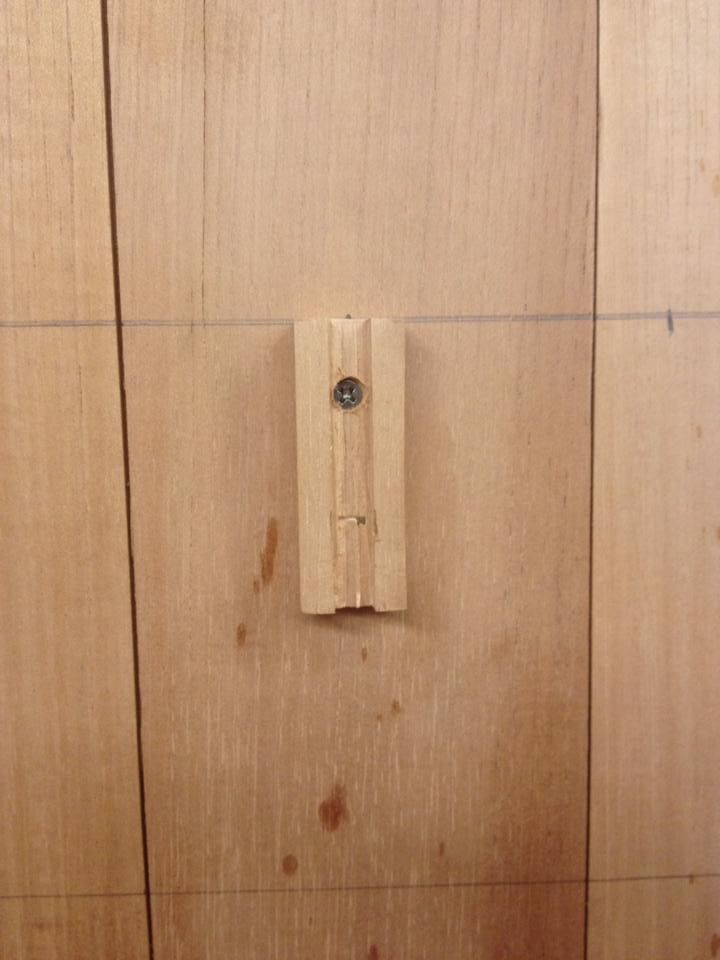
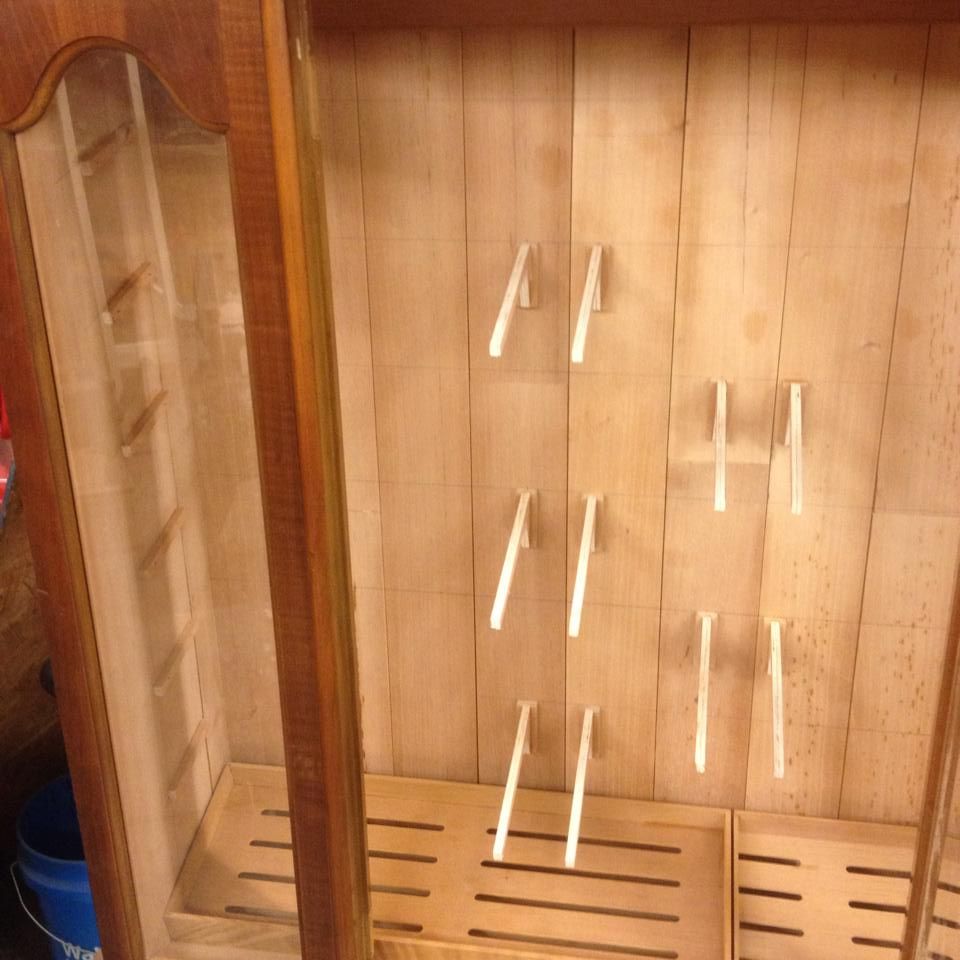
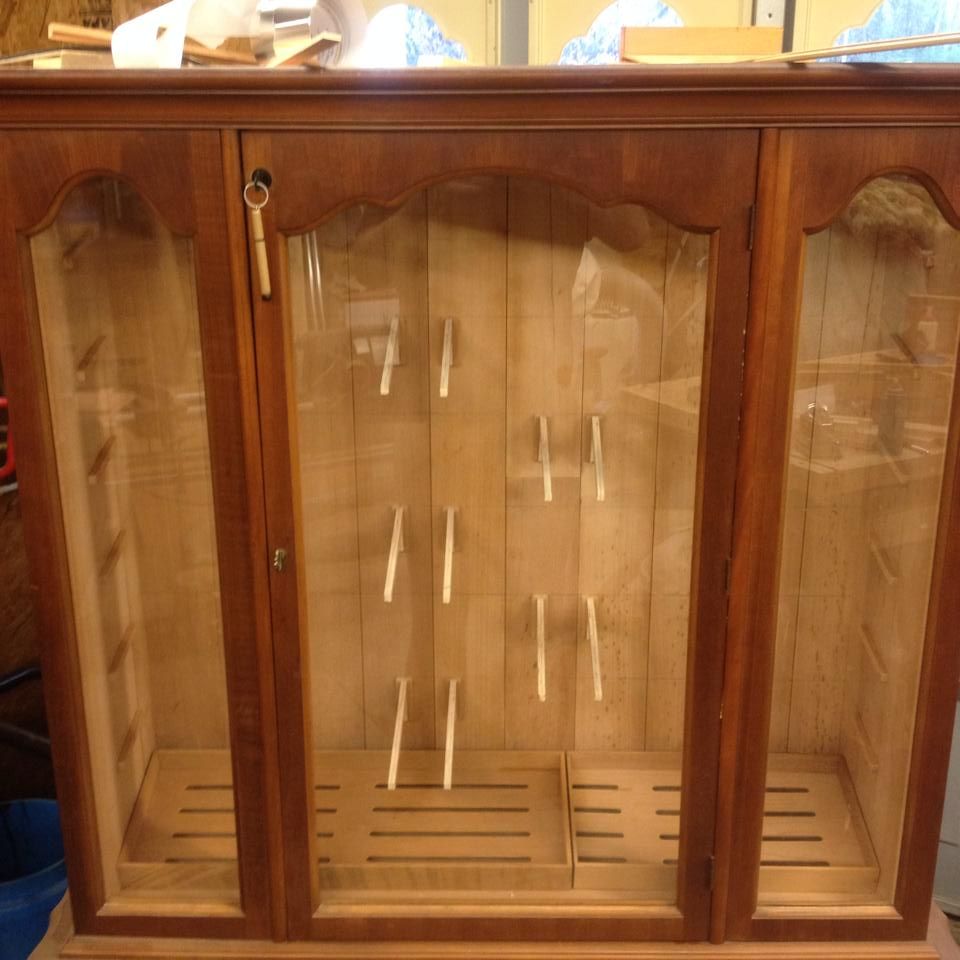
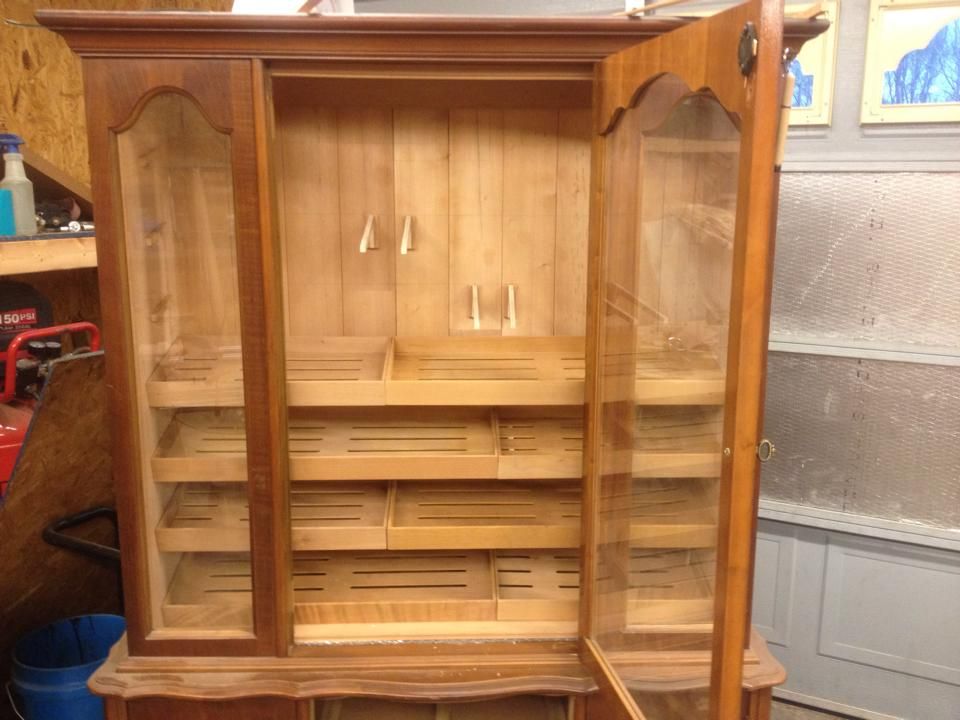
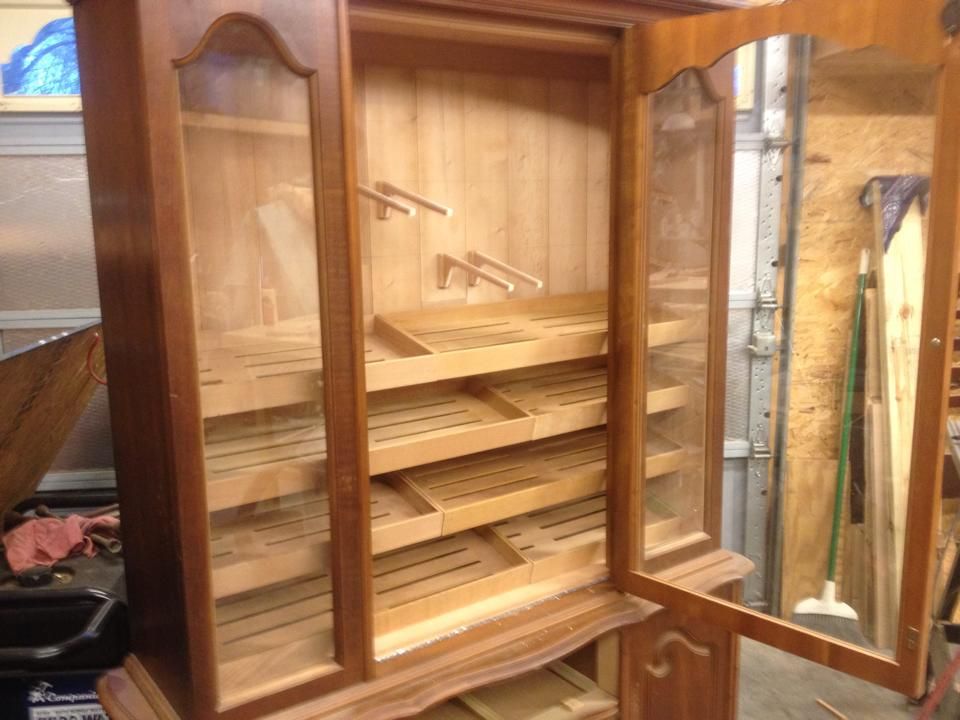
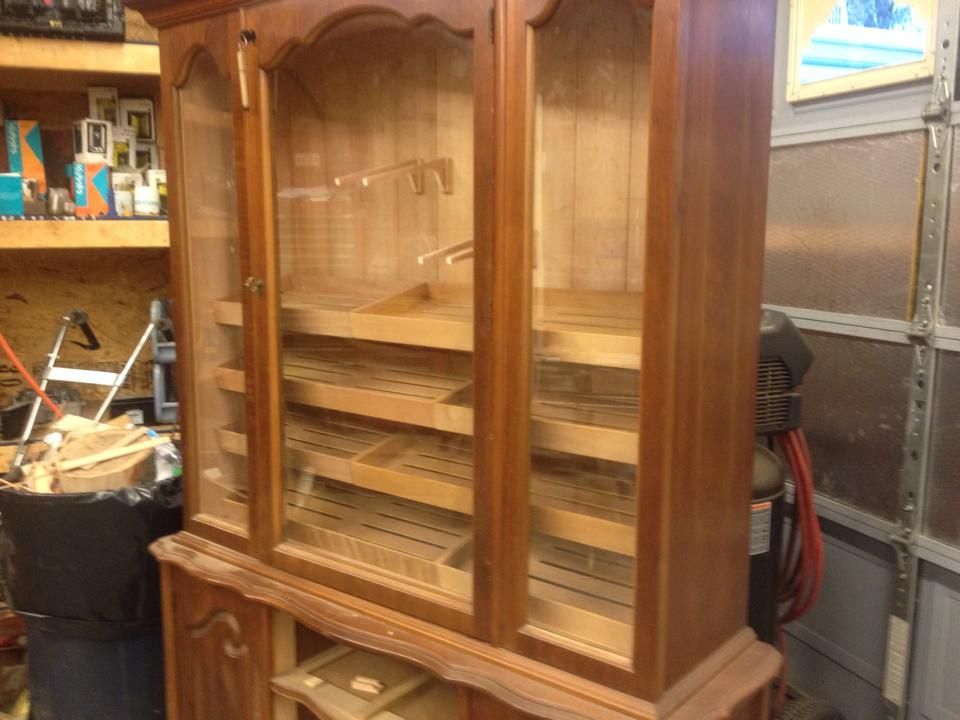
Step by step guide with pictures, as I take a Vintage Basset China Cabinet and convert it into a Humidor for my cigar collection. Plans are to seal and line inside of cabinet with Impervious Reflectix Insulation for help in maintaining temperature and sealing followed by 1/2" tongue & groove Spanish Cedar lumber. Shelving will also be made out of Spanish Cedar. A Habitat Monitor will be added to automatically control and maintain humidity at a constant 70% with two humidifiers. One in the top of the cabinet and one in the bottom, as well, as maintaining the inside cabinet temperature at a constant 70 degrees via a Thermoelectric cooling unit and a heating rod installed within' the cabinet. The Habitat Monitor also includes an alarm for low water, low/high humidity and temperature + or -2 the set range. It will also be hooked directly to my Home Security System for theft and fire protection. Last thing that will be installed will be LED lighting throughout the interior of the cabinet. Gonna' be a long Summer project, so keep checking back often for new phases to be completed!
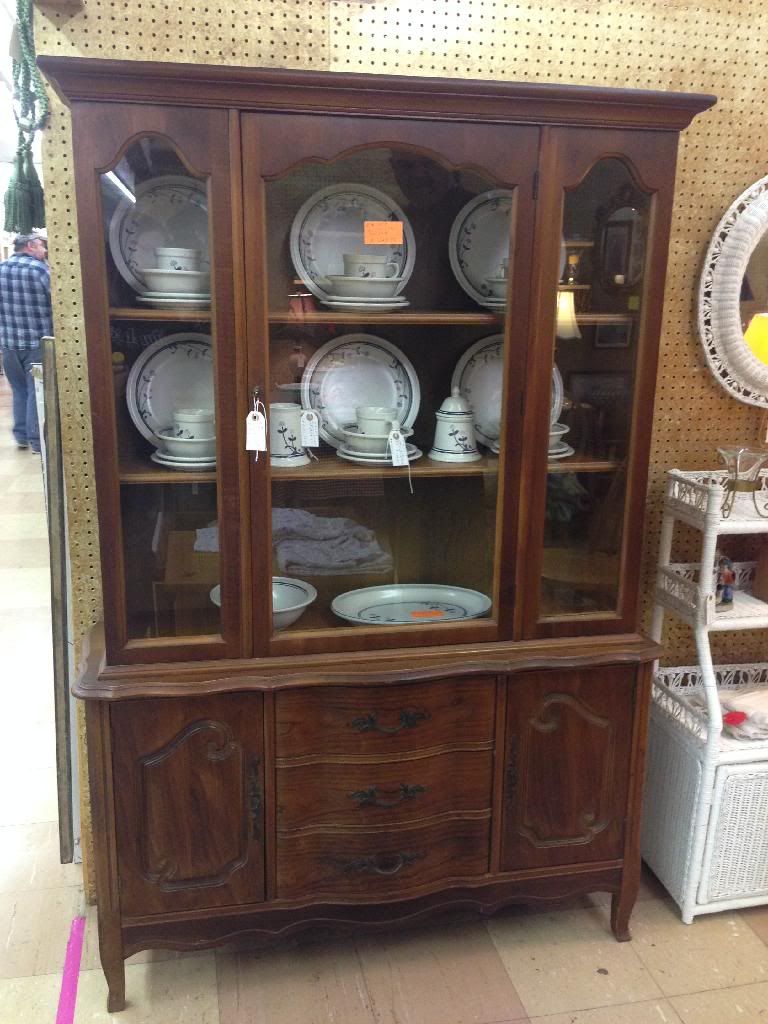
#1 Began with a Vintage (Late 50's early 60's) Basset China Cabinet I picked up at the local Peddlers Mall.
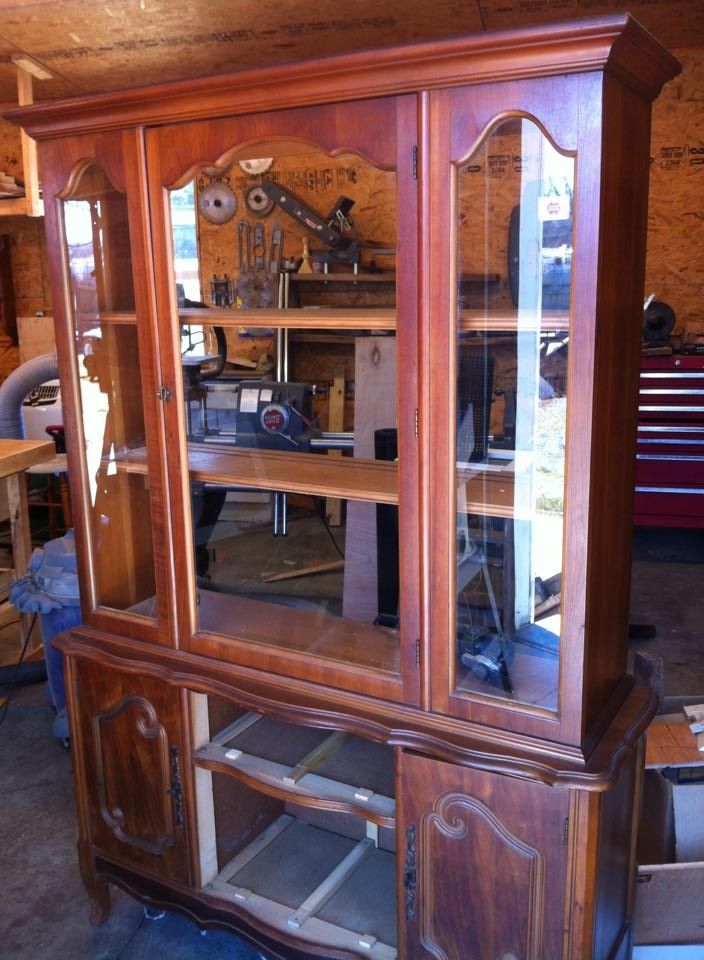
#2 Back off getting ready to remove factory shelves.
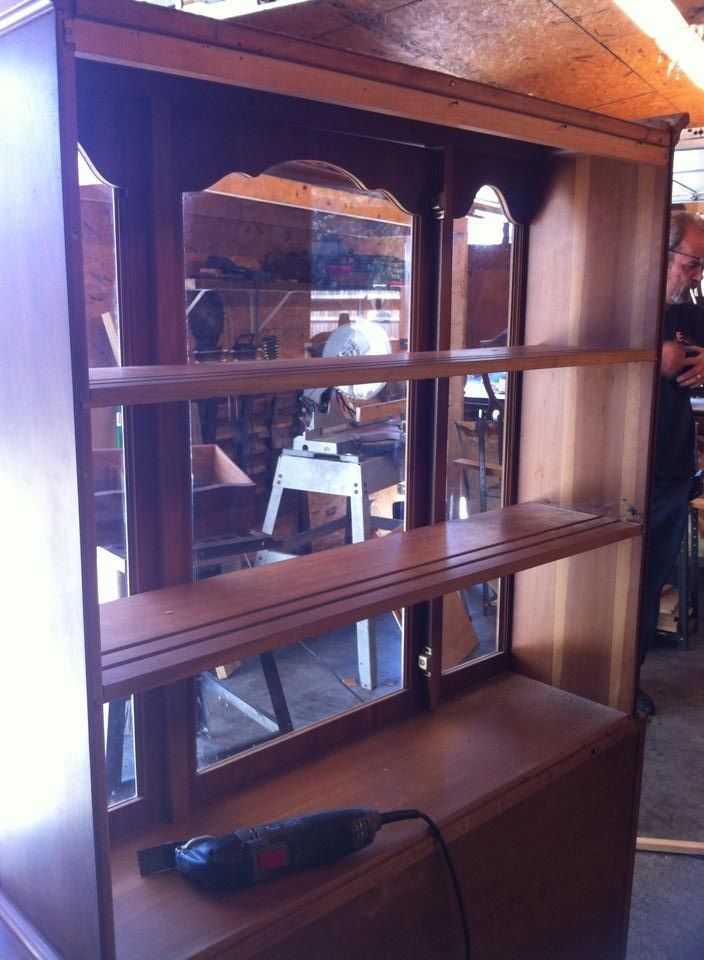
#3 Rear view of factory shelves to be removed.
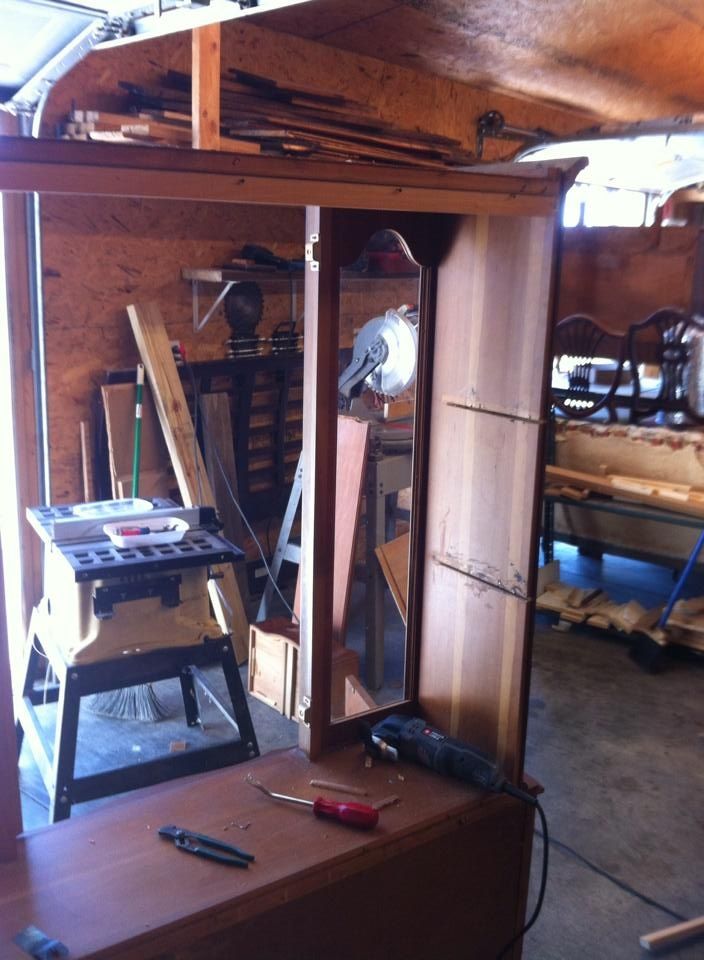
#4 Shelves removed.
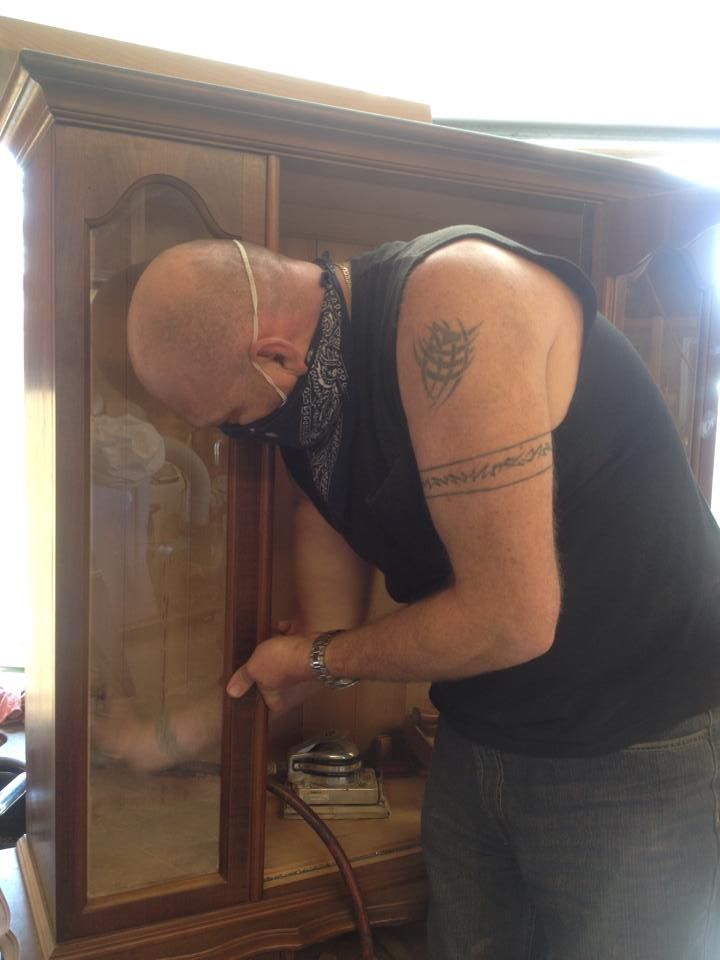
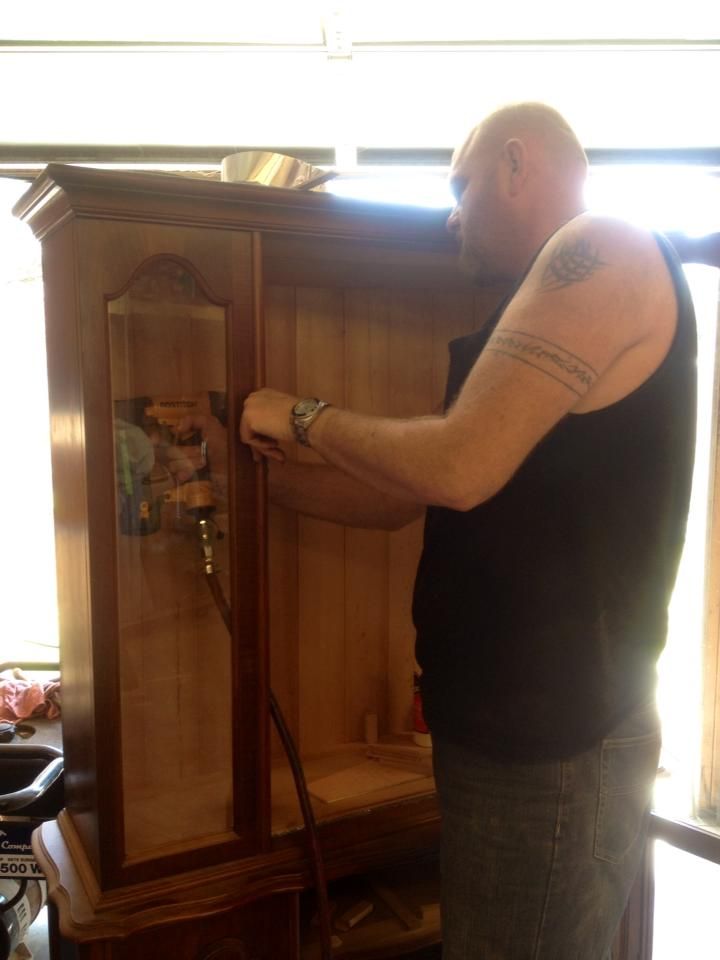
#5 Inside front being sanded, as it will receive four coats of Polly to seal the wood. This will be the only interior wall that will not be sealed with insulation and Spanish Cedar.
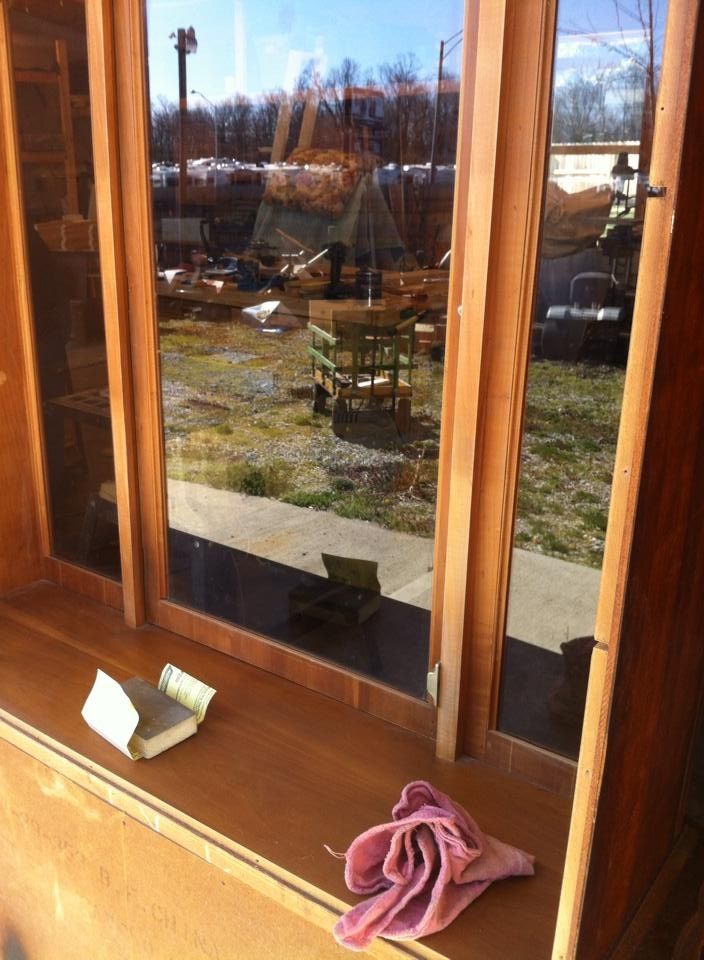
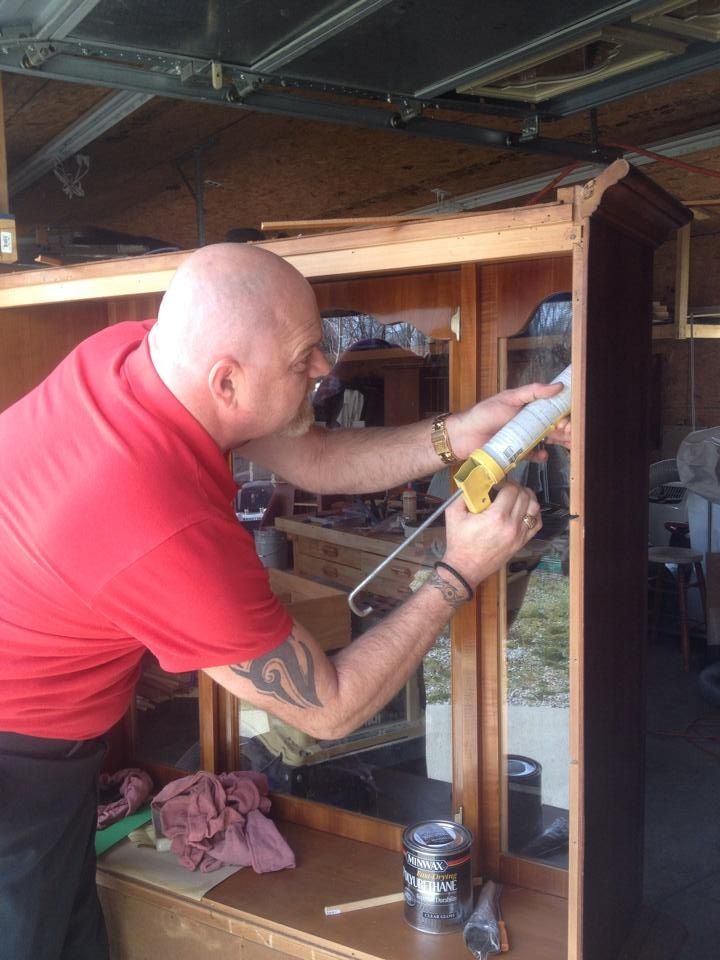
#6 Using GE II 100% Silicone to seal all the cracks and seams. Very low VOC 28g/L, with very low odor and zero smell after cured.
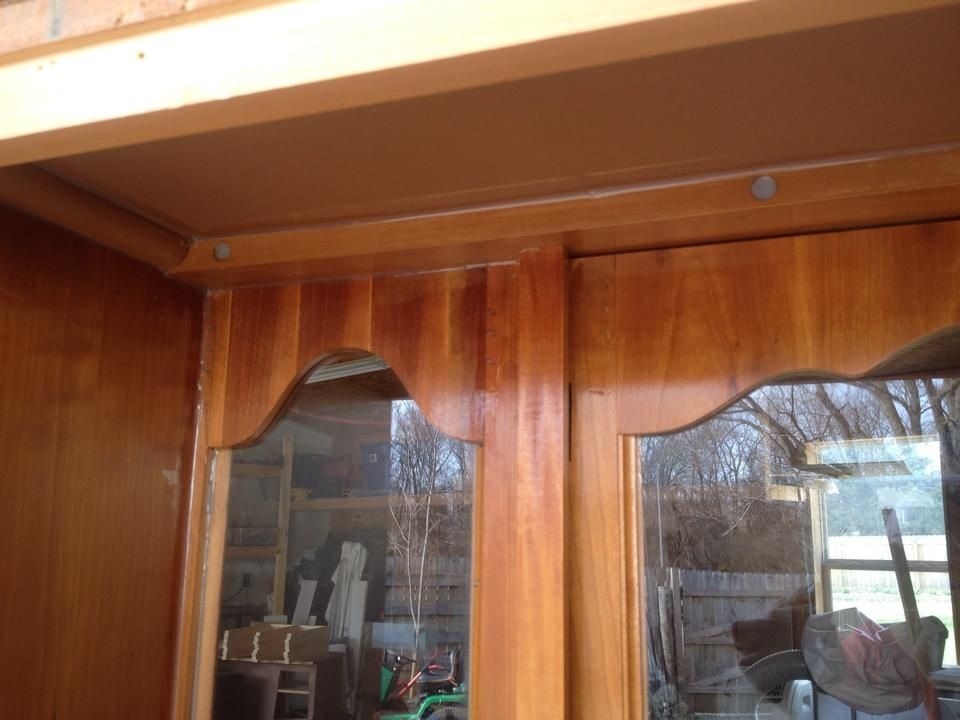
#7 Inside front Polly'd with corners and glass sealed with Silicone.
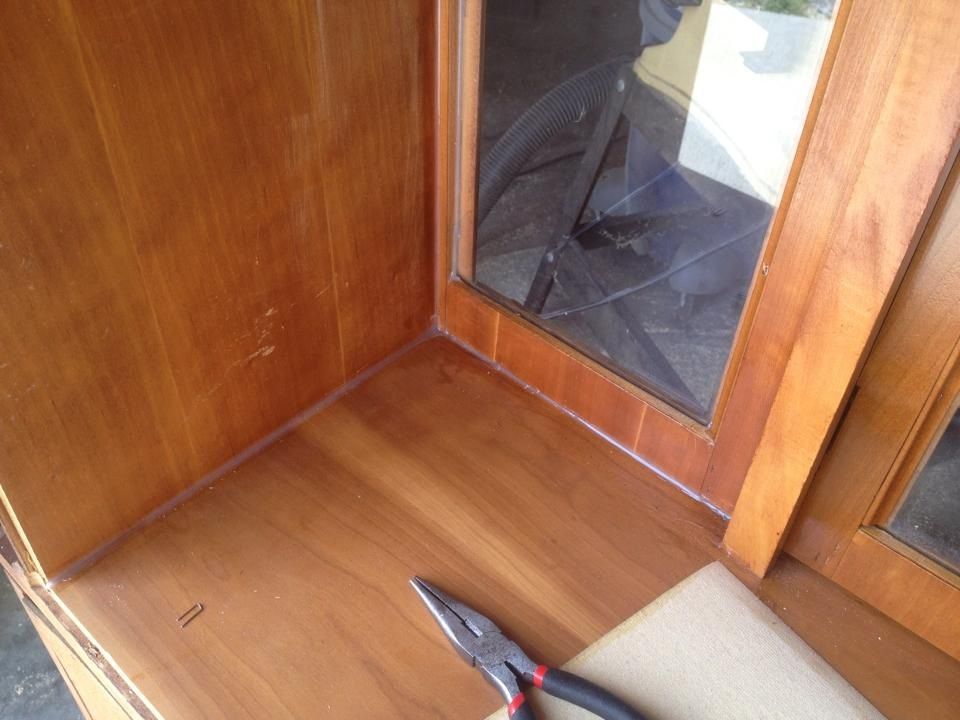
#8 All cracks and corners sealed with silicone.
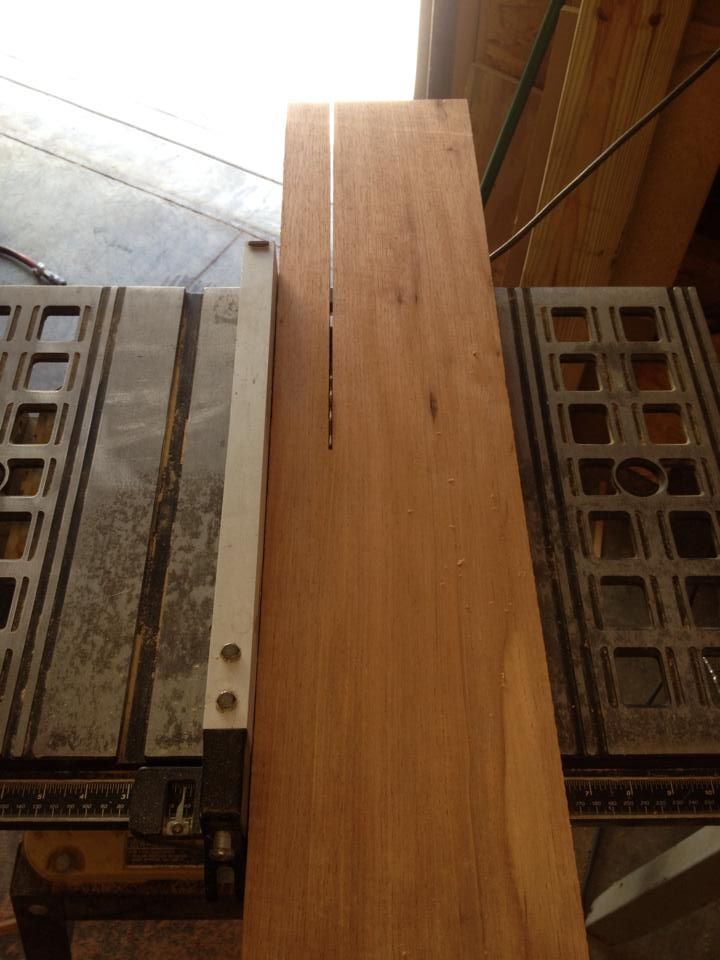
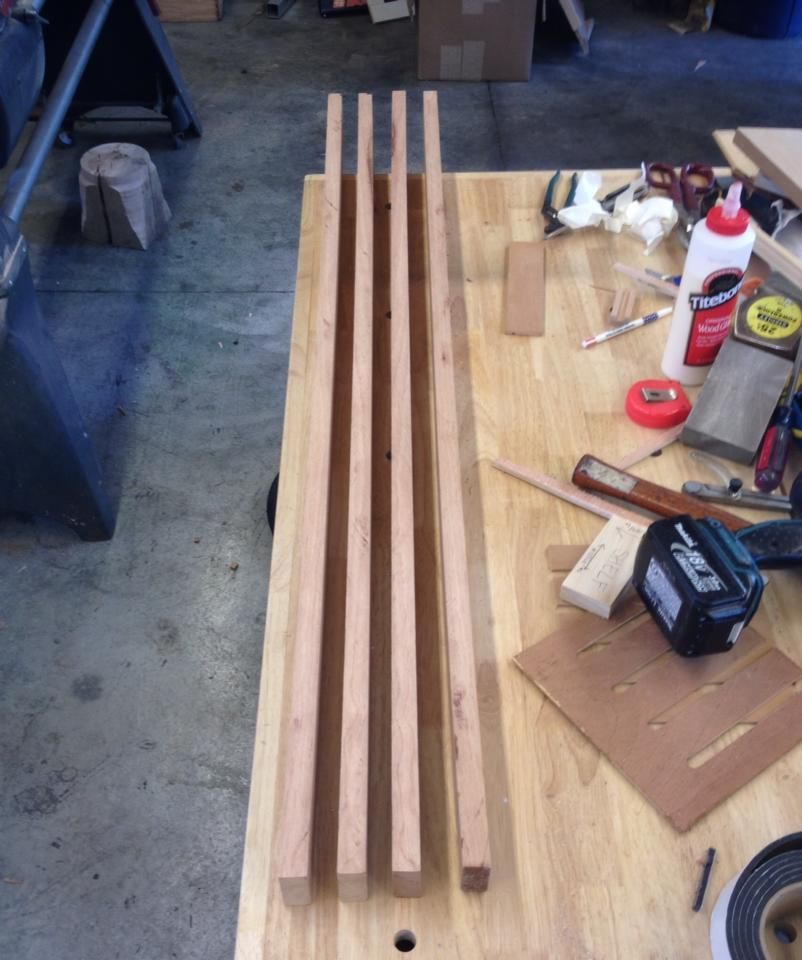
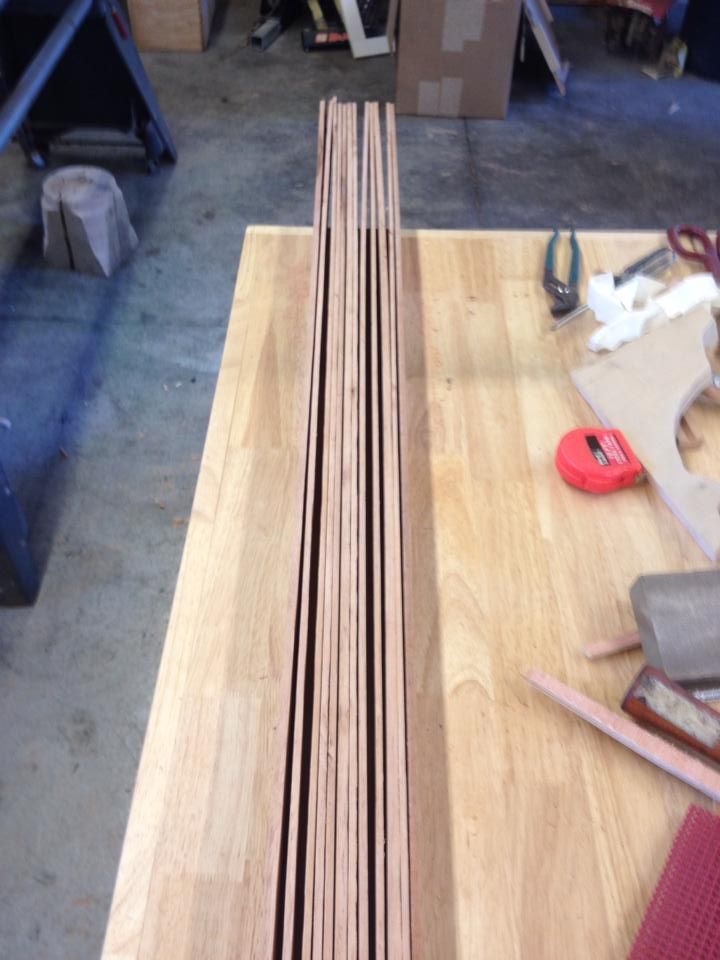
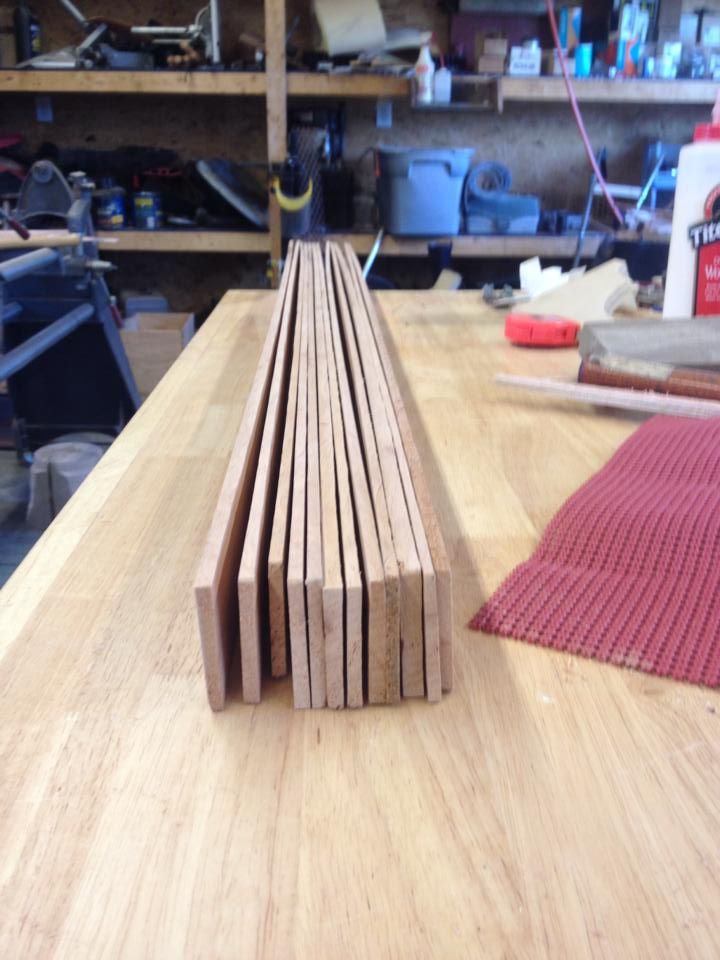
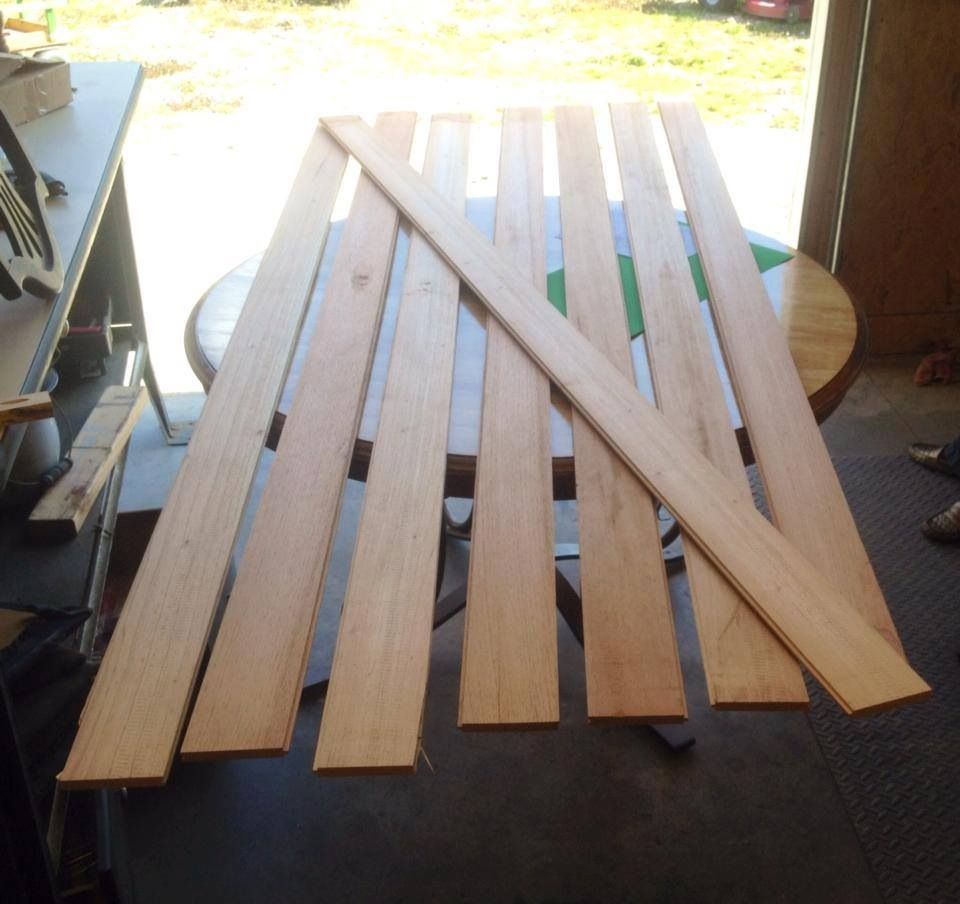
#9 Tongue & Groove Spanish Cedar Boards in today! 1/2"x4"x96" There was just barley enough wood here to complete the lining of the cabinet with nothing but scrapes left over!
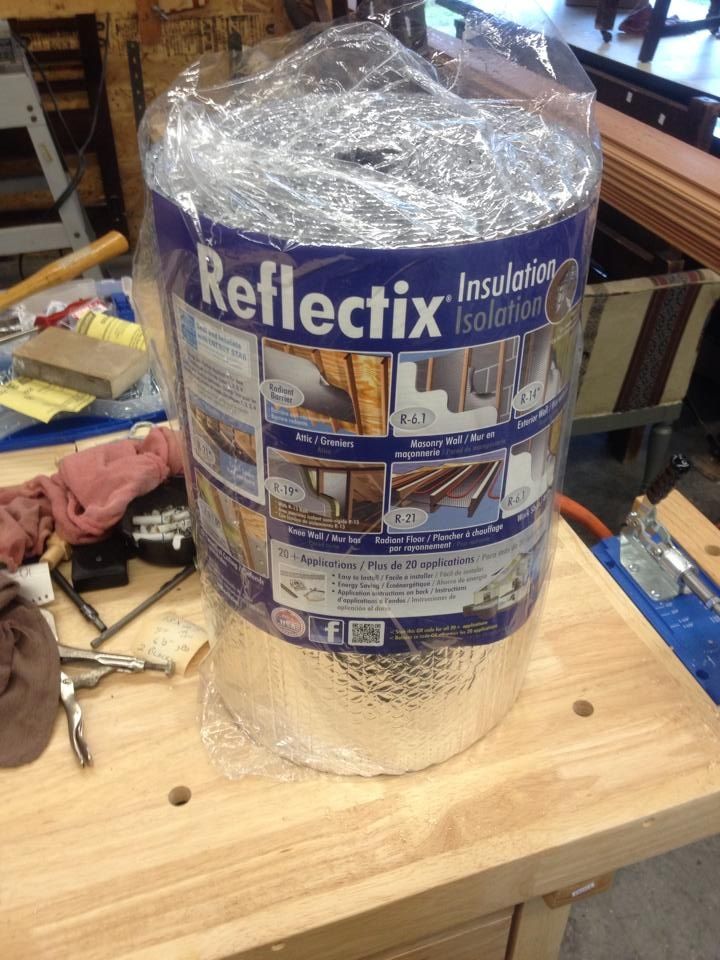
#10 Ready to start insulating the cabinet. Using Reflectix roll insulation. Has a great R rating at 1.1 for the way I am using it. Add the inside and outside wood for a total cabinet R-Value of around d a 3-3.5. and is impervious to water and moisture for a excellent seal. All seams sealed with aluminum Duct Work Tape. All edges of tape then sealed with a thin coat of silicone to insure a airtight seal.
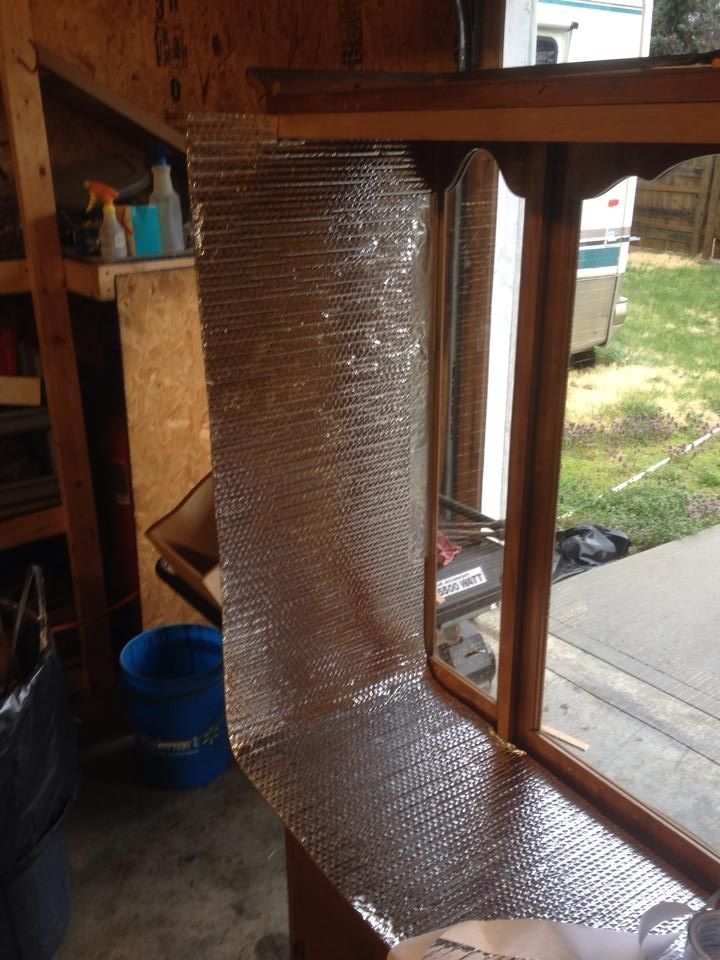
#11 One continuous run around the inner walls of the cabinet with only one seam.
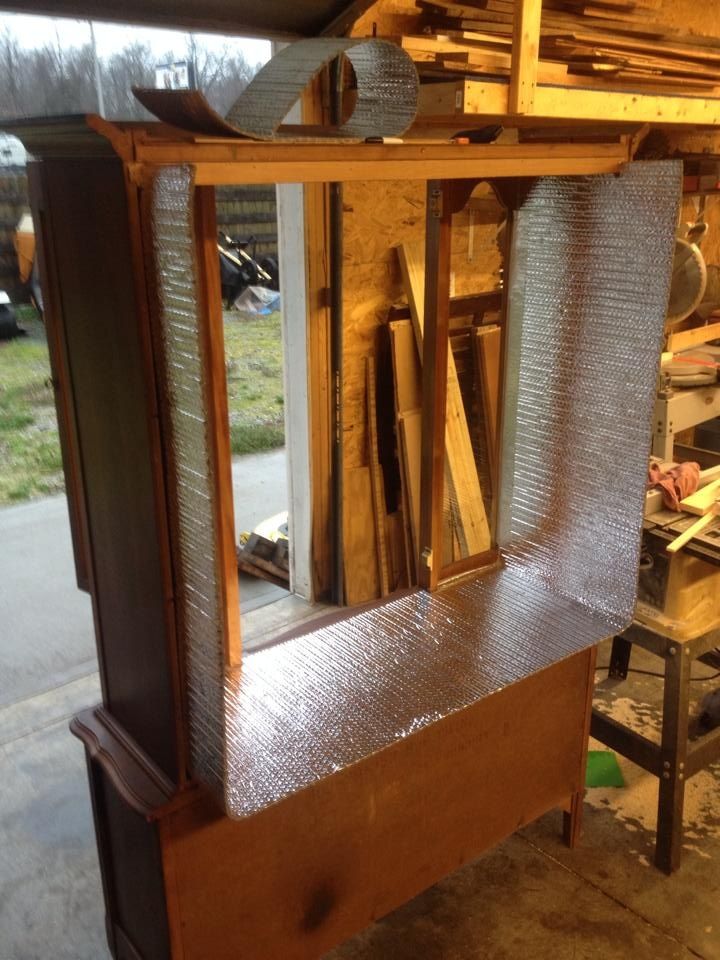
#12 Folding the excess insulation inward.
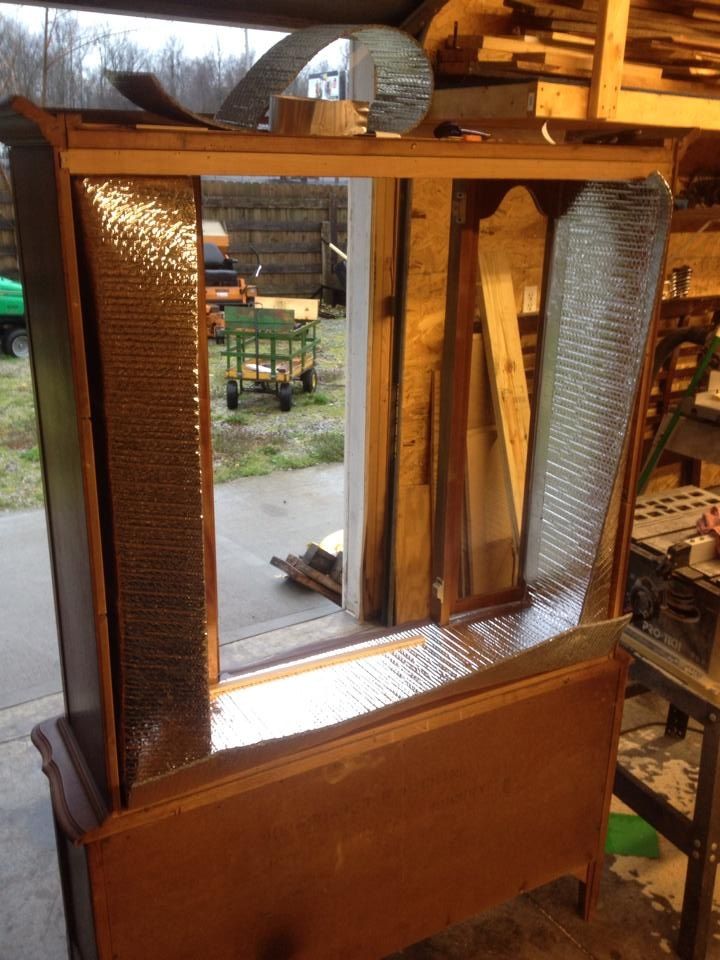
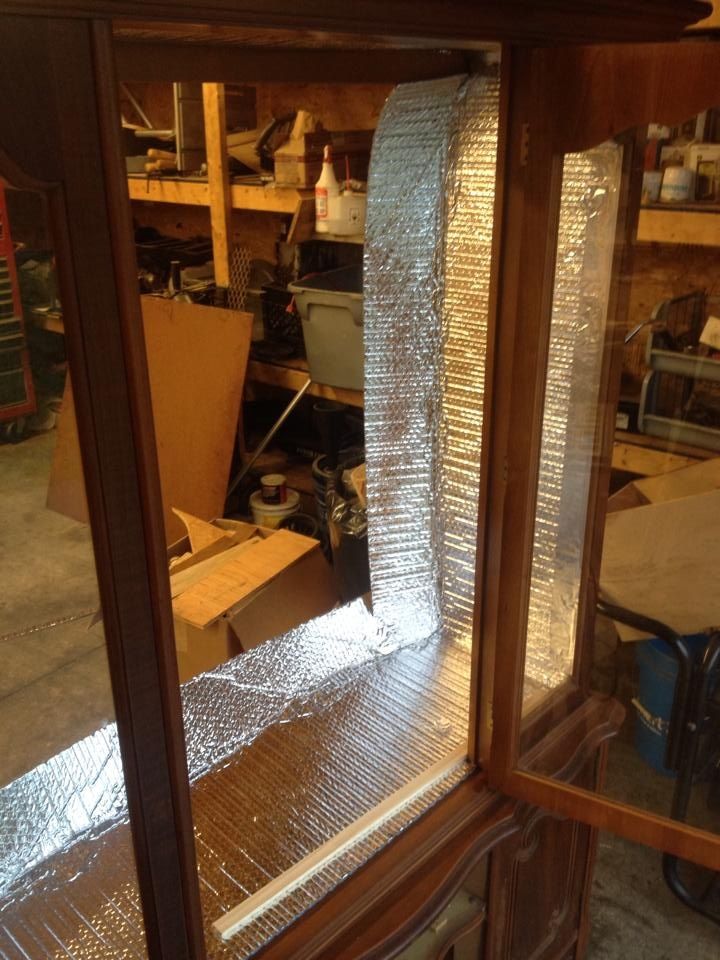
#13 Back of cabinet put back in place.
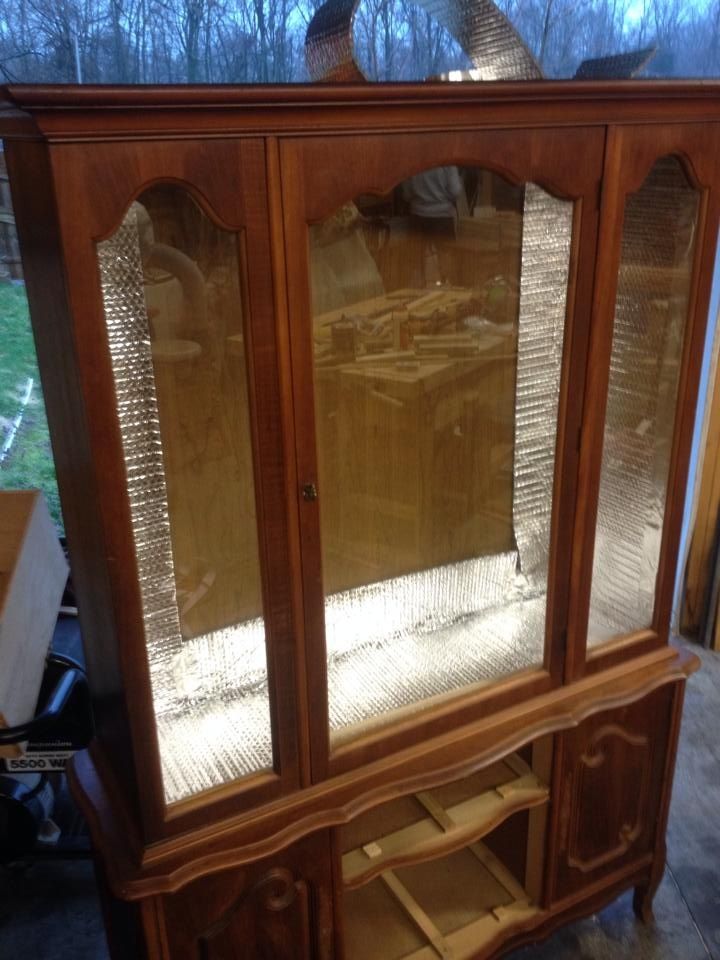
#14 Insulation placed in strips on back of cabinet. Took three strips t finish the covering.
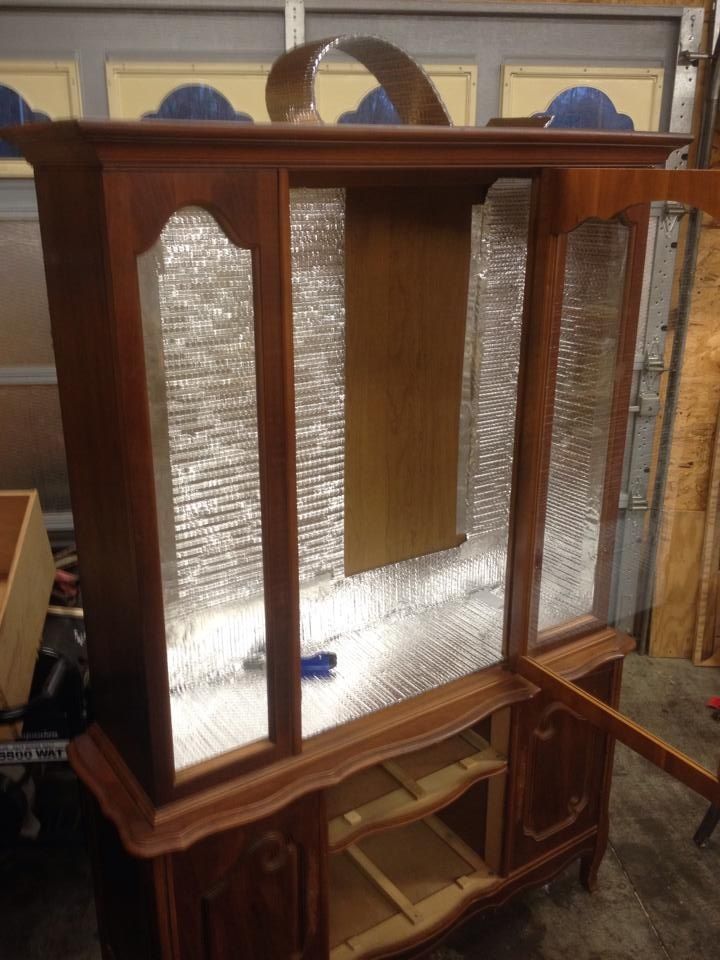
#15 Insulation job inside cabinet done and completely sealed from the original wood of the cabinet. All tape seams then sealed with a very thin skin layer of silicone to ensure no leaks.
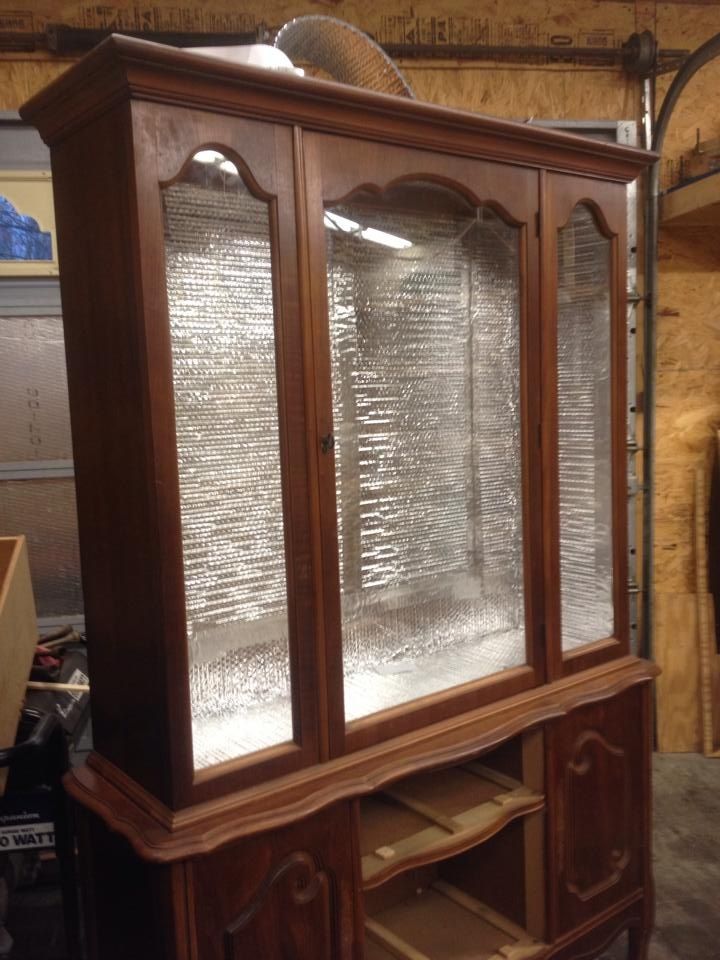
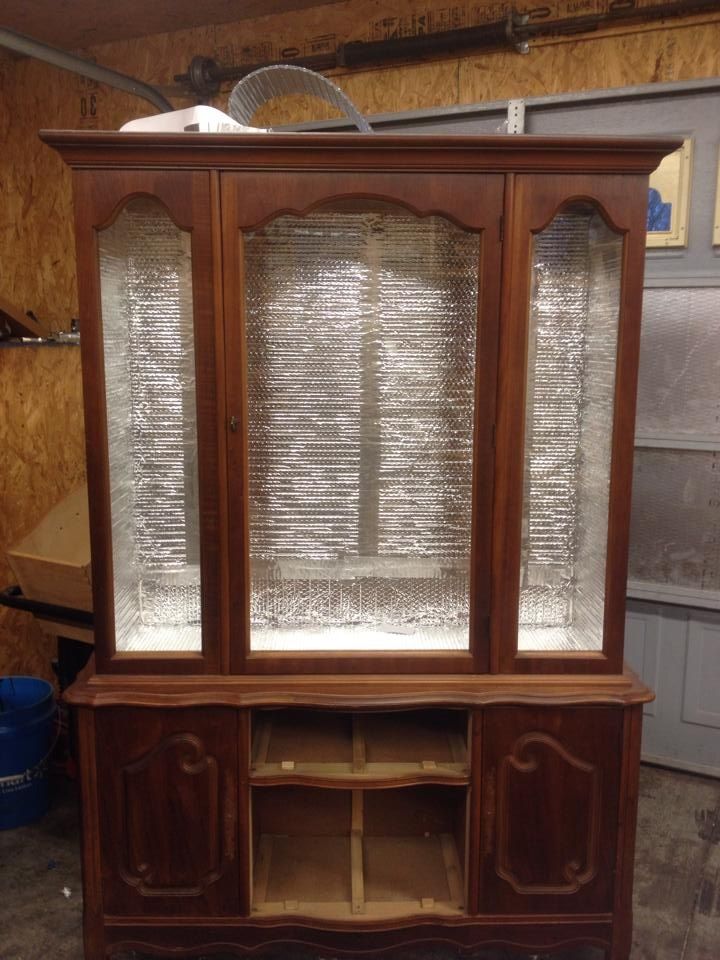
#16 Opted for Phillippine Mahogany for the top. More than adequate and can only be seen by persons 5' or less, as I am 6"6" LOL!
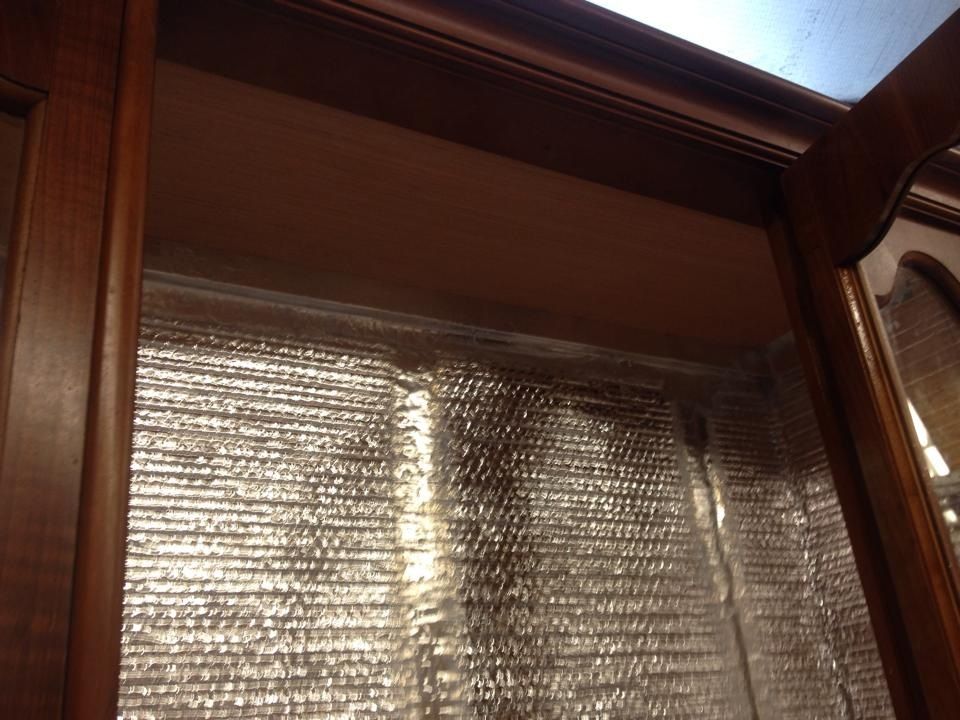
#17 First cedar board in. The first run around the front was the hardest, due to having to cut out and notch for the door and windows up the sides.
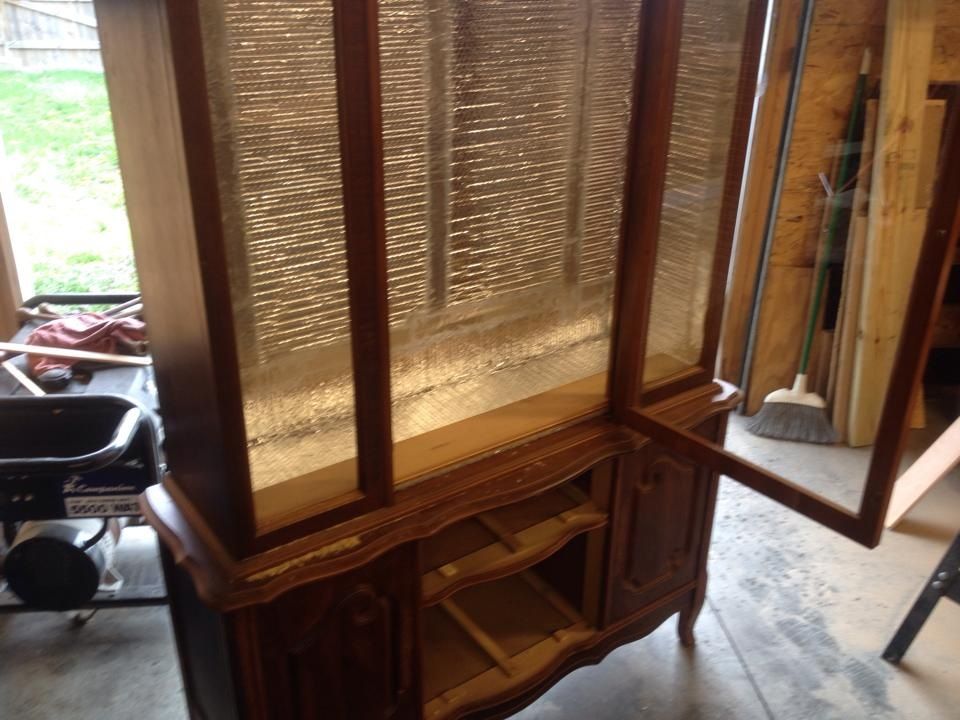
#18 Complete bottom laid in. Getting excited now!
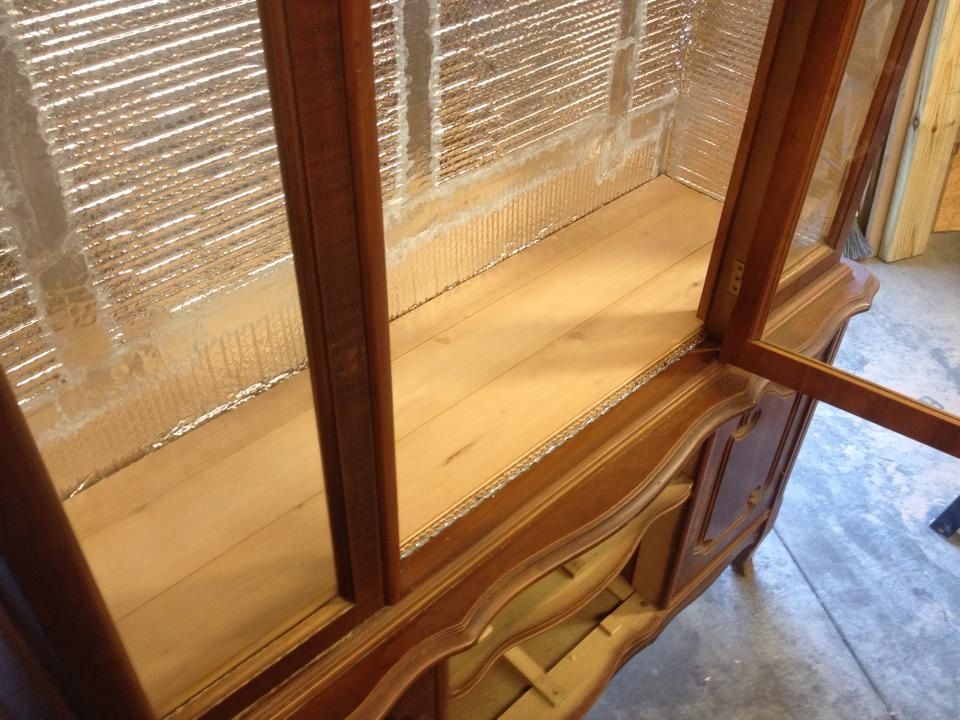
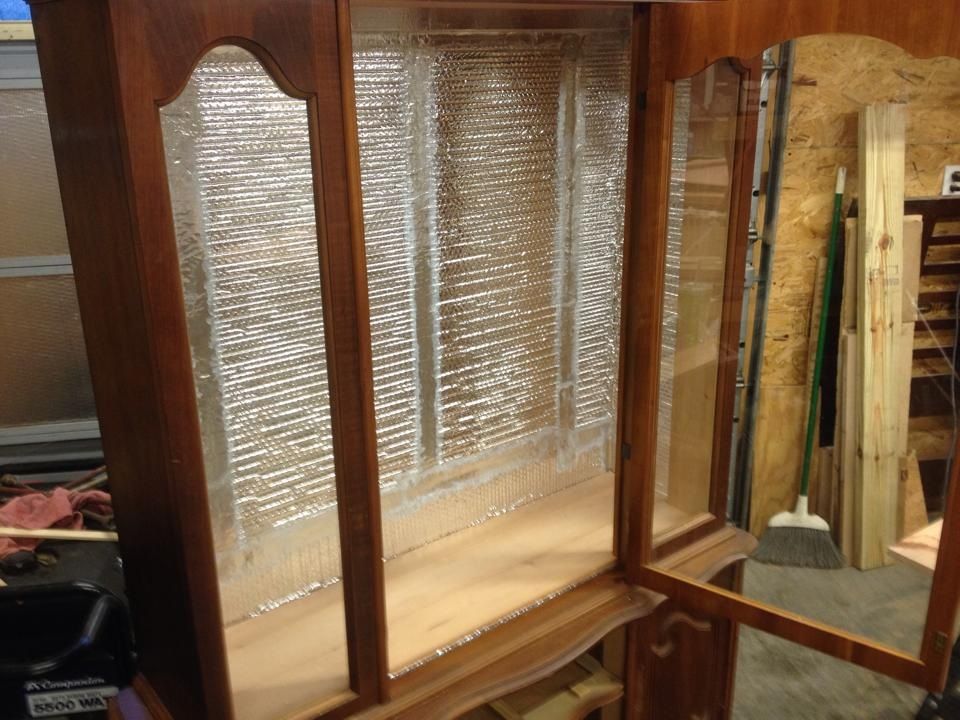
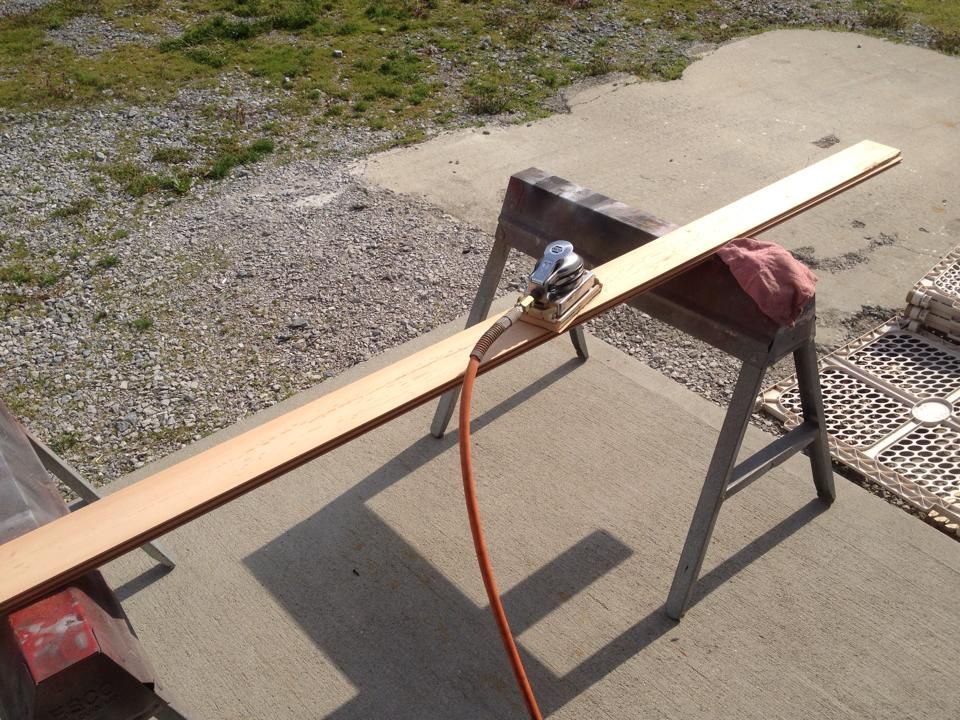
#19 Boards were already sanded on one side, so I just sanded a little to knock the dirt off and release the aroma of the Spanish Cedar.
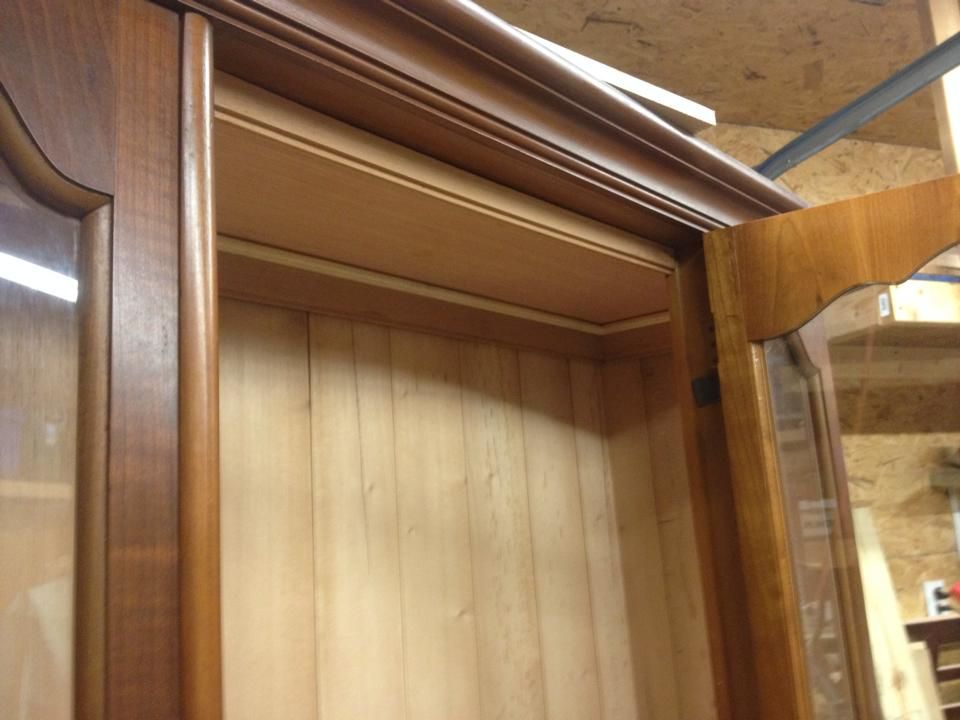
#20 Cabinet fully lined with Tongue & Groove Spanish Cedar. No nails or glue used, as all boards are pressure fitted into place. Also notice the seal strips at the top and bottom of the door. They still need a little finishing work, but are going to seal the door great!

#21 Trim work added around the top of the cabinet. You can also see the top door seal a little better in this pic.


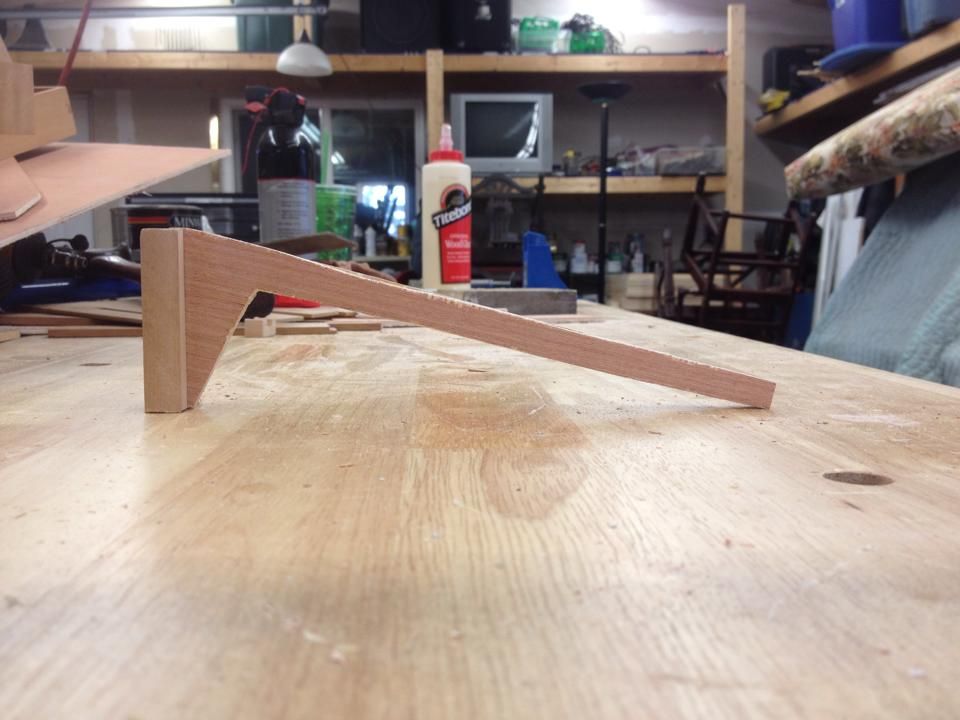
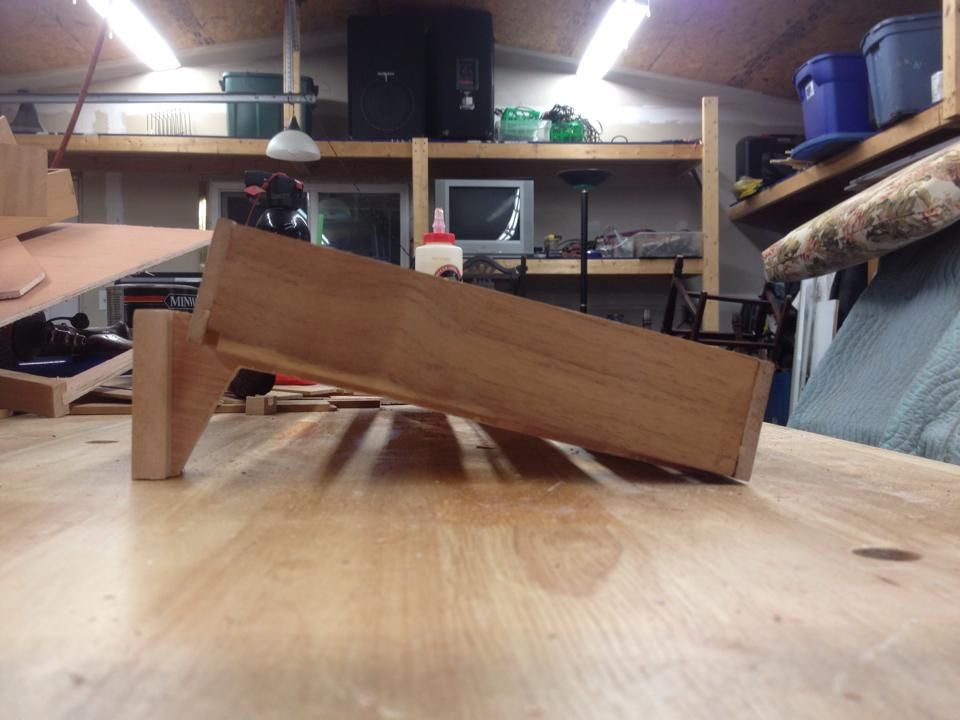
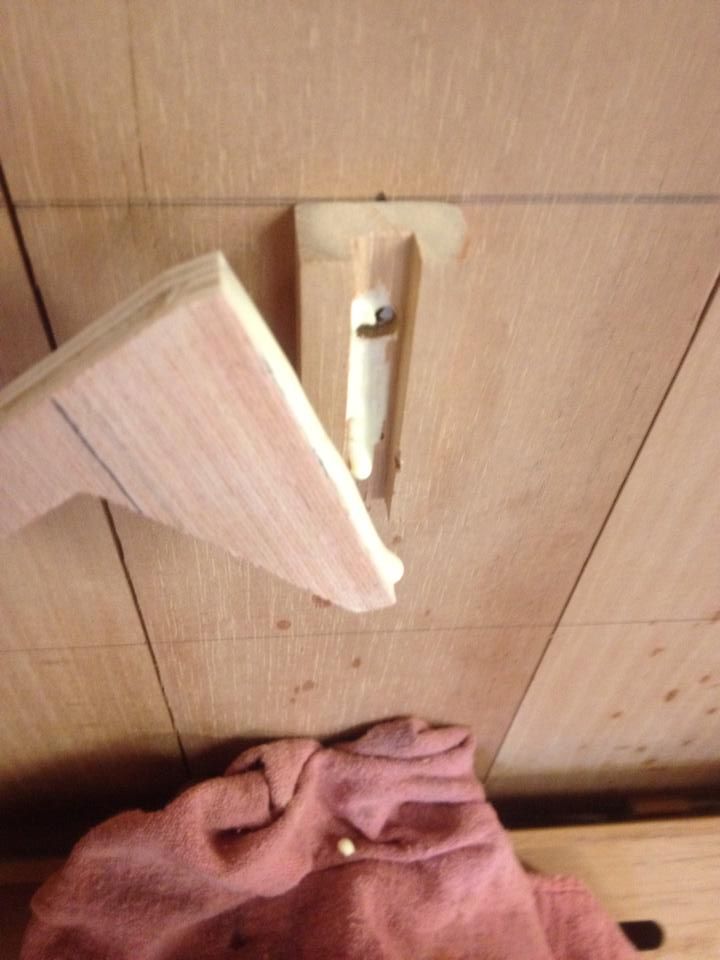
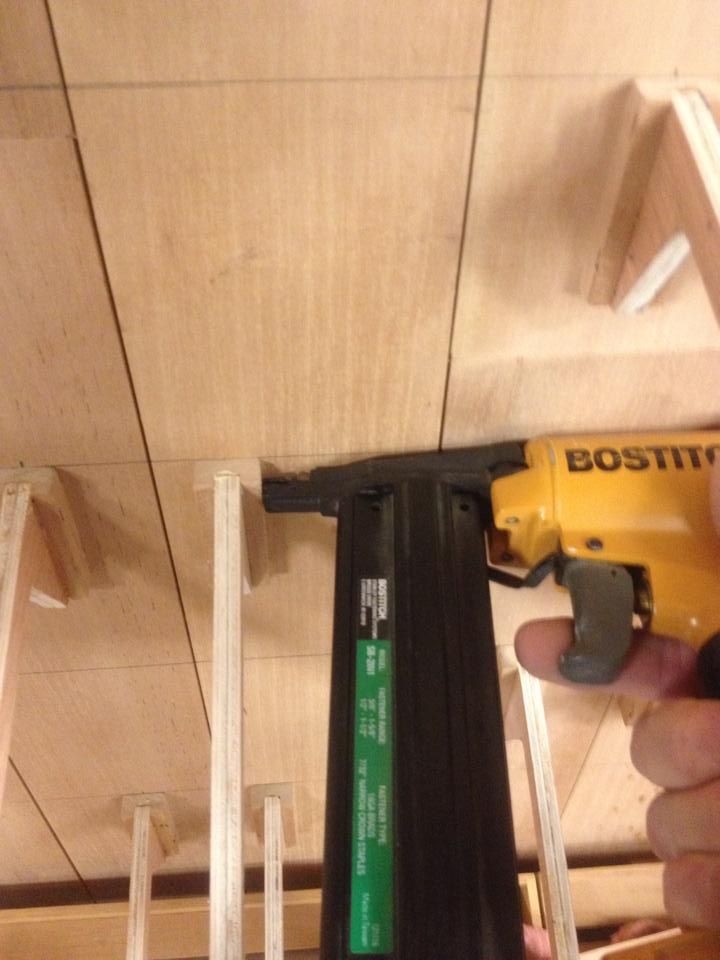
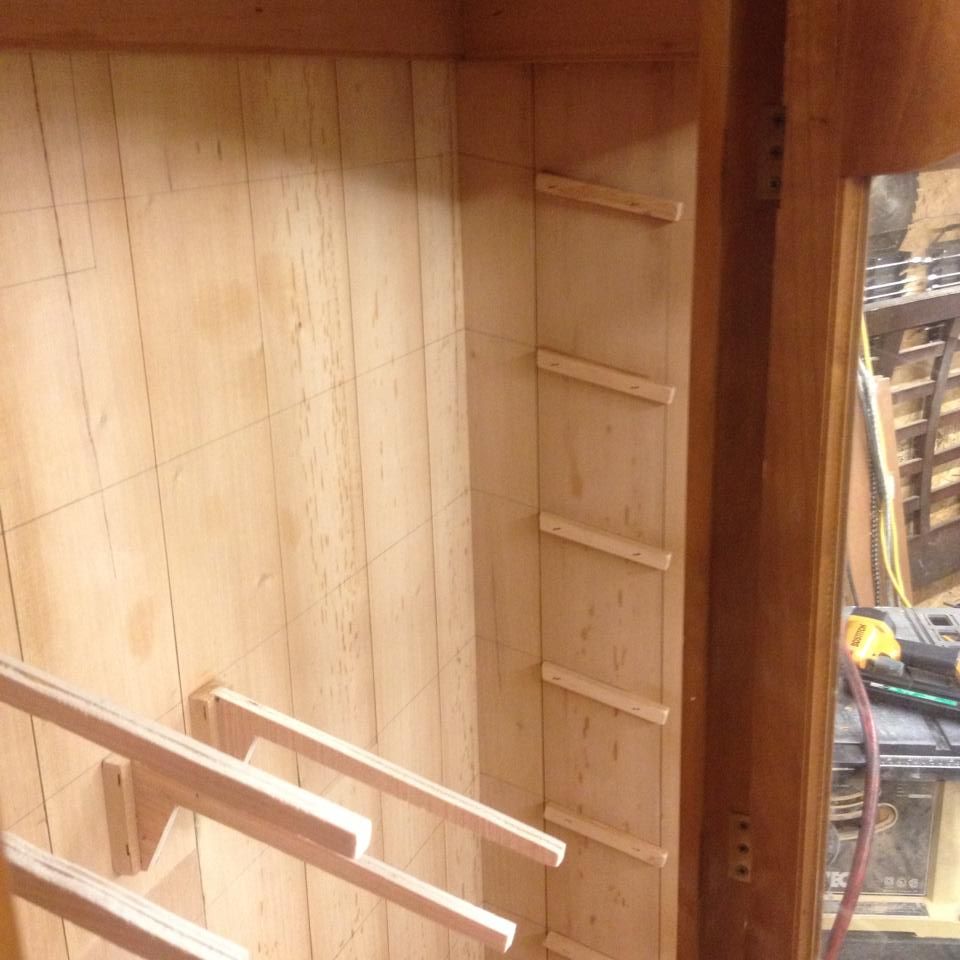
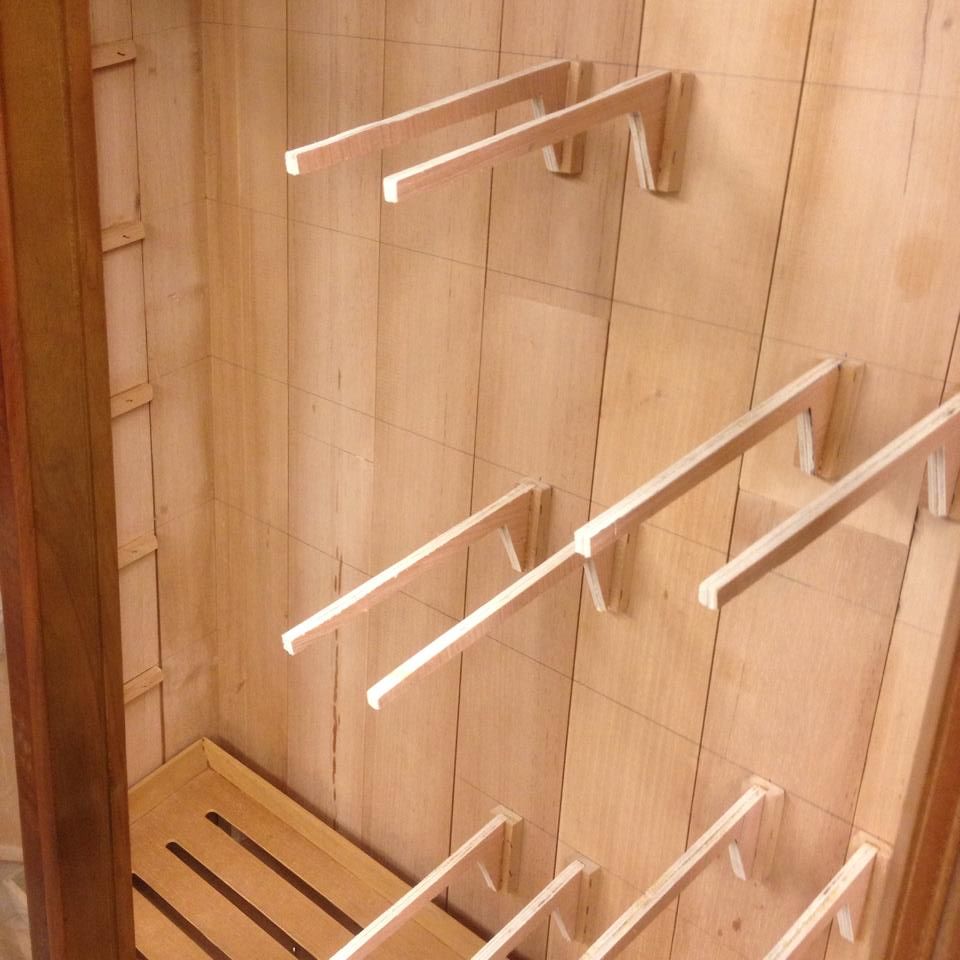
#22 Looking good! next will be to start on shelves. Pictured is a shelf from my other humidor. They are to long to fit two together, so I will have to shorten them. I have enough to make four complete shelves and then I will have to make two or three from scratch. Which means more Spanish Cedar is needed!


#1 Began with a Vintage (Late 50's early 60's) Basset China Cabinet I picked up at the local Peddlers Mall.

#2 Back off getting ready to remove factory shelves.

#3 Rear view of factory shelves to be removed.

#4 Shelves removed.

#5 Inside front being sanded, as it will receive four coats of Polly to seal the wood. This will be the only interior wall that will not be sealed with insulation and Spanish Cedar.

#6 Using GE II 100% Silicone to seal all the cracks and seams. Very low VOC 28g/L, with very low odor and zero smell after cured.

#7 Inside front Polly'd with corners and glass sealed with Silicone.

#8 All cracks and corners sealed with silicone.

#9 Tongue & Groove Spanish Cedar Boards in today! 1/2"x4"x96" There was just barley enough wood here to complete the lining of the cabinet with nothing but scrapes left over!

#10 Ready to start insulating the cabinet. Using Reflectix roll insulation. Has a great R rating at 1.1 for the way I am using it. Add the inside and outside wood for a total cabinet R-Value of around d a 3-3.5. and is impervious to water and moisture for a excellent seal. All seams sealed with aluminum Duct Work Tape. All edges of tape then sealed with a thin coat of silicone to insure a airtight seal.

#11 One continuous run around the inner walls of the cabinet with only one seam.


#12 Folding the excess insulation inward.


#13 Back of cabinet put back in place.

#14 Insulation placed in strips on back of cabinet. Took three strips t finish the covering.

#15 Insulation job inside cabinet done and completely sealed from the original wood of the cabinet. All tape seams then sealed with a very thin skin layer of silicone to ensure no leaks.


#16 Opted for Phillippine Mahogany for the top. More than adequate and can only be seen by persons 5' or less, as I am 6"6" LOL!

#17 First cedar board in. The first run around the front was the hardest, due to having to cut out and notch for the door and windows up the sides.

#18 Complete bottom laid in. Getting excited now!


#19 Boards were already sanded on one side, so I just sanded a little to knock the dirt off and release the aroma of the Spanish Cedar.

#20 Cabinet fully lined with Tongue & Groove Spanish Cedar. No nails or glue used, as all boards are pressure fitted into place. Also notice the seal strips at the top and bottom of the door. They still need a little finishing work, but are going to seal the door great!

#21 Trim work added around the top of the cabinet. You can also see the top door seal a little better in this pic.


#22 Looking good! next will be to start on shelves. Pictured is a shelf from my other humidor. They are to long to fit two together, so I will have to shorten them. I have enough to make four complete shelves and then I will have to make two or three from scratch. Which means more Spanish Cedar is needed!


