Love it, do you do woodwork as a trade or just a hobby, you have quite an impressive project and workshop
China Hutch Humidor Conversion with Pics!
- Thread starter Goble
- Start date
Thanks everyone for the awesome comments! Kinda' makes the sore finger worth it LOL!
To answer a few questions: I ordered the T&G Cedar from Advantage Lumber located in North Carolina. I ordered the last board for the shelves from Rockler.
I am not a Carpenter by profession. I have actually worked for the Ky Dept of Corrections for the last twenty years, where I have been a Trainer the last five. I just do the wood stuff when I want to make something LOL! I am, however thinking bout building and selling these. A person would pick out what style cabinet they want by sending me pics of the styles they like. I would then find it, build it and ship it! Anybody interested LOL!
You sir are a god with wood. This is great!
Bump because I'm hoping for an update!
Epic. Can't wait to see the build continue!
Sorry y'all, I have several more pics to post, but my Wi-Fi has been down the last few days at home. It's just to much trouble to upload and add descriptions to everything from my phone. Hope to get it up and running this weekend, so be on the lookout for my next post!
Absolutely gorgeous!
Nice work.
Finally got my Internet back up and running!
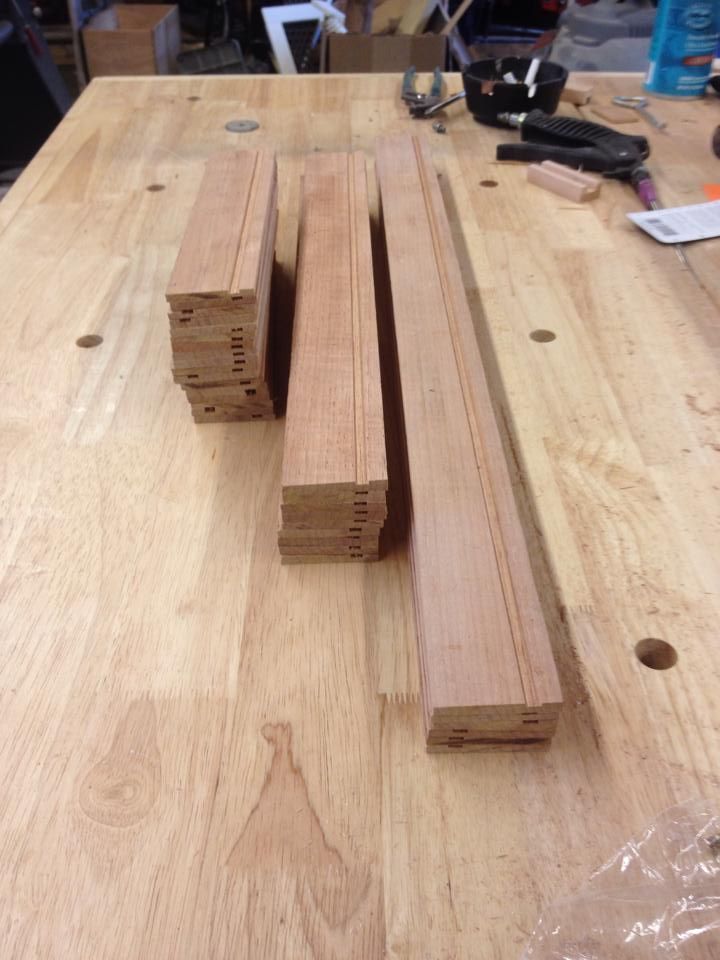
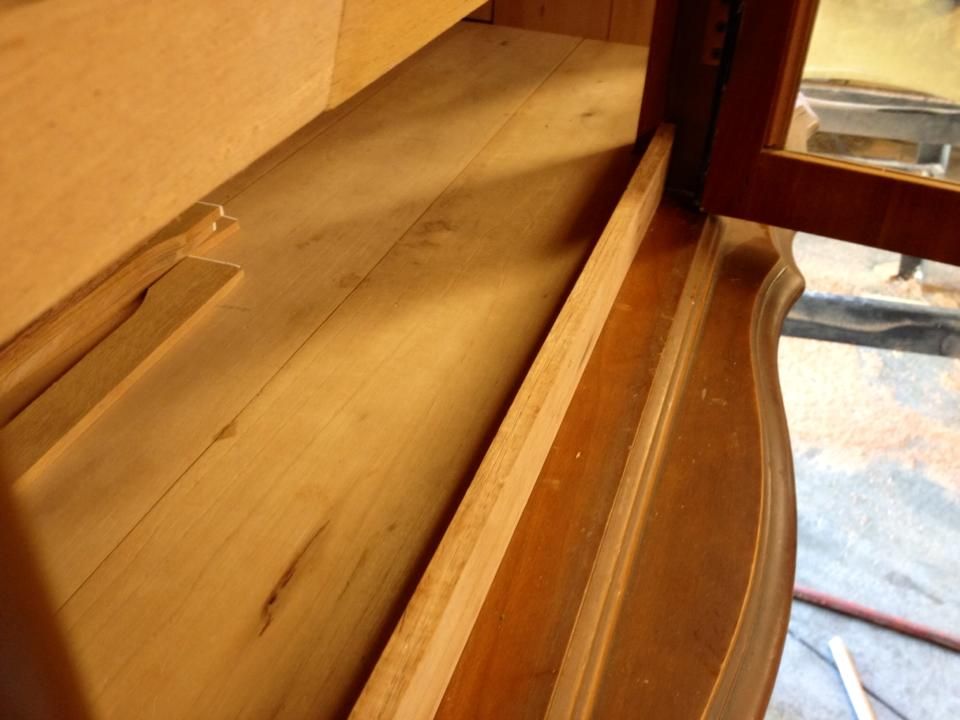
(#52) All strips to form the outside frame of the shelves cut out and grooved to receive the bottom of the shelf.
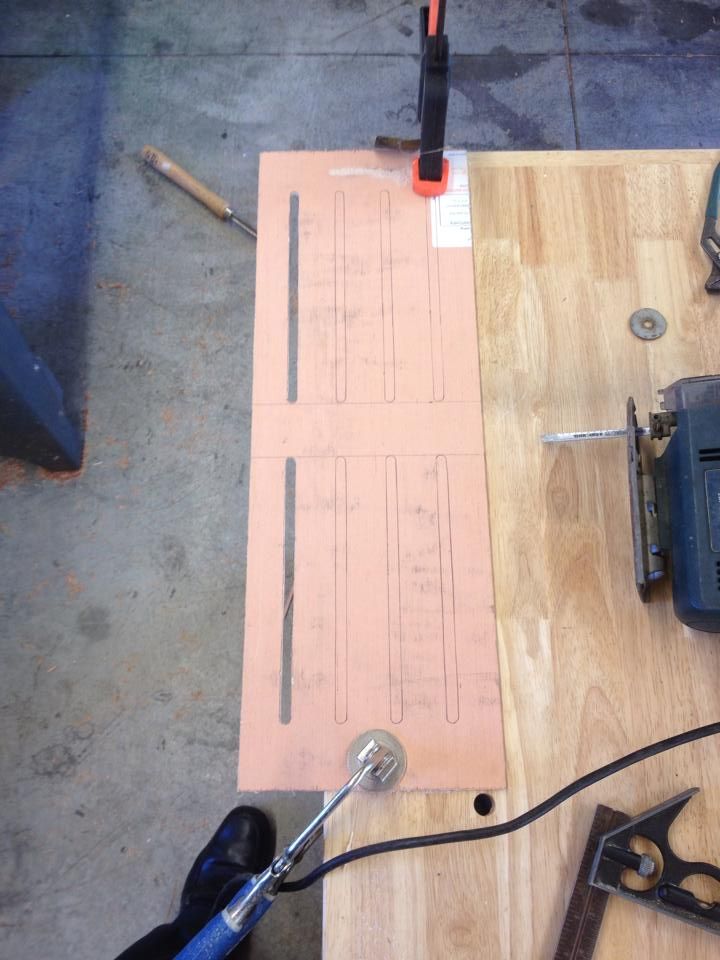
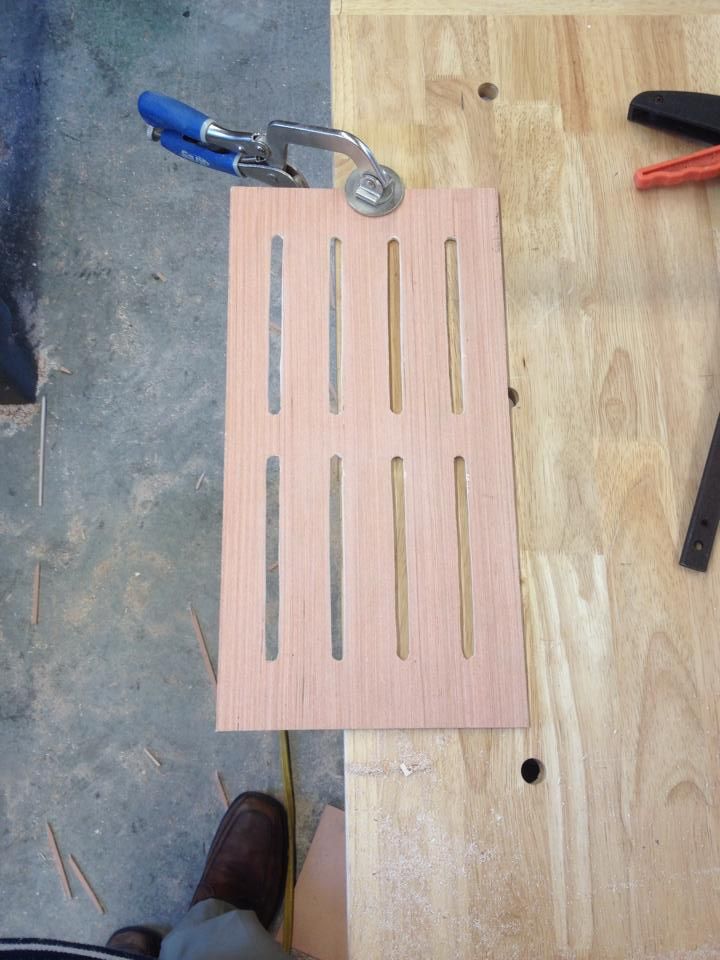
(#53) Cutting the air circulation holes in the bottom of the shelves.
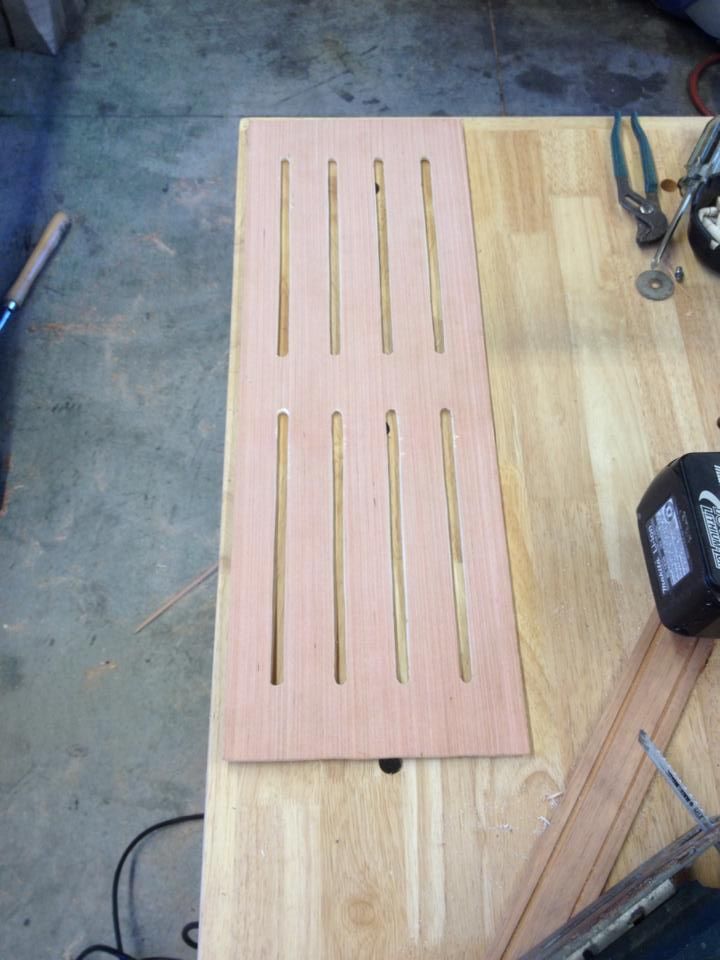
(#54) First shelf bottom cut out!
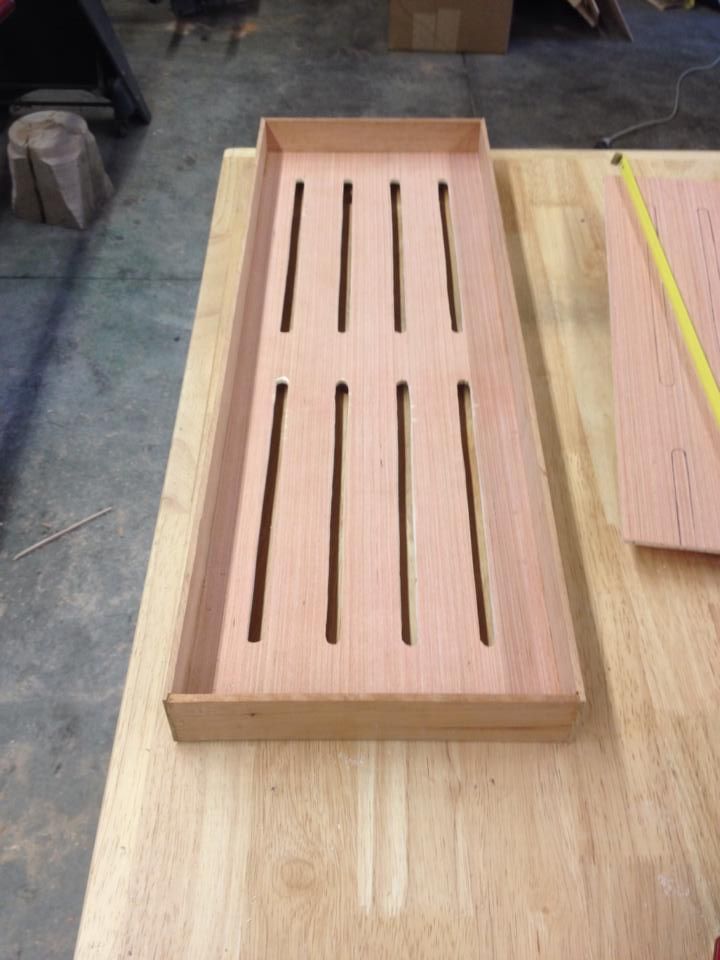
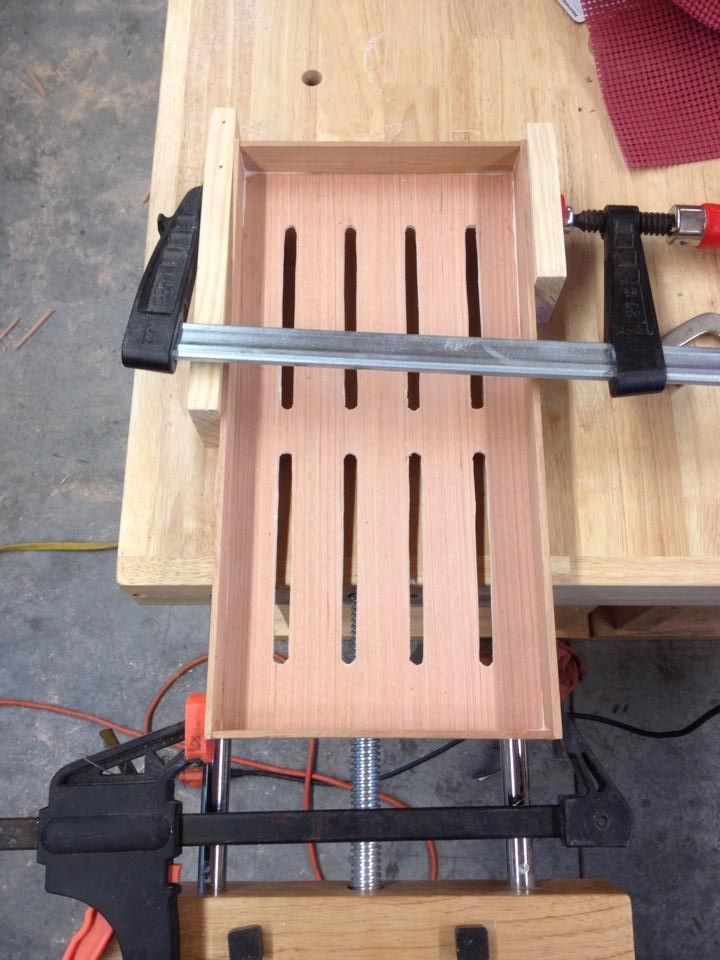
(#55) First shelf glued together and finished!
(#56) Short shelf bottom.
(#57) First short shelf glued up.
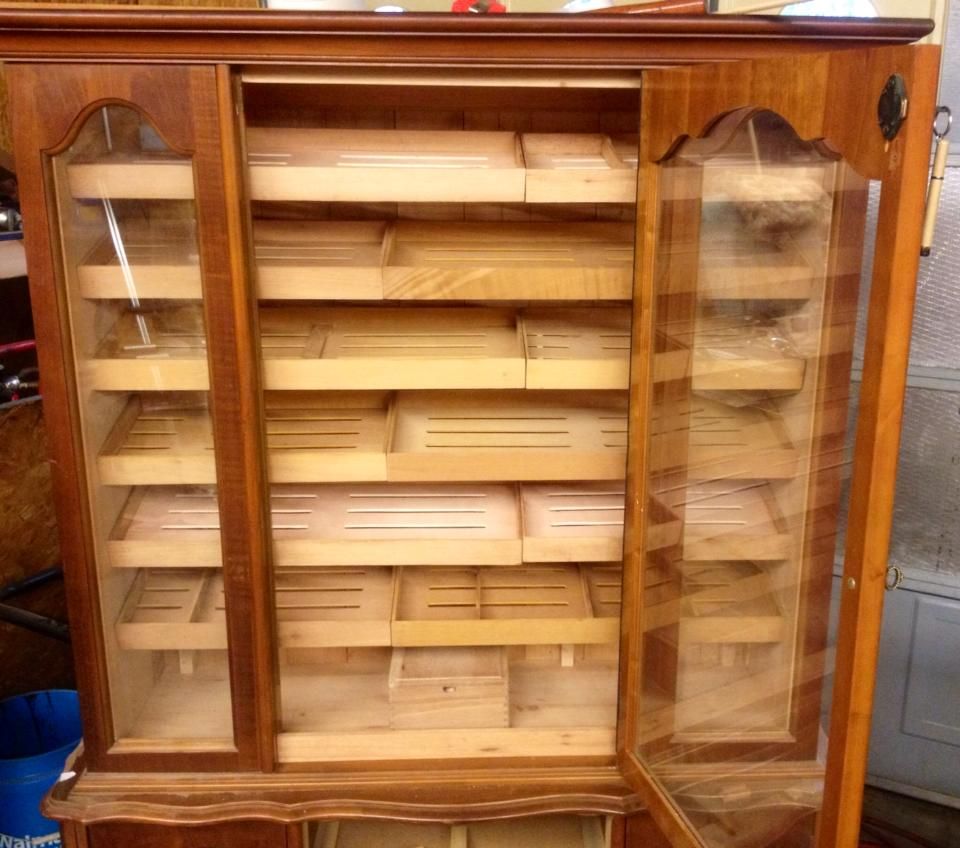
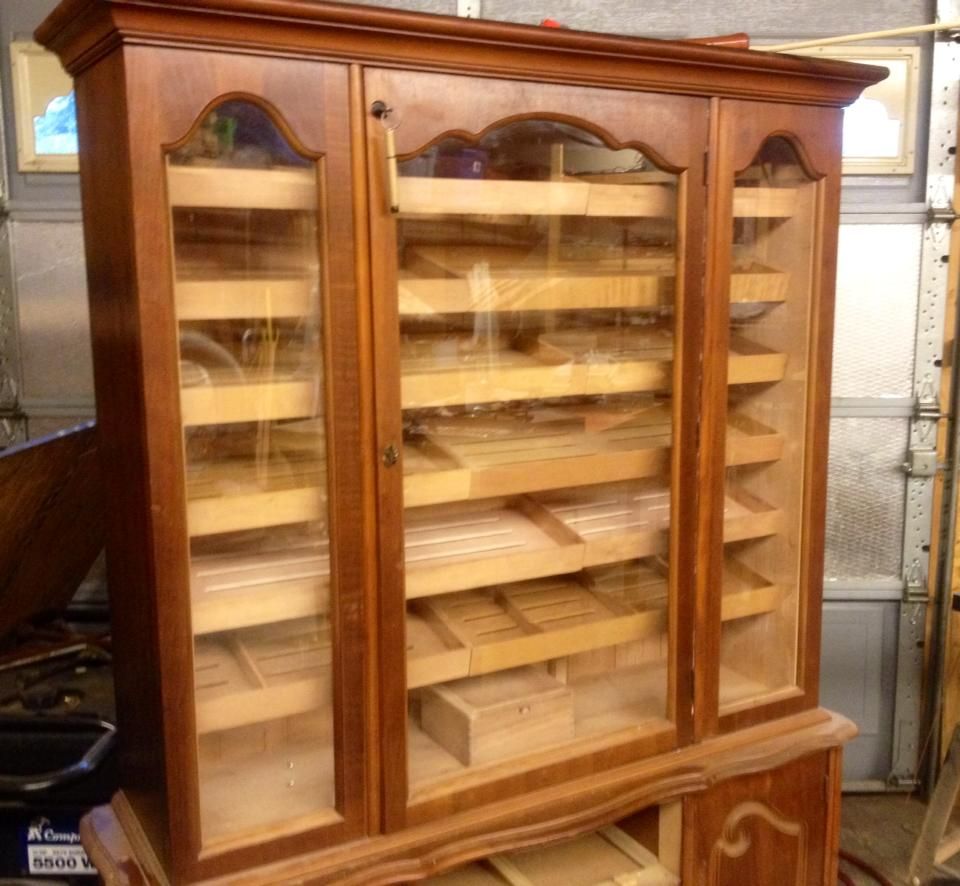
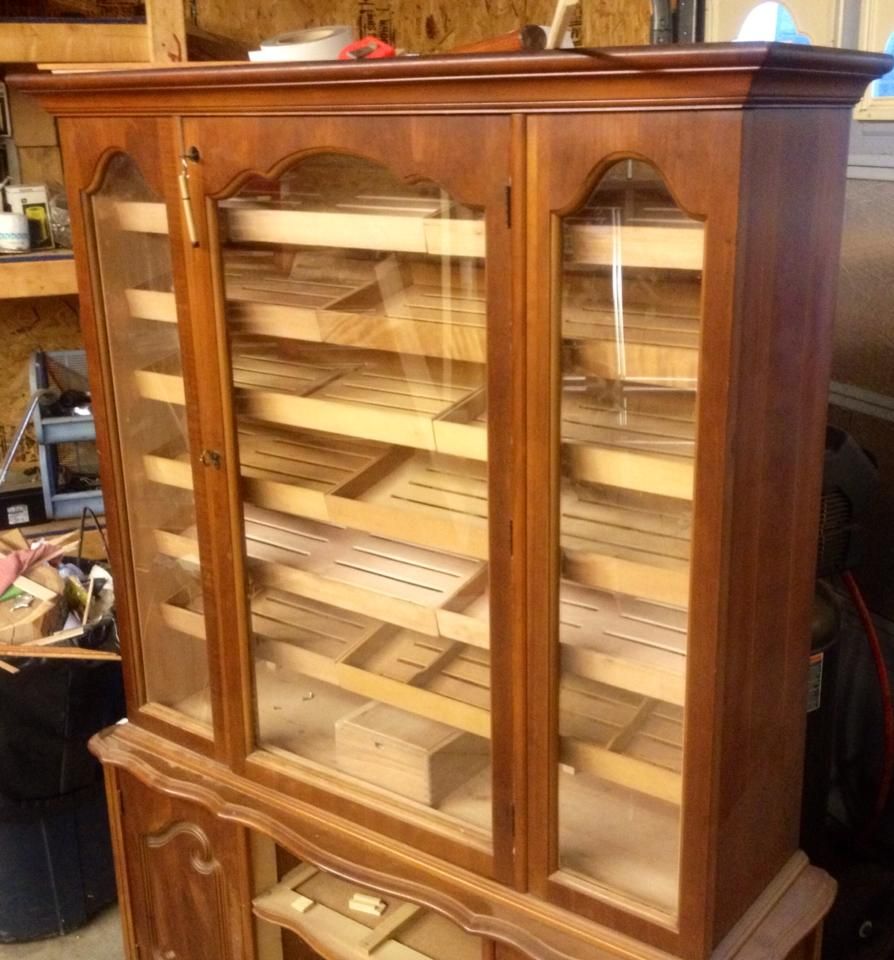
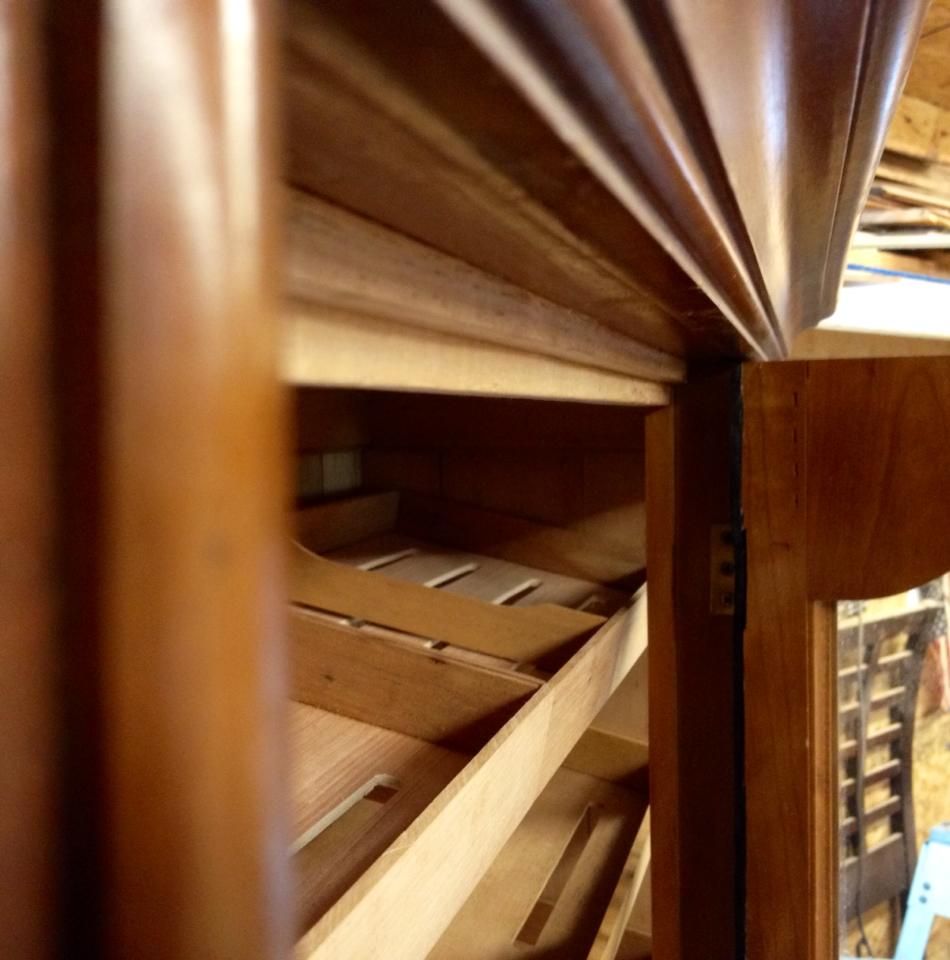
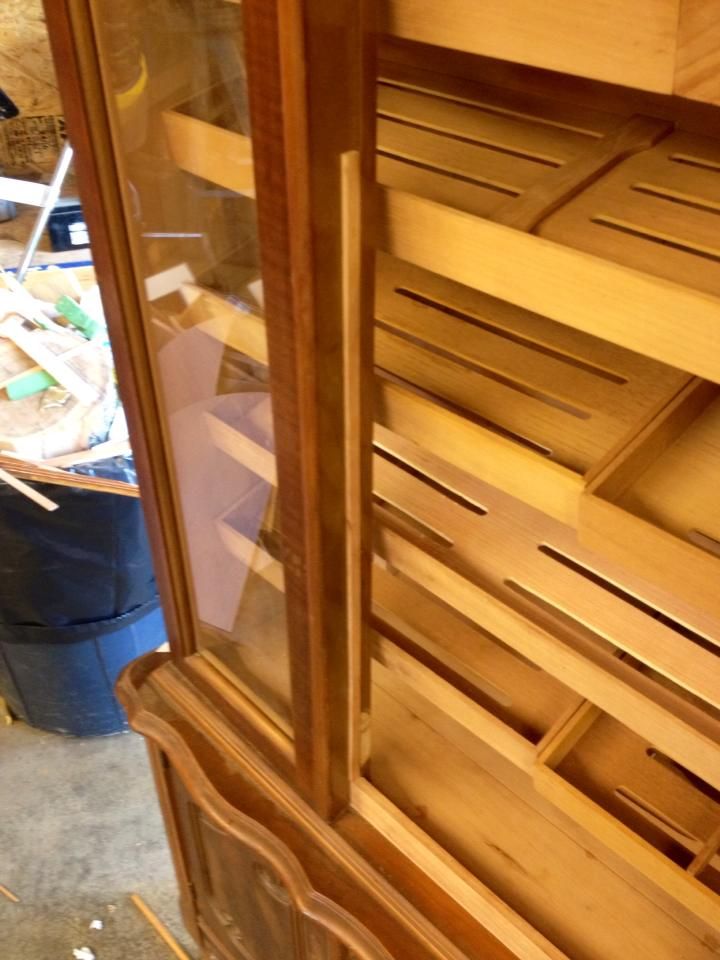
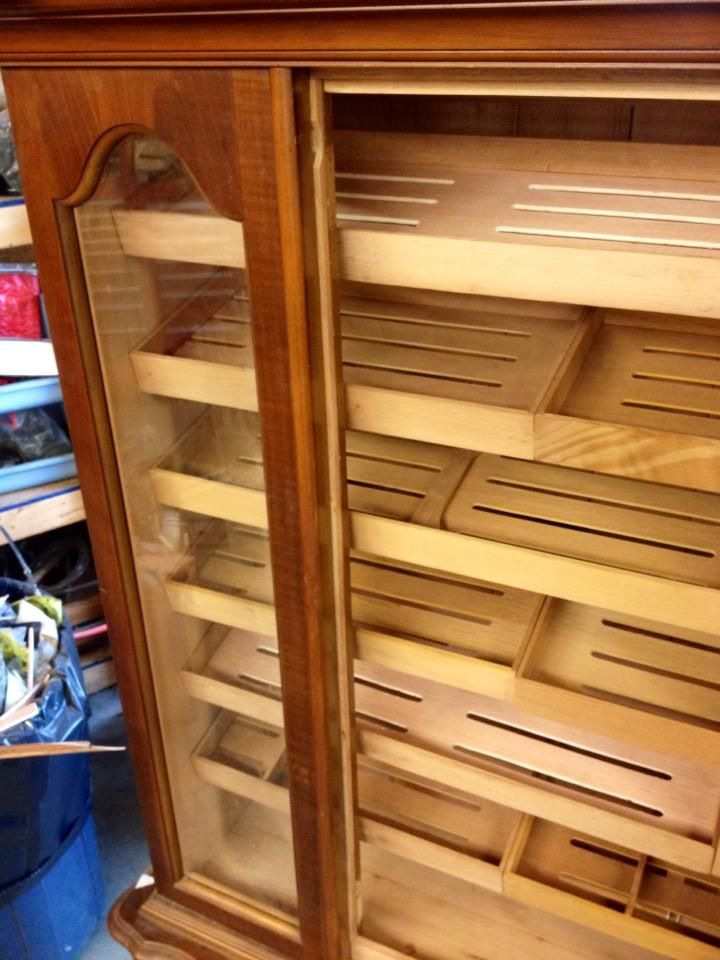
(#5 All shelves finally in! Decided to take the bottom one out in order to have a place to store full boxes of cigars. Think I still got plenty of space for singles LOL!
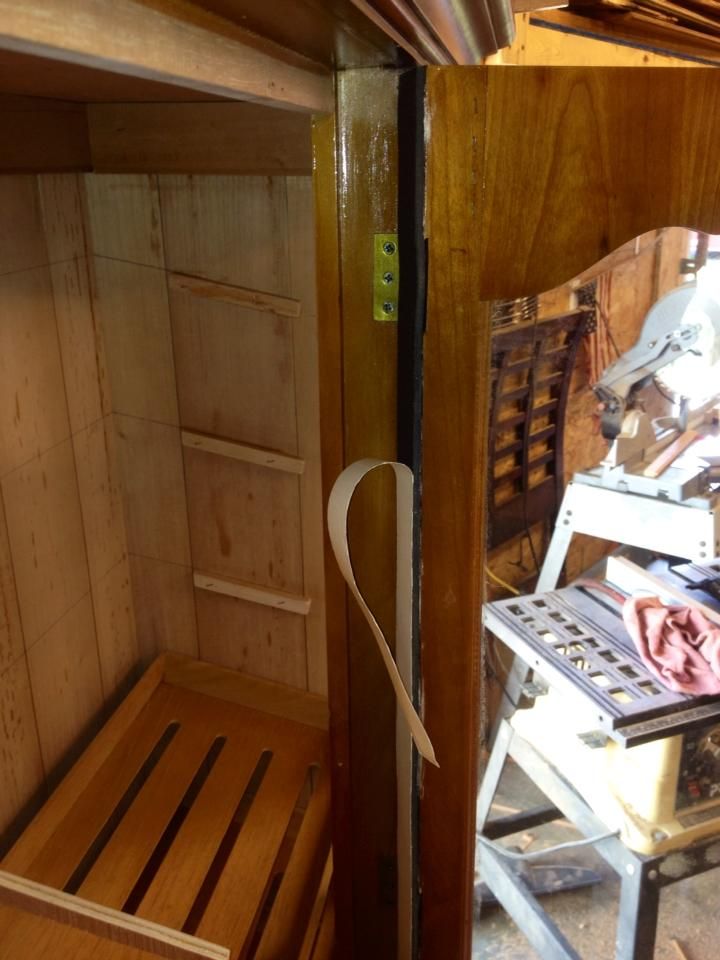
(#59) On to sealing around the door. Don't want a 100% air tight seal in the cabinet, but at least a 90%. It needs a little fresh air circulation in order to avoid molding. Ran foam sticky back weather stripping up the hinge side.
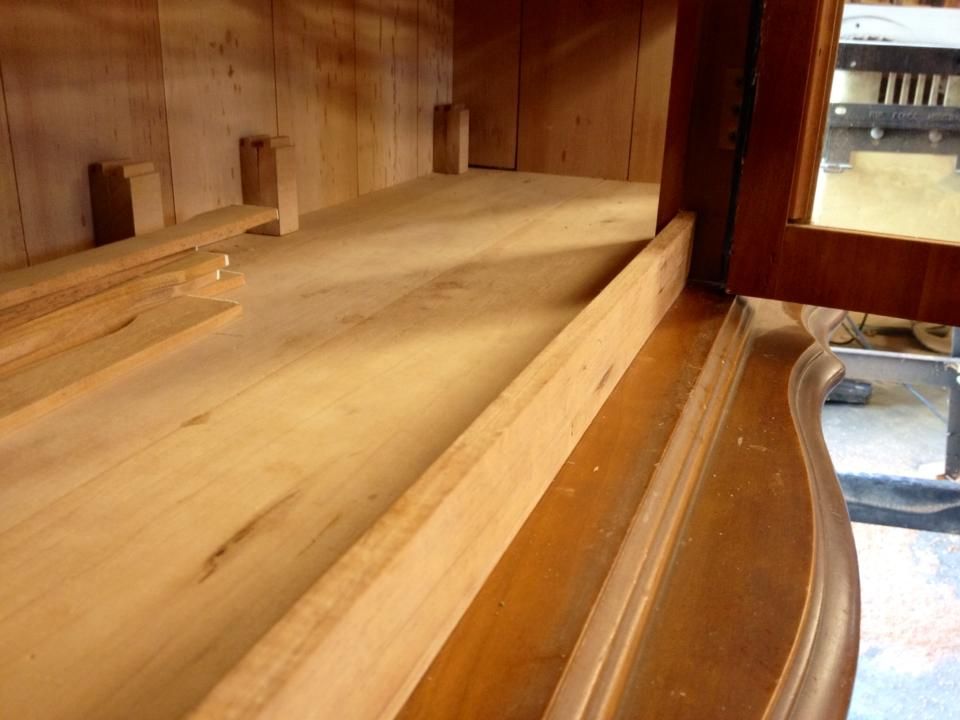
(#60) Bottom door seal. Used crushable Oasis floral foam all around the door to get the exact gap that needed to be filled for a tight fit.
(#61) Top door seal done in two pieces.
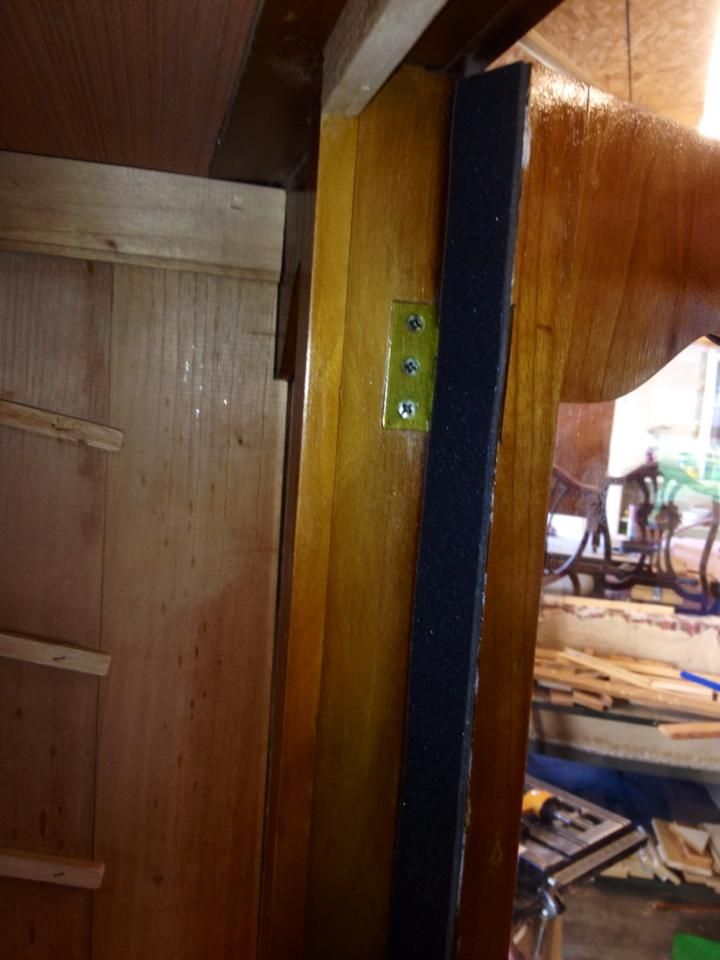
(#62) Seal on the locking side.
All and all its starting to come together nicely!
(#52) All strips to form the outside frame of the shelves cut out and grooved to receive the bottom of the shelf.

(#53) Cutting the air circulation holes in the bottom of the shelves.

(#54) First shelf bottom cut out!

(#55) First shelf glued together and finished!

(#56) Short shelf bottom.

(#57) First short shelf glued up.

(#5 All shelves finally in! Decided to take the bottom one out in order to have a place to store full boxes of cigars. Think I still got plenty of space for singles LOL!


(#59) On to sealing around the door. Don't want a 100% air tight seal in the cabinet, but at least a 90%. It needs a little fresh air circulation in order to avoid molding. Ran foam sticky back weather stripping up the hinge side.


(#60) Bottom door seal. Used crushable Oasis floral foam all around the door to get the exact gap that needed to be filled for a tight fit.


(#61) Top door seal done in two pieces.

(#62) Seal on the locking side.


All and all its starting to come together nicely!