What's new

Cigar Molds Thread

Rating - 100%
1   0   0
Joined
May 3, 2017
Messages
507
Great, I'm stoked you like my vids and find them helpful! Thanks for the positive feedback, much appreciated.

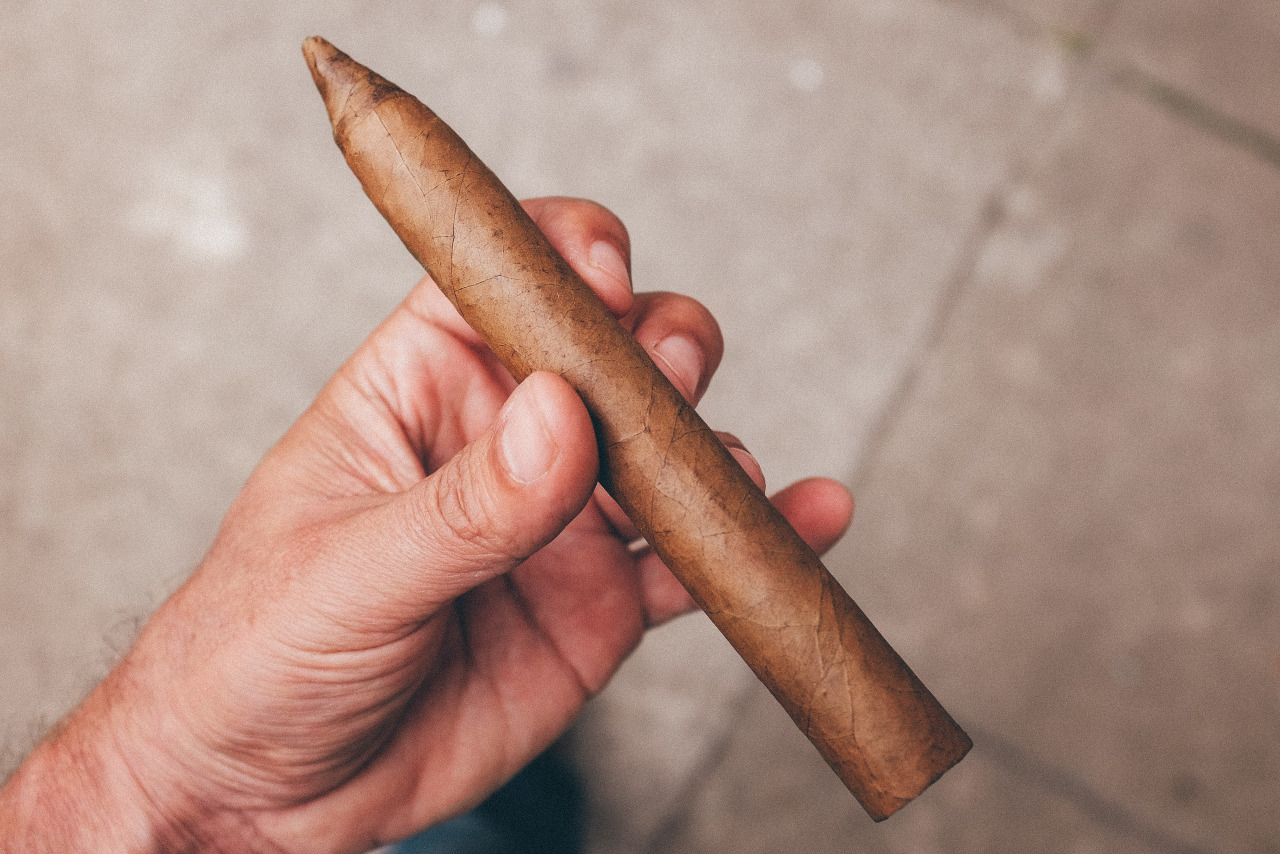
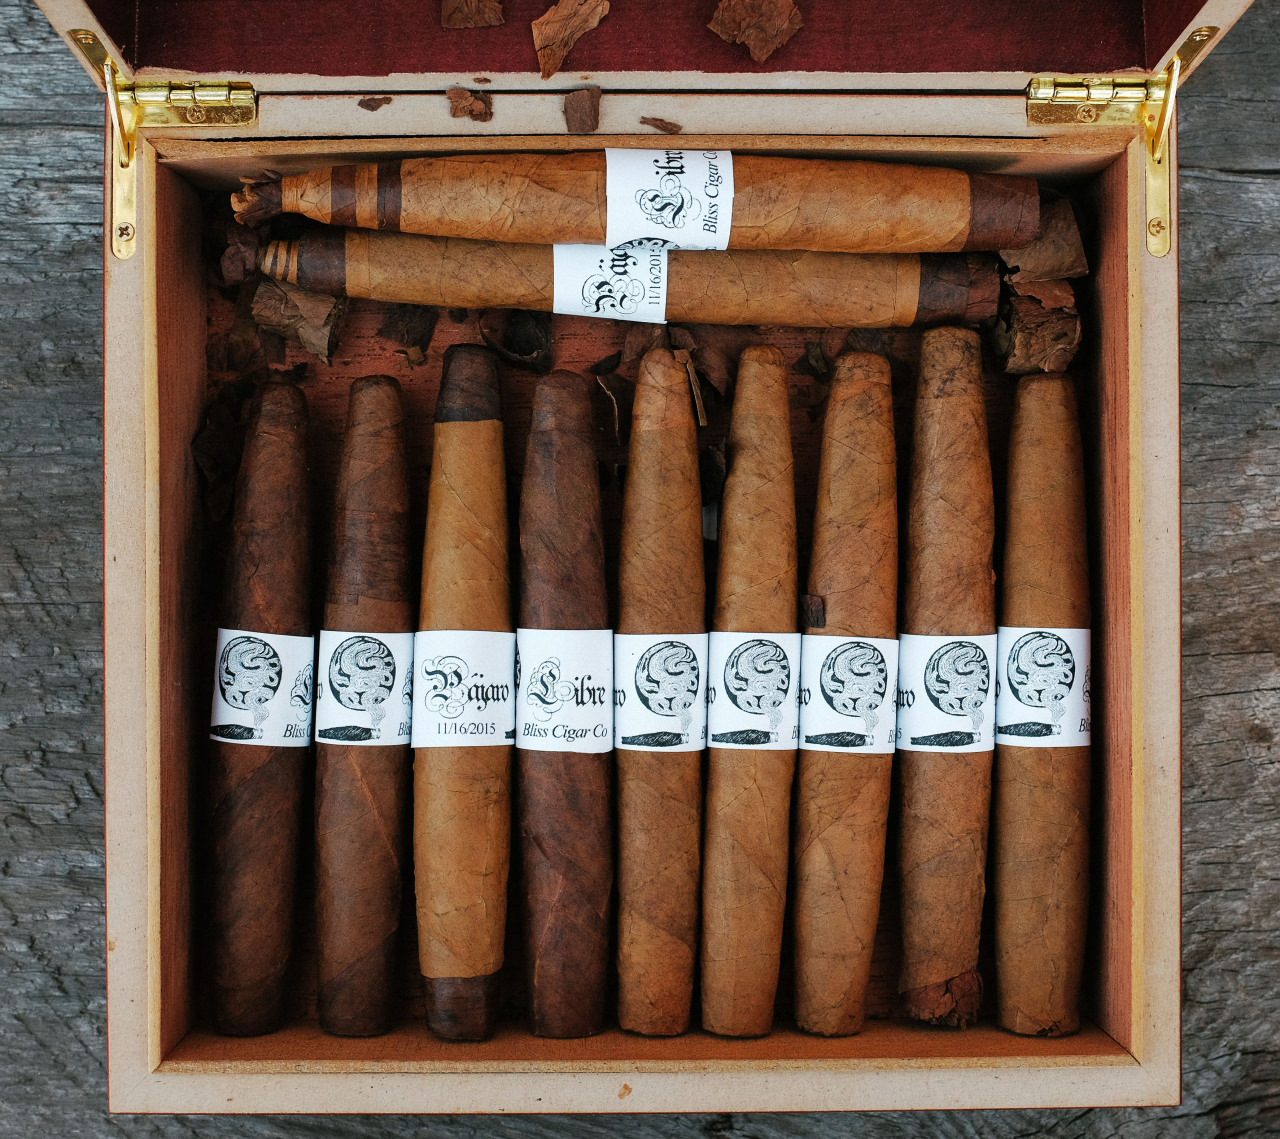
But it was MarcL who wanted to do the Hemingway. He's the funky shapes master around these parts. I have rolled some things, though, so could probably find my way around a Hemingway if given the chance. Here's some of my curvy stuff:


I would definitely accept any help you could give me in the mold purchasing department.

And in fact I'm getting my leaf for free right now from Webmost, mostly WLT stuff, since you asked.

Thanks again!
I just emailed you. Email me back with the specs you want. Sound good?
 
Rating - 100%
1   0   0
Joined
May 3, 2017
Messages
507
I have a 3 slot 3D printed mold that had been bombed to me by a very generous brother here. It's not the smoothest inside, but after wrapping you wouldn't know the difference one bit. My personal experience says don't stress too much over that. The biggest thing is having the "top" or "lid" being thinner than the "body" of the mold. The one I have is two even pieces and while it does function it does have some quirks that a more traditional mold does not have. I hope this makes sense and helps. When I get home I will snap some pics to show as to explain better.
Sounds good. I specifically left a 1mm gap so the fit works. Trial and error. Lol.
 
Rating - 100%
1   0   0
Joined
May 3, 2017
Messages
507
My printer fried overnight. I had to replace the mini motherboard and I swapped out the glass bed while I was at it. I was lucky to have spare parts. Back to printing...
 
Rating - 100%
1   0   0
Joined
May 3, 2017
Messages
507
What was that about?
I think the heated glass bed pulled too much current (the bed is at least 4-5 years old) and that melted the plastic connectors on the motherboard. I could have probably fixed the motherboard, but the fire hazard isn't worth it. It happened while I was sleeping, so I'm happy that's all that happened!
 
Rating - 100%
1   0   0
Joined
May 3, 2017
Messages
507
Bummer. Glad you had the parts.
Yeah totally. Like any machine, it's good to have extra parts to fall back on. I think the new parts will make the prints look better now. I'll be able to tell tonight or tomorrow when my 6 stick 54 mold is done. After that, I'll start on your 46 round. You wanted 46, correct? Since I can change any of the dimensions, unlike pre-made molds, I can bump it up a few mm or down a few mm if you wanted. I usually make them exactly the ring gauge, otherwise.
 
Rating - 100%
3   0   0
Joined
Mar 15, 2016
Messages
2,955
Yeah totally. Like any machine, it's good to have extra parts to fall back on. I think the new parts will make the prints look better now. I'll be able to tell tonight or tomorrow when my 6 stick 54 mold is done. After that, I'll start on your 46 round. You wanted 46, correct? Since I can change any of the dimensions, unlike pre-made molds, I can bump it up a few mm or down a few mm if you wanted. I usually make them exactly the ring gauge, otherwise.
Yep, 46 exactly.
Thank you.
 
Rating - 100%
1   0   0
Joined
May 3, 2017
Messages
507
Yep, 46 exactly.
Thank you.
I have it designed in the CAD and ready to print. I will start it tonight or tomorrow morning. It'll take around 15-16 hours to do the 4 stick x 40 ring, 6.5" that I designed for you. Holler now if those dimensions aren't right! I'll do that other one after. That's a decent quality print too (not in the micron level, lol).

I think I can safely do 4 sticks for about $50 of consumables and shipping, for anyone else interested. I think that's a pretty accurate estimate based upon my experimentation the past few days for time, materials, having to restart failed prints, wasted plastic from failed prints, etc. I usually just print stuff for myself and kids so I never paid attention to all the variables before. If you printed my 2 stick version commercially it starts at $65. This is double the volume.
 
Rating - 100%
1   0   0
Joined
May 3, 2017
Messages
507
So I've found that Nub Cafe cappuccino and Gurkha's Beast have this very unique flavor I can't put my finger on or describe that is awesome. Closest I can describe is maybe cinnamon? I'm not sure that is right. It's a very light undertone and might come from the wrapper or the binder. Doesn't taste like a filler flavor by the small quantity of flavor. Any recommendations on how I go about identifying the leaf to make this into my own blend? Would the folks at leaf only know this info? If this isn't the right forum for this question I apologize. I figured this crowd would likely be the best crowd.
My bad, I meant Nub Cafe Espresso
 
Rating - 100%
3   0   0
Joined
Mar 15, 2016
Messages
2,955
I got the Work of Art done as a CAD. Image attached.View attachment 95617
Slick. Looks like you went a little long on the head which is a good thing, allows the roller some headroom to get the final deal into shape. OTHO from the perspective of this it doesn't look as tapered head-to-foot as the model stick. Is it? What's it supposed to be, 56-46?
What's the general method of how you made these? A spline of one side, lathed into a whole, and then boolean'd out of the block? Do you just draw the spline off that photo and then scale it in the app?
 
Rating - 100%
1   0   0
Joined
May 3, 2017
Messages
507
Slick. Looks like you went a little long on the head which is a good thing, allows the roller some headroom to get the final deal into shape. OTHO from the perspective of this it doesn't look as tapered head-to-foot as the model stick. Is it? What's it supposed to be, 56-46?
What's the general method of how you made these? A spline of one side, lathed into a whole, and then boolean'd out of the block? Do you just draw the spline off that photo and then scale it in the app?
It is tapered. I make the block first, then I create a sketch for the bunch. For this one I made 46 ring circle on one end and 56 at the other. I made some dimension constraints for the length and laid out the tangent body lines. The top of the head and the foot nipple are 5mm circles. The foot is a custom spline curve copied from the original picture. I then revolve the sketch as a cut into the block.
 
Top